<= Back to previous section "Create a Branch"
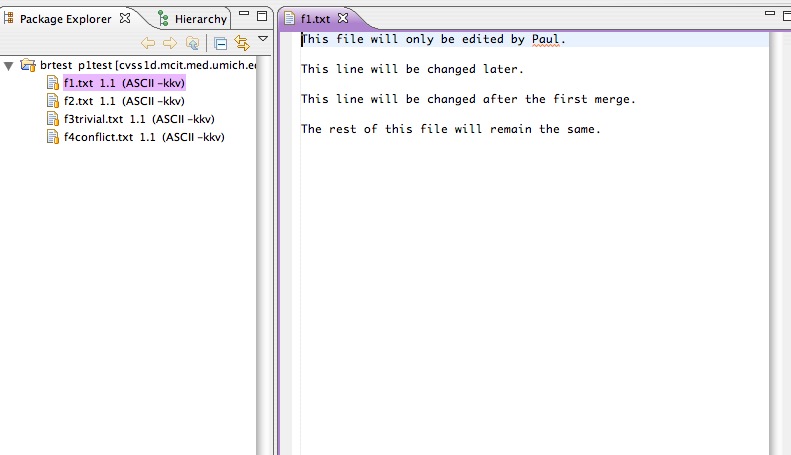
- Paul is working in the branch p1test. Open f1.txt in the text editor (Double-click f1.txt or right click it and select Open in Text Editor).
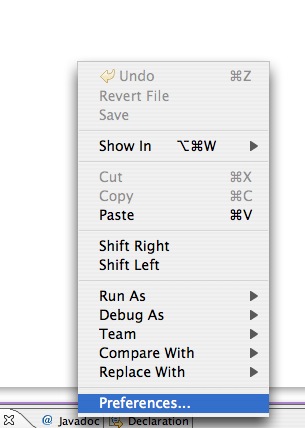
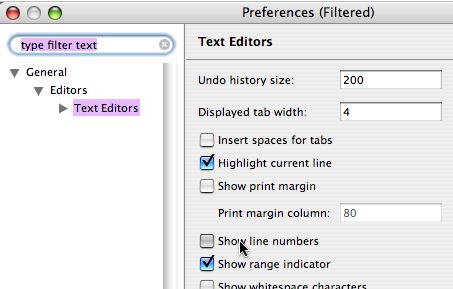
- If line numbers are not showing in the text editor, turn them on by right-clicking in the middle of a text editor view. Select Preferences...
- Check "Click show line numbers."
- Change line 3 of f1.txt to read "This line changed by Paul in iter1. " and save the change.
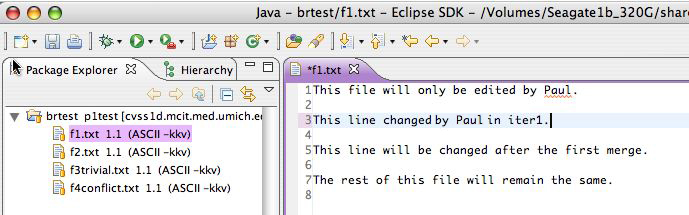
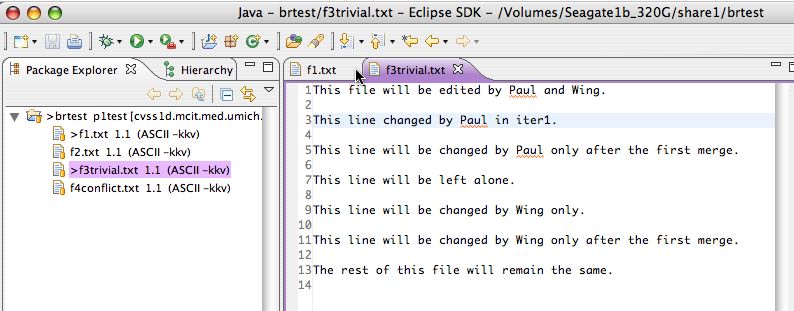
- Note that the file now shows a ">" indicator in Project Explorer, showing that it is no longer the same as the version in the repository. Open f3trivial.txt in the text editor. Change line 3 to read "This line changed by Paul in iter1." and save the change.
- Open f4conflict.txt in the text editor. Change line 3 from "This line will be changed by both Paul and Wing" to "This line changed by Paul in iter1."and save the change.

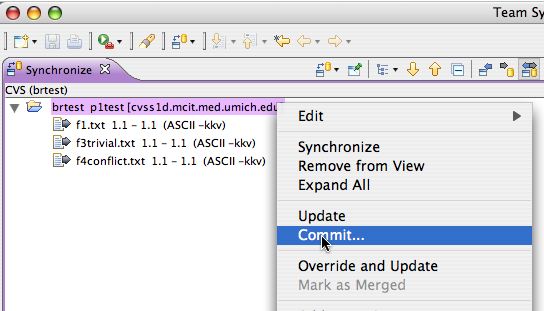
- Click the Synchronize icon, or right-click the brtest project folder and select Team > Synchronize with Repository. The Synchronize perspective will open and replace the Project Explorer. Commit all the changes by right-clicking the folder and selecting Team>Commit.
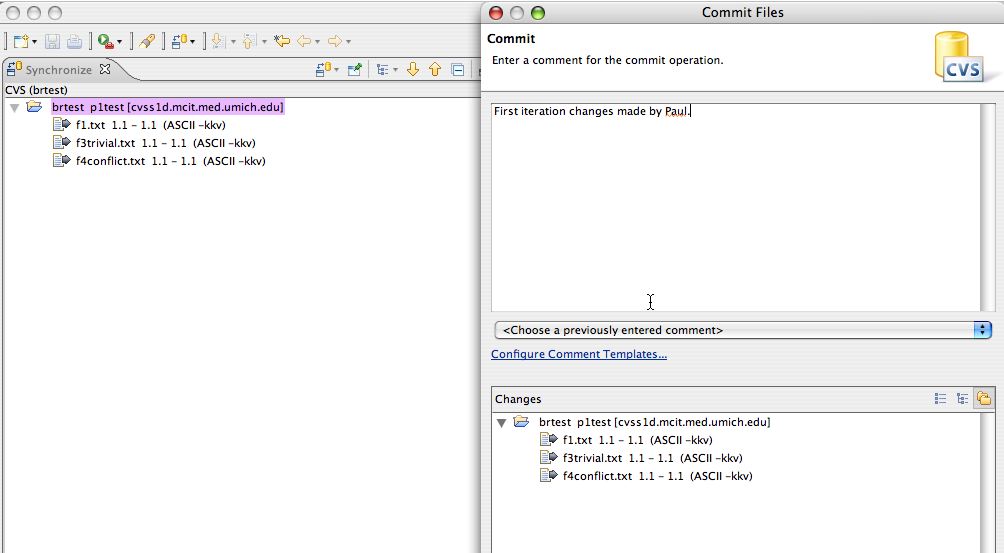
- Type a comment like "First iteration changes made by Paul."
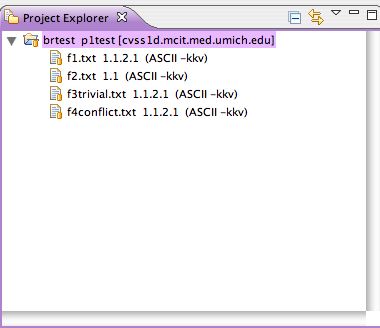
The version number will be a four-digit number like 1.1.2.1: the 2 represents the branch number.
- The Synchronize perspective will now be empty, indicating that nothing remains out-of-synch. The repository's image of the branch is now identical to what is in your local workspace.

Click the Resource tab to return to the Project Explorer.

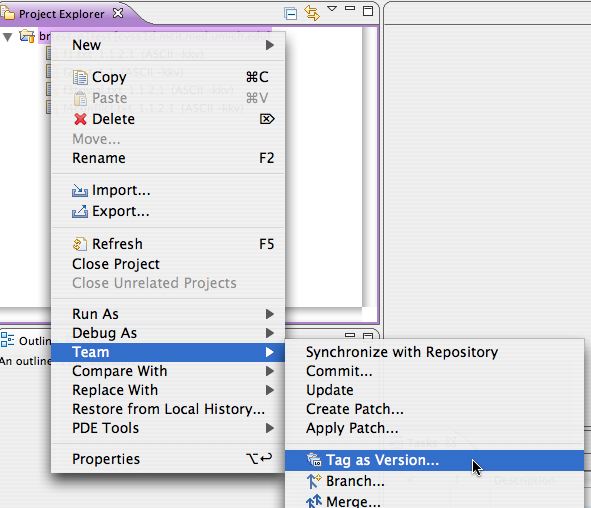
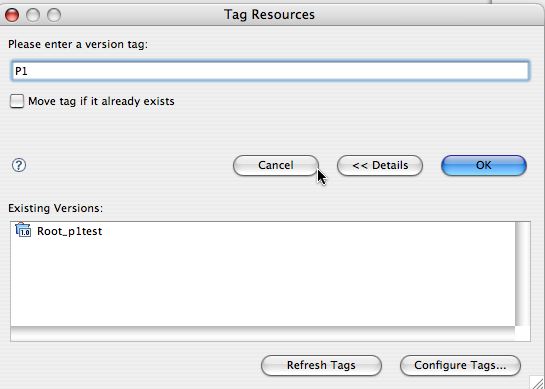
- Since this is Paul's first round of changes in this branch he will tag this milestone as P1. Right click the project folder and select Team>Tag as Version.
- Type P1 and click OK.
NOTE: This section of the Eclipse CVS tutorial is based on Paul Glezen's article on the Eclipse website: Branching with Eclipse and CVS, and is used with his permission under the terms of the EPL license. The changes I am making to his version are mainly to expand it with more step by step images and explanations, and integrate it with my own beginner tutorials in an attempt to make it more accessible to beginners and designers. Experienced developers will probably prefer to work from Paul's version.
Continue reading below break...
Ads by Google
Posted by ellen at September 26, 2009 06:15 PM
We are now at this point in the workflow diagram:

Continue to next section "Editing in the Trunk" =>
Ads by Google
