<= Back to previous section "Branching Strategies"
NOTE: This section of the Eclipse CVS tutorial is based on Paul Glezen's article on the Eclipse website: Branching with Eclipse and CVS, and is used with his permission under the terms of the EPL license. The changes I am making to his version are mainly to expand it with more step by step images and explanations, and integrate it with my own beginner tutorials in an attempt to make it more accessible to beginners and designers. Experienced developers will probably prefer to work from Paul's version.
Continue reading below break...
Ads by Google
Posted by ellen at September 26, 2009 06:13 PM
Download this zip archive: brtest.zip
The files contained in this archive refer to the two developers in this tutorial's "team," Paul and Wing. Decide who will be Paul and who will be Wing. If you are the only person who will be participating, you can play both. Additional people can be additional "Wings."
Some definitions
- The Workbench is the the complete set of windows and tools provided by Eclipse.
- A Workspace is a folder containing your projects and resources. Each workspace can have settings associated with it which control the workbench layout and behavior. You can have multiple workspaces - for example if you want to synchronize multiple servers to CVS all from your desktop, you can synch them using a workspace located on each server.
- A Project is a set of resources, folders and files. The Project Explorer view provides a tree-structure display of all the resources in the Workspace.
In this tutorial, we'll create a new empty workspace, add a new project to it, and share the project to CVS so that others can collaborate on it.
At this point the project will be tagged as a milestone and branched, so that two developers can work on different tasks. The discreet lines of code will then be merged together and any conflicts resolved. After tagging again, and further work, a second merge will be performed.
Create a new workspace in a new, empty folder.
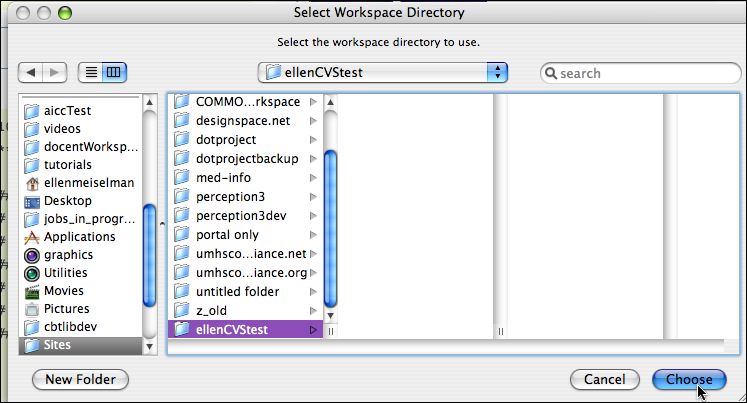
- Launch Eclipse. It asks you to select a workspace. Click Browse...
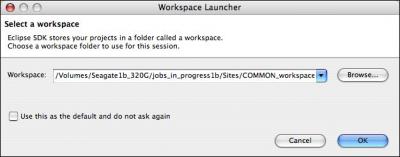
- Choose a location and create a new folder.

- Select the folder you created and click "Choose".
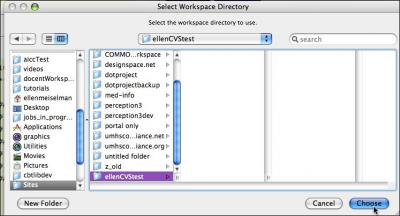
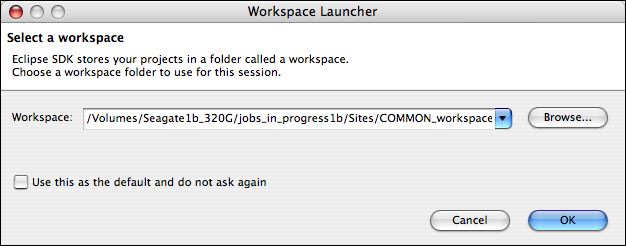
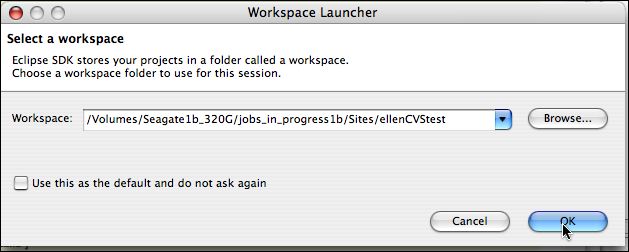
- The browse dialog closes. Click the OK button.

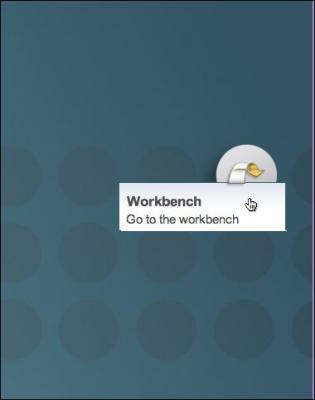
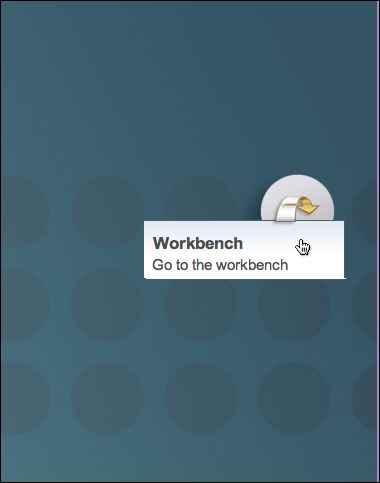
- You should see the Welcome screen. Click Open Workbench.
This would be a good time to set up your perspectives. If you aren't sure how to do this, Click here, then return back to this tutorial when you are done. Then select the Resource Perspective.

Create a project in the new workspace
- Create a new project by right-clicking inside the Project Explorer View (Left pane)
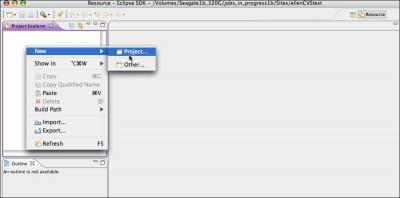
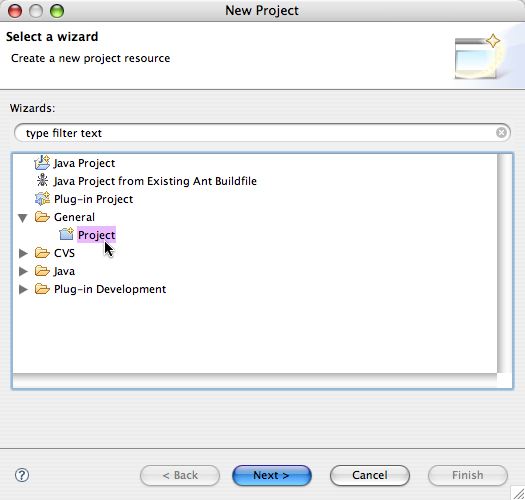
- Choose General > Project.
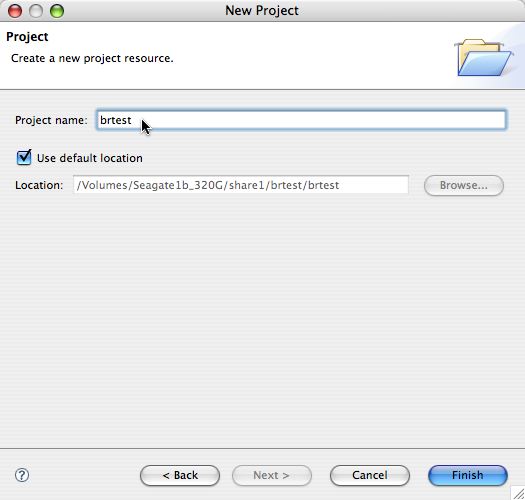
- Call it brtest and click Finish. A folder called brtest will appear in the Project Explorer view.
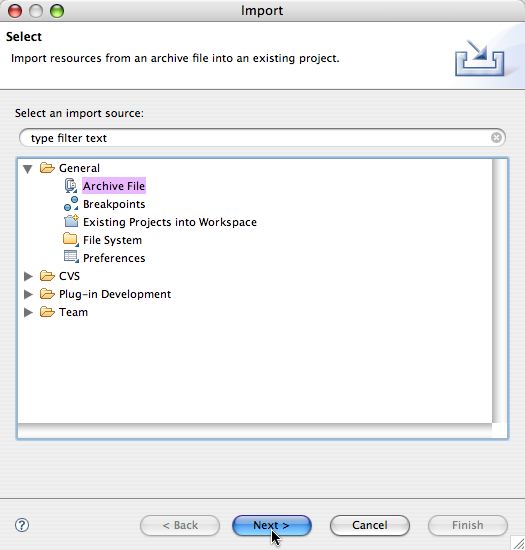
- Right-click on the new brtest folder, and select Import. Select General > Archive File. Click Next.
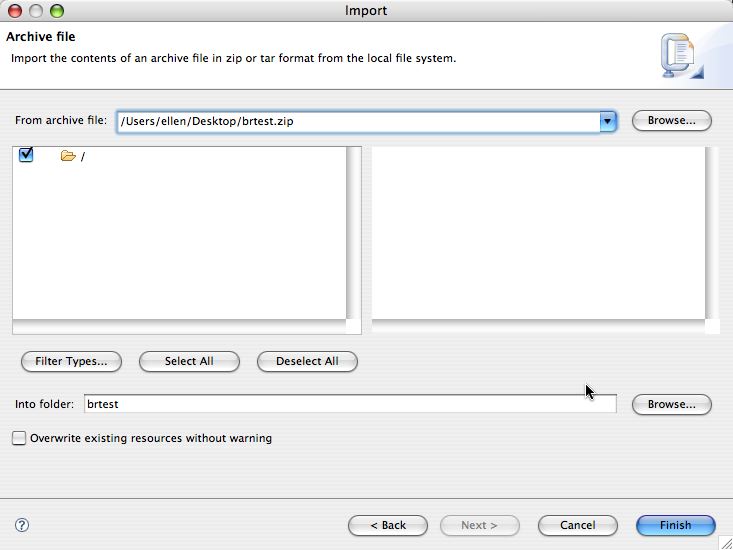
- Click Browse... then navigate to brtest.zip. The "Into folder" setting should already be set to your project folder. Click Finish.
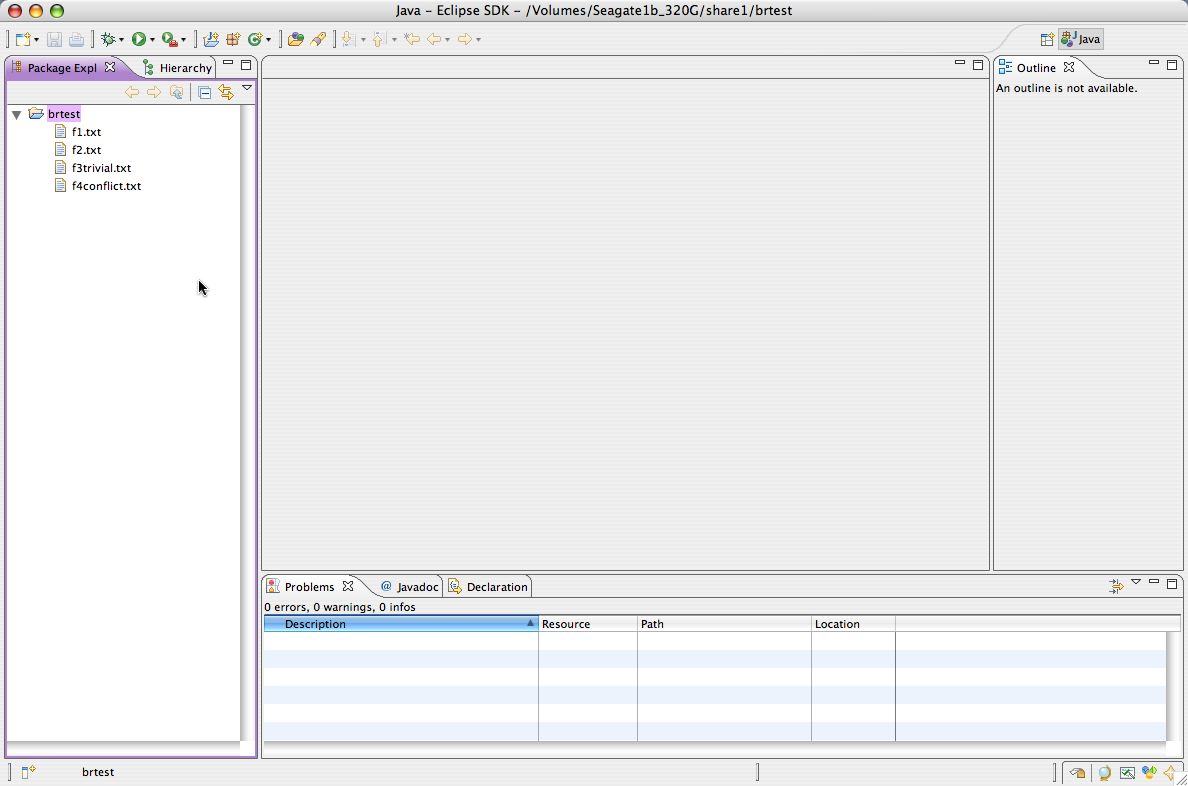
- You will be returned to the main window. If you open the project folder, you should now see four text files there.

Ads by Google
