- Right-click the brtest project folder and select Team > Branch.
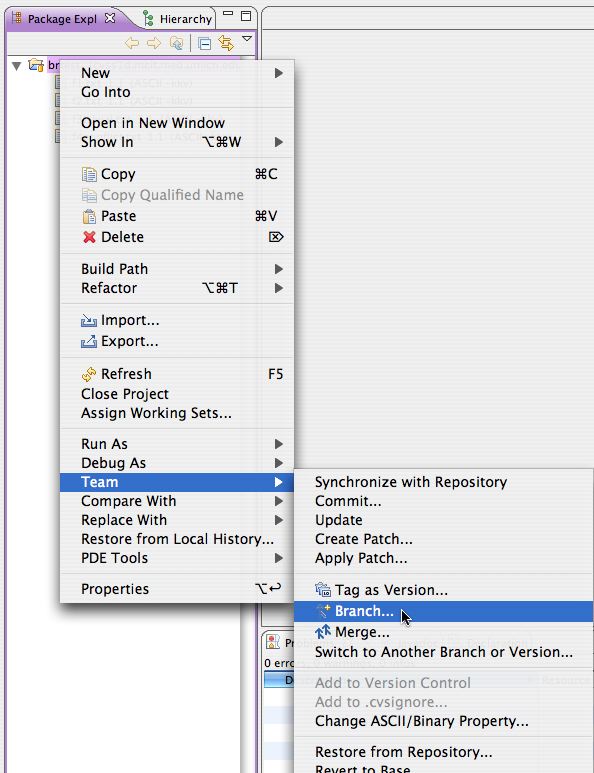
- Call the new branch p1test. Make sure Start working in the branch is checked and click OK.
Eclipse will fill in a starting tag (Version Name) based on the branch name you choose: Root_p1test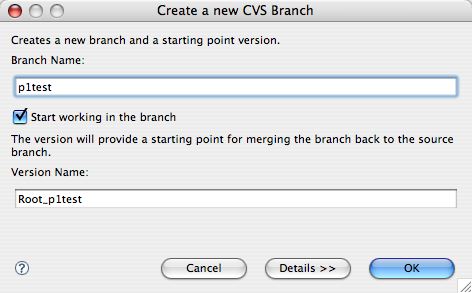
We are now at this point in the workflow diagram.
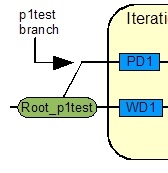
The starting tag Root_p1test is a point of reference that will be used by Eclipse during the merging process to determine what has changed since the last time the code branches were identical.
When the branch is first created, the branch and trunk are identical. As work proceeds in both paths, differences arise between the two lines of code. At various points in development the branch and trunk are resynched together. Logical points for merges down to the main branch can be when new features in the branch reach a stable enough point for testing, or if the branch is still unstable, but a lot of work has occurred down in the trunk, the latest version of the trunk should be periodically merged up to the branch so that the branch does not fall too far out of synch with the main trunk.
If you wait too long to merge while parallel development occurs, it is possible to have problems with enormous code conflicts which need to be resolved. Merging is more of an art than a science, and it can take a fair bit of thought and debugging to make things work right during a big merge. See Branching and Merging Anti-Patterns for information on "Big Bang Merges."
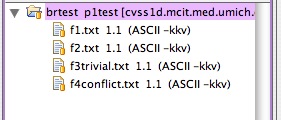
- If you forgot to click Start working in the branch, right-click the project folder again, and select Switch to another branch or version, then select the p1test branch and click Finish. You can tell what branch you are working in, if any, by looking at the name of the project folder. The branch name will be listed to the right of the project folder name.
Now that you have created a project, the other people on your team should check it out from CVS. If they aren't sure how to check out a project from CVS, have them view this tutorial then return here.
Scenario walkthrough
We'll be following the workflow shown in the diagram below. This article will employ a scenario of two programmers, Paul and Wing, working on separate branches of the same project.

Continue reading below break...
Ads by Google
Posted by ellen at September 26, 2009 06:14 PM
The main branch of development, or trunk, is labeled WD in the diagrams, because Wing will be developing in that branch. Paul first branches off main and modifies some files. His new branch is called p1test. He starts working in that branch.

When Paul reaches a development milestone, he commits his code changes to CVS and tags them as P1.

Then he switches to the main branch and merges the code from the p1test branch down into the main branch, fixing any conflicts that have arisen.
Note: Merges are performed INTO the branch you are currently working in, not FROM the branch you are working in.
Paul's tagged milestones give CVS a point of reference to determine what has changed since the milestone. Tags can also be used to denote stable versions or recovery points.
Now development continues. Paul opens the p1test branch again and continues working. When he reaches another milestone, he commits his changed files and tags them as P2.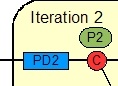
At this point, Wing, working in the main branch, merges Paul's changes back down to the main branch, and resolves the conflicts. This scenario can be repeated as changes are made until work in the branch is completed and the final merge is done.

Ads by Google
