Note: this tutorial has been superceded by a new version: click here to view the new version.
Contents
Part 1:Introduction: Template Features
1. Make an outline
2. Customize the Header
Part 2:
3. Customize the Window Title
4. Customize the Navigation
5. Add Your Content
6. Editing: Styles
7. Editing: Tables
Part 1:
3. Customize the Window Title
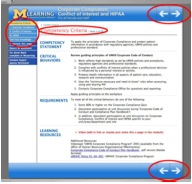
The Window title is the title shown at the top of the browser window. It is controlled by the frameset page ("index.htm"): To change the title at the top of all your page windows, open the file "index.htm." index.htm is a frameset, so in Dreamweaver we will need to do a little fancy selecting to edit it. Dreamweaver will open the frameset to the first page page01.htm. If you select code view from here, you will be editing the code of page01.htm, NOT of index.htm. We need to get to the code of index.htm itself. Here's how:
Ads by Google
Posted by ellen at February 04, 2006 03:49 PM
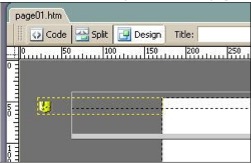
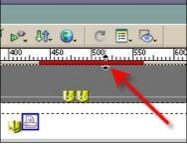
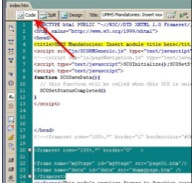
A. Dreamweaver will open to the first page:B. We need to select the frame border to make it display the frameset, but it is invisible by default. Turn it on by selecting Frame Borders from the Visual Aids dropdown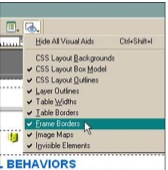 C. Now that the frame borders are visible, you can select them as shown (Click on the area highlighted in red).E. With the border selected, click Code View. The title you need to edit is at Line 4 (shown highlighted in yellow).
4. Customize the Navigation
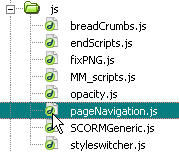
One file pageNavigation.js controls the contents of the nav bar on the left, page numbers, page titles and all the navigation buttons.
Open the "js" folder.
Open the file pageNavigation.js
Don't be intimidated by all the code on this page. You will simply be adding titles to the list of pages.
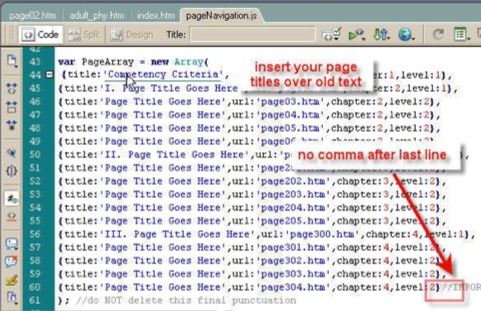
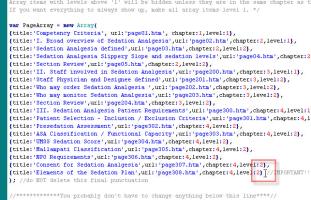
Look for the line "var PageArray" as shown here (approx. line 44) Carefully replace the "Page Title Goes Here" with the page titles from your outline. Don't worry about the chapter and level numbers at this time. It is very important that you DO NOT DELETE ANY PUNCTUATION, so be careful when you are pasting in titles. If you do, and cannot find what you deleted, use the backup file you just created, and try again. Every line gets a comma after it, except for the last one.
5. Add Your Content
Since page01.htm is a special page (Content Criteria), we'll leave it for later.Let's begin adding text to the first content page.
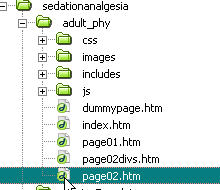
Open page02.htm:
Open page02.htm:
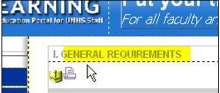
If your module contains chapters, change the chapter title. If not, delete it.
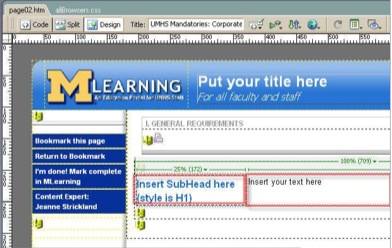
The white content area is set up as a single table with two columns. Subheadings go in the left column, and the text goes in the right. Paste your content into the 2 areas provided (shown outlined in red).
6. Editing: Styles
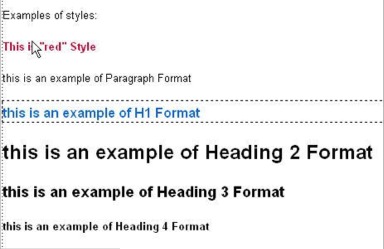
You may style text by using the options in the Properties Palette.

Use the Format menu or the Style menu, or simply use the Font, Size, and color dropdowns. Some of the styles that are preset for you are shown here:
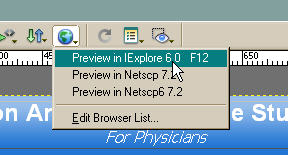
Preview the page by selecting Preview in... or use the F12 key.
8. Editing: Tables
The initial content table in the Table example page is set up with one row and two columns. You may change the width of the columns, add additional rows or columns or remove a column. Each row will automatically have a light gray bottom border. This is set in the style sheet but may be locally overruled where necessary.Resize columns by selecting column border until cursor changes to double arrow.
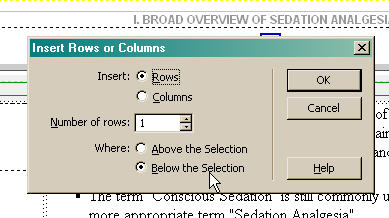
Insert additional rows to the table by clicking inside the table, then select Modify:Table:Insert Rows or Columns.

Ads by Google
