Beginning Eclipse CVS – Basics 1: Getting Started
Eclipse is an open-source software development platform or IDE that has CVS (version control) functions built-in. Although Eclipse was originally built for Java development, it is very useful for working in other languages as well because of it’s open plugin-based architecture. It is often used as the foundation for new applications because it is so easily extended. This series will focus on the basics of using Eclipse for for version control, for web designers or beginning developers.

Why use Eclipse and CVS?
Eclipse is a great development environment for teams. It is extremely flexible and can be customized to work the way each person prefers, with strong team functionality. One of its many useful features is CVS version control. Version control applications like CVS not only help prevent overwriting other team members’ work, but it maintains an exact record of every change ever made, and who made each one, allowing comparisons between versions and rollbacks when necessary.
Version control also allows team members to work on different code branches at the same time. Some team members can work on a particular feature or flavor of the project without affecting the others, until the change has been thoroughly tested and is ready to merge back into the main trunk of the code. You’ll note the tree metaphor here, and it is commonly used in describing code versioning situations.
Why is this tutorial needed?
When I first started out with Eclipse, I had very little experience with IDE’s of any kind, and found it quite difficult to understand what was going on because the interface is so flexible and seemed to change at every click. Most tutorials on CVS assume some development experience. This tutorial is for beginning web developers who might be experiencing the same confusion and want to use Eclipse mainly for version control and team coordination.
CVS works by storing information about your files in a repository on a server, along with the files themselves. When you make changes to the file, all those changes are tracked, along with any comments you make about each change, and the file version number is updated. This tutorial assumes you have a repository set up somewhere, but if you don’t, try CVSdude.com for CVS hosting.
Install and setup Eclipse
-
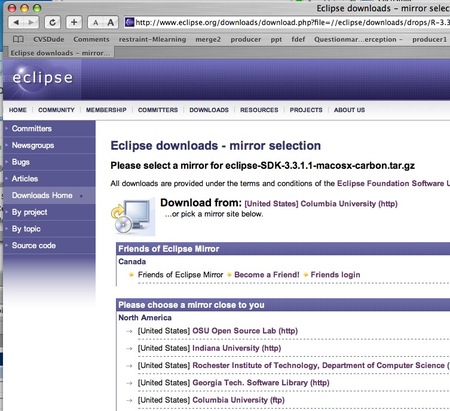
First, check your Eclipse version. Download the latest version of Eclipse from Eclipse downloads page.
Versions before v.3.1 have a problem with checking out items that are not at the root of the CVS repository.
(Note: If you get the error: “internal error, resource does not start with root” you know you do not have the latest version, and need to upgrade to the latest version of Eclipse.)
-
Choose a workspace
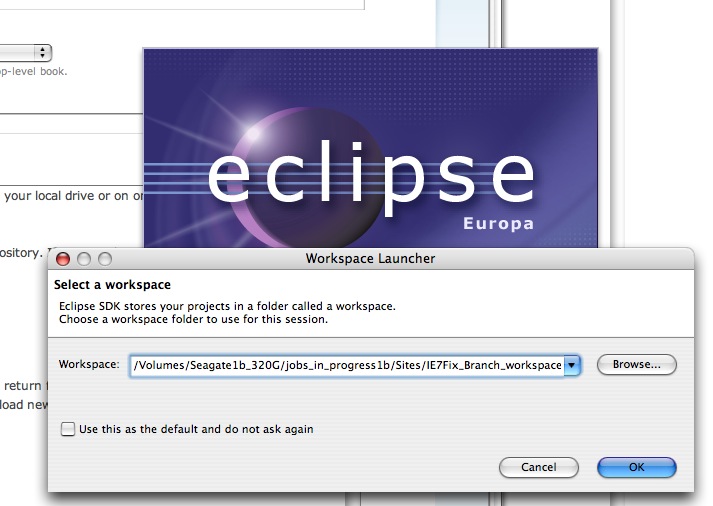
Create a new empty folder on your local drive or on the server you are using f. Give it your project name, or call it workspace, or something similar. Then launch Eclipse, and it will open the Select a workspace dialog. Select the new folder you just created and click OK.
-
Go to the workbench view
If you see this cryptic starting screen, click the curved arrow icon on the far right of the green area to go to the workbench view.
If you had a default workspace selected, Eclipse will not ask you to choose one – it will simply open the workbench view. If that default workspace is open and you want to change to a new workspace for your new branch or project, you will want to switch to a new workspace. (instructions to come soon)


