<= Back to previous section "Getting Started"
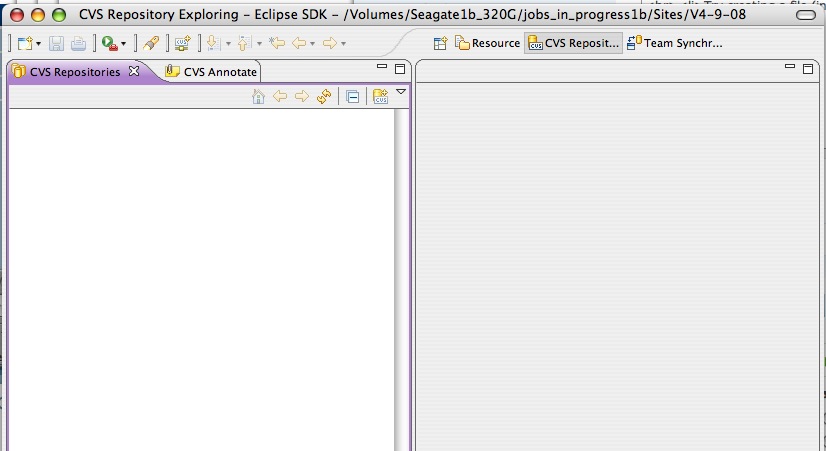
- Open up the CVS perspective in Eclipse by selecting Window > Open perspective > Other > CVS Repository Explorer from the main menu.
The CVS perspective is open on the left in the image below.
- Create a new Repository Location:
Right click on the left window. Select New : Repository Location from the menu that appears.

- Fill out the form with the correct login information

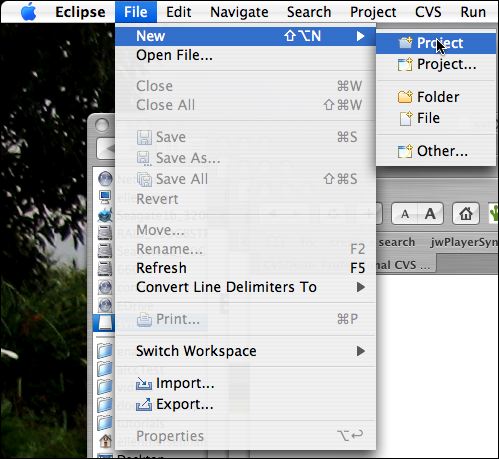
- Create a new project: File : New : Project
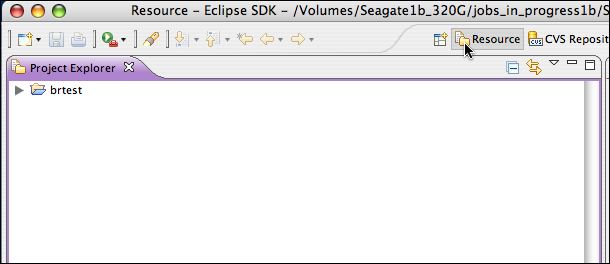
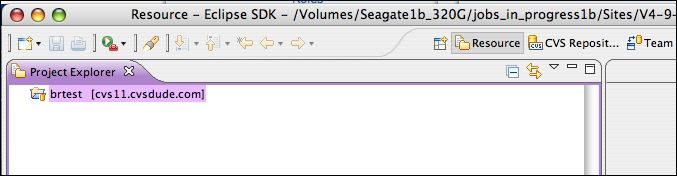
- Click Resource to open your Resource perspective. You should see the project you just created. If you were to look at your workspace using Windows Explorer (PC) or Finder (Mac), you would see a new folder inside it with your project name.
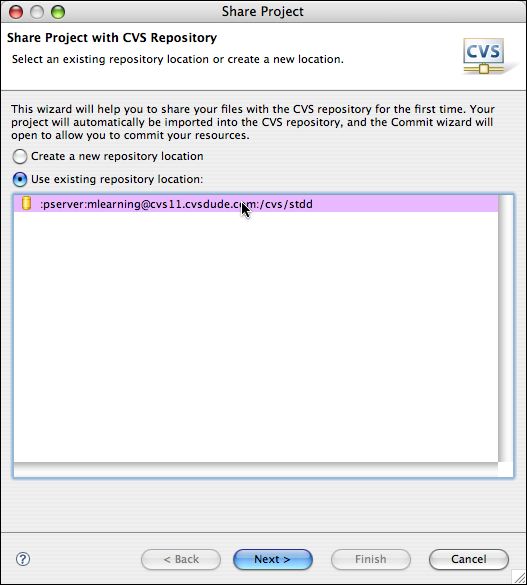
- Now add the project folder structure you just created to the CVS repository. Right click on the new folder and select Team : Share Project

- Select the CVS repository location you just set up.
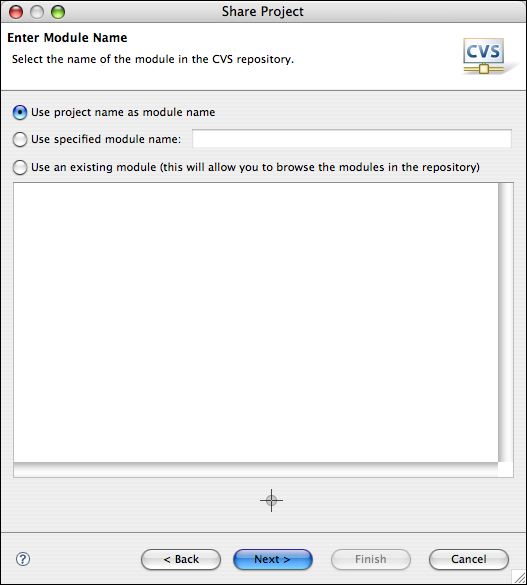
- Follow the steps presented and it will commit your new project to the repository. Choose a module name (often the project name will do).
- Review and commit the resources (in this case, just a folder and a project file) to the repository.
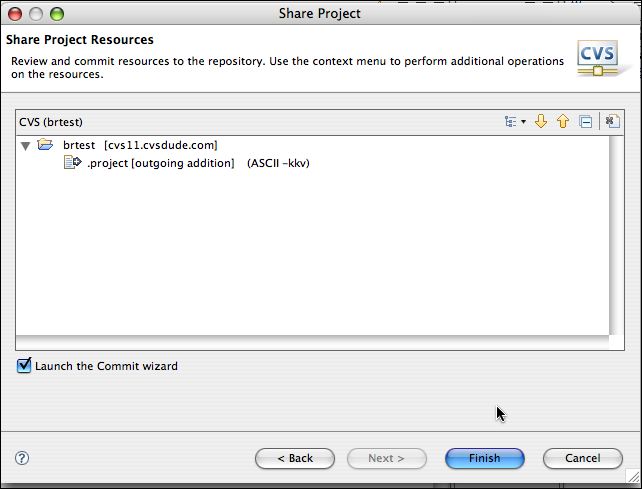
- Click Finish, and you will be returned to the Project Explorer view (Resources Perspective ).
Next we'll add some files to the project. Continue to next section "Import files into the project" =>
Ads by Google
Eclipse Terminology-"Perspective":
The word "Perspective" is used to denote a window panel in Eclipse with a specific purpose. There are Eclipse perspectives for different functions, like the Resources perspective for viewing workspace assets or resources, the Team Synchronization perspective for viewing CVS synchronization information, and the CVS perspective for viewing CVS Repositories, to name a few.
Continue reading below break...
Ads by Google
Posted by ellen at July 31, 2009 04:35 PM
