August 27, 2009
Panda cub diary 2009: Yun Zi
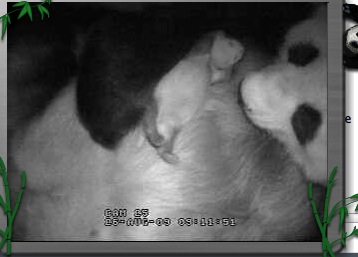
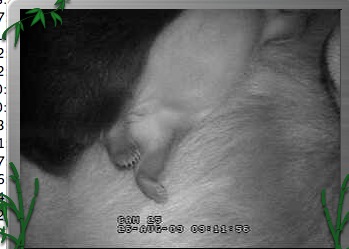
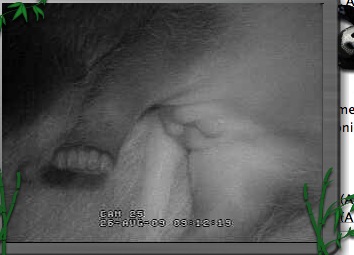
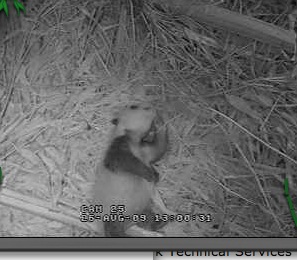
Bai Yun's fifth cub was born on August 5, 2009 in the San Diego Zoo. Of course, I've been diligently shooting over-the-top-cute screen captures from the webcam ever since. Here are some of the best, in order.
Aug. 6: Not much to see - he's hidden!
Aug. 6: Peeking out

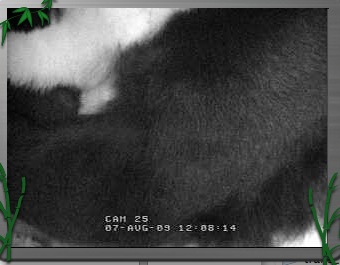
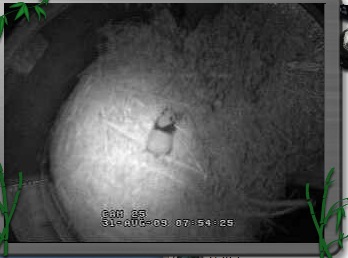
Aug. 10: Just the tail

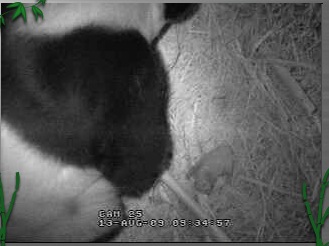
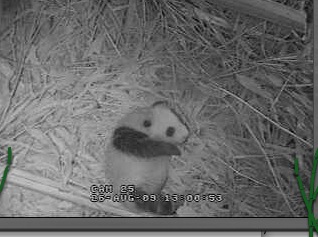
Aug. 13: So small
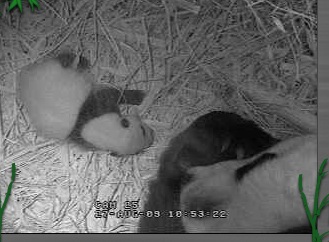
Aug. 14: Left alone for a rare moment

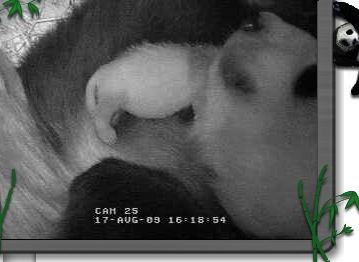
Aug. 17
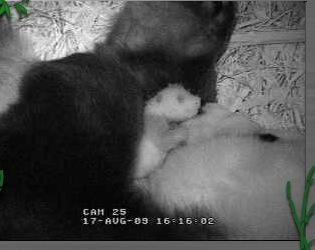
Aug. 17
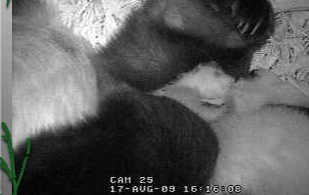
Aug. 17

Aug. 17
Aug. 18: Finally, a good clear shot!
Aug. 25
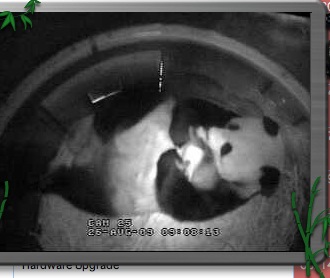
Aug. 25
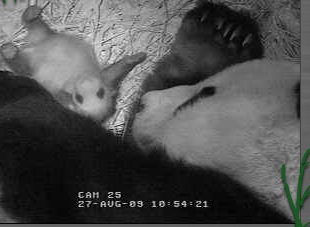
Aug. 26

Aug. 26

Aug. 26
Aug. 26: Little claws
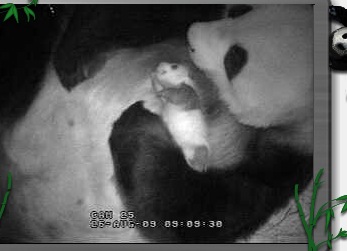
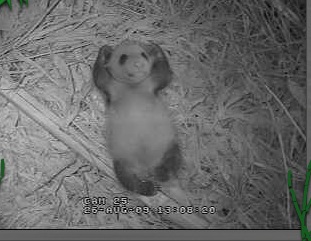
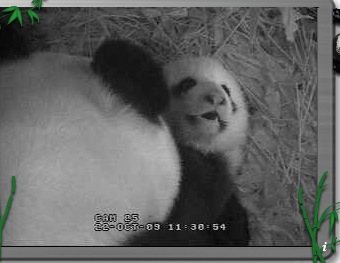
Aug. 26: It's a boy!
Aug. 26

Aug. 26
Aug. 26: trying to roll over
Aug. 26: Wailing

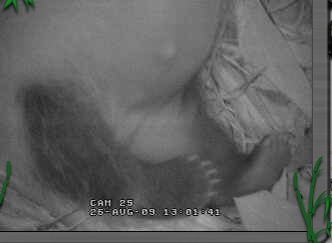
Aug. 26: Panda belly button!
Aug. 26: Yowling

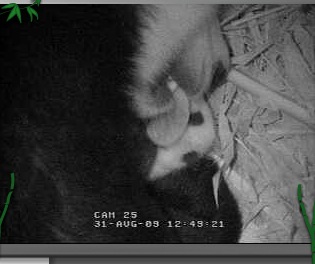
Aug. 26: left alone
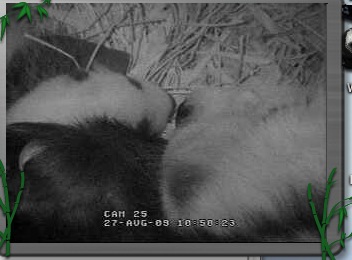
Aug. 26: Wiggle!

Aug. 27
Aug. 27: Oops! Fell over
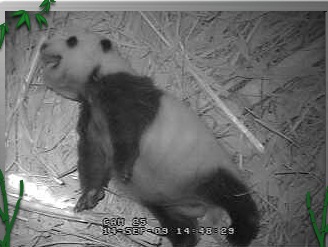
Aug. 27
Aug. 27

Aug. 27
Aug. 28: Hey!
Aug. 31

Aug. 31
Aug. 31: LICK!
Sept. 8: Video!
Sept. 10
Sept. 10

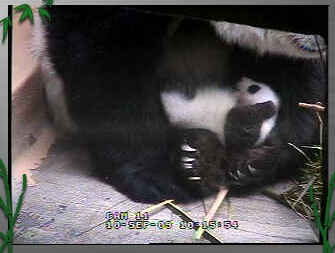
Sept. 14
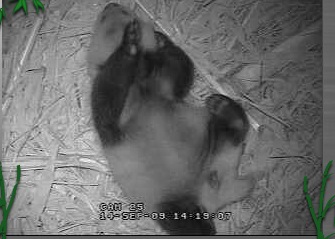
Sept. 14
Sept. 17


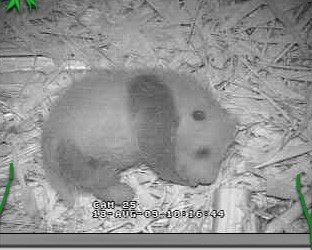
Sept. 25

Sept. 25
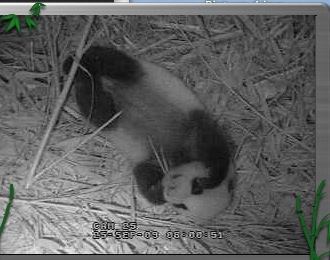
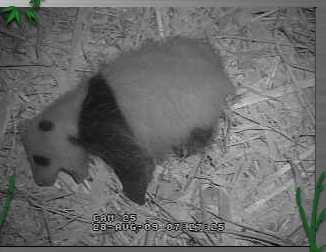
October 1
 October 14

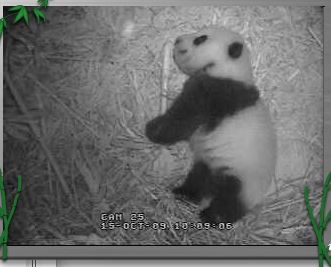
October 15
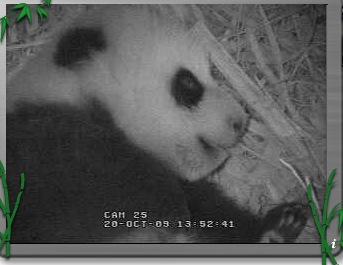
October 20
October 22
October 22
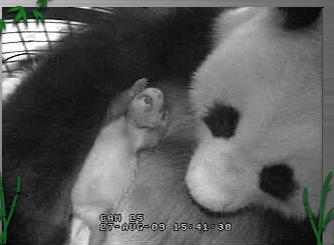
From his ninth exam: Eyes wide open

November 4

November 5

November 11: Video!
November 19: Video!
November 19

December 14: a video drama
He got mom to put him up on a little platform, then she walked outside and left him up there. I was sure something funny would happen so I started a screen capture. Sure enough - he dove off and did a somersault. Here it all is:August 17, 2009
fatal error: class 'OAuthCommonHooks' not found
On installing the OAuth module in a Drupal site, this error appeared:
fatal error: class 'OAuthCommonHooks' not found in [path]
Fatal error: Class 'OAuthCommonHooks' not found in /drupal-6.13/sites/all/modules/oauth_common/oauth_common.module on line 58
Apparently you can fix it one of two ways: if the site is still working enough to get to the performance page (?q=admin/settings/performance), just hit the Clear cached data button at the bottom of the page.
If the site is down, open phpMyAdmin and find the cache table. Click Browse and delete the row with "autoload" in the cid column.

Thanks to xolotl for this tip.
Drupal: increase upload file size limit
By default, Drupal enforces file-size limits on uploads. Although there is a place in Drupal's File Upload settings to alter the maximum file sizes (/admin/settings/uploads), chances are your PHP settings limit file size to 2MB or so.
Fortunately, it's easy to change. Simply upload a file called php.ini containing these entries to the directory containing drupal :
memory_limit = 50M

upload_max_filesize = 10M

post_max_size = 20M
This will raise the available limit, and you can then change the settings for each Drupal role on the settings page within Drupal:
http://yourdrupalserver.com/admin/settings/uploads
August 13, 2009
Final Cut Pro quits on startup
If the scratch disk used by Final Cut Pro cuts out in the middle of an export, Final Cut Pro becomes unstable: the next time you try to launch it, it will crash on startup.
Fortunately, it's pretty easy to fix. Delete the following preference files:
~/Library/Preferences/com.apple.FinalCutPro.plist
~/Library/Preferences/Final Cut Pro User Data/Final Cut Pro 6 Preferences
~/Library/Preferences/Final Cut Pro User Data/Final Cut Pro Obj Cache
~/Library/Preferences/Final Cut Pro User Data/Final Cut Pro POA Cache
Thanks to Andy Mees for this tip.
Andy also notes that you can use the Preference Manager app from Digital Rebellion to manage these preference files.
Preference Manager
August 10, 2009
IE8: Font size problems
Now that Internet Explorer 8 is out, I'm getting some reports of font-size issues: text that looks fine in all other browsers becomes very tiny. When I check the same pages in my own IE8 with settings right out of the box, the fonts look fine, so I doubt it is a CSS problem. Here are my suggestions for troubleshooting these problems. You'll need to check all the new settings that can cause font-size issues.
- Go to View : Zoom and check that the zoom is set to 100%.
- Then go to View : Text Size and check that it is set to Medium. Actually if you are on a very high resolution monitor you may need to increase this a notch.
- If that did not help, go to Tools : Internet Options, click Accessibility and try clicking Ignore font sizes specified on web pages.
August 8, 2009
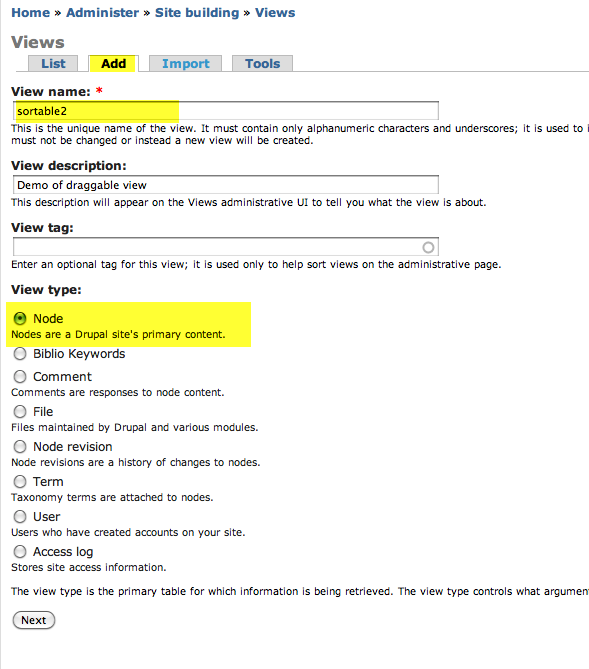
Drupal: set up a draggable card sort view - Part 1
Drag and drop your items into order

Drupal's Draggable Views module makes it possible to create tables with Ajax-style drag and drop rows. Each row has a "handle" that makes it possible to drag it up or down to change the order of the items in the table. Draggable views are perfect for making "To-do" lists, outlines, and any kind of list where you need to constantly reorder individual items. I recently used it to build a draggable "card sort" view for research cards. This enables a researcher to enter cards in no particular order, then organize them when it comes time to write up the research. It would work just as well for organizing a novel or script.
The problem with the Views module is that there is sort of an irreducible complexity to designing a view, and it can be quite difficult at first to figure out all the steps involved in getting the outcome you want. There are so many options and settings and a few minor usability issues which make it all quite confusing at first. This tutorial will give you an introduction to the concepts and walk you through building an idea organizer using draggable tables.
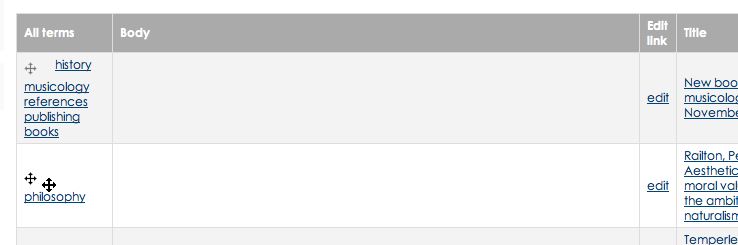
Here's a closeup of a Draggable table. Each row has a cross-shaped "handle" that enables you to drag the entire row up and down the table at will.
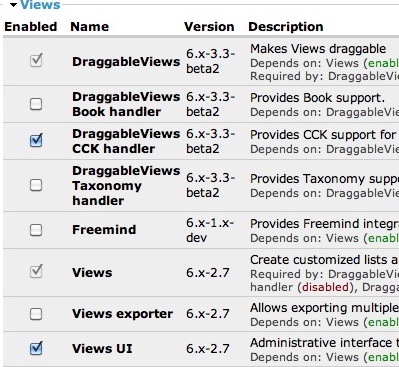
Install the modules required by Draggable Views
- First, spend a little time planning your view. What type of node do you want to sort? Are there any other content items in your Drupal setup that use that type of node also? If so, can you somehow distinguish between them using taxonomy terms so that you can filter the undesired nodes out of the table?
In my case, when building my research card sorter, I needed to create a custom "Research Card" type node with additional fields anyway so I didn't have to sort the nodes out by Taxonomy. However because I used the Content Construction Kit module (CCK), I had to make sure to enable the DraggableViews CCK handler. Make sure you have the right Views modules installed for what you will be using.
- "Views,"
- "Views UI,"
- "Draggable Views"
- and, if you are going to be using the view to display a CCK-dependent content type, you will need the "DraggableViews CCK Handler".
- Go to Home > Administer > Site Building > Views
- Click the Add tab to create a new view.
- Enter a one-word name and a description - I've called my example view "sortable2."
- Set view type to "node."
Click Next.
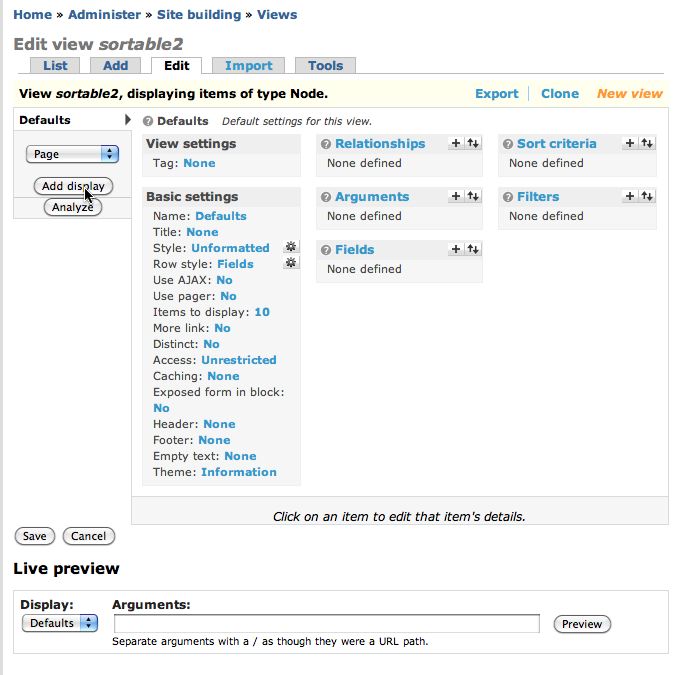
- Click the Edit tab.
- Click Defaults. You can format the same view in multiple ways: page format, block format, feed format, etc. All of these versions take their start from the Default settings, and then override them with the requirements that differ for that particular format.
- When you click the name of the format - in this case "Defaults" - at the upper left, you will see a list of its settings and below them, a "Live Preview" area which will show you how it will look with the current settings.
August 6, 2009
Adobe Captivate for Mac is in beta
Good news for those who are interested in creating interactive learning content on the Mac: Adobe Captivate for Mac is in beta testing.
You can volunteer to test the pre-release versions here:
Prerelease Interest Form
In the question 'why do you want to participate in the pre-release program?' mention your interest in the Mac version.
August 5, 2009
Eclipse CVS for beginners: How to switch workspaces
You can set up multiple workspaces in CVS. This is useful for maintaining DEV, TEST and PROD environments, syncing them all to the project in the CVS repository, or it can be used to maintain differerent projects. You can also have more than one project folder in a single workspace.
Continue reading below break...
- Select Switch Workspace : Other from the File menu.

- Select the folder you want to use as your workspace for this project.

Eclipse will close and reopen, showing the new Workspace's project folder(s) in the Project Explorer view.

Beginning Eclipse CVS - Basics 4: Check out an existing project from the CVS repository
<= Back to previous section "Import an existing set of files"
- Select Import from the File menu.
 Continue reading below break:
- In the Select dialog, choose CVS : Projects from CVS as shown.It will prompt you to choose a CVS repository. Choose the one you want to use, then click Next >.

- Choose Use an existing module. Select the project in the list that you want to check out.

- This will add the folder to your workspace, or, if you already have a folder in your workspace with the same name, it will overwrite that folder.

For example, in the local workspace shown below, the folder "common" will be overwritten with the folder "common" from CVS.

- To download only one subfolder into the root folder of the project on your workspace, select Checkout into existing. You'll probably want to leave Checkout subfolders checked.


Continue to next section "How to switch workspaces" =>
Beginning Eclipse CVS - Basics 3: Import an existing set of project files into CVS
<= Back to previous section "Create a Project from Scratch"
- Once you have created a workspace, you need to add files to it somehow. If you already have existing files that you want to use in your project, you'll need to import them. You can also check out an existing project from CVS or import files from a zip archive, among other possibilities.
Continue reading below break...
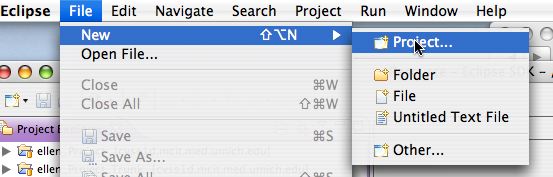
Create a new, empty project in your workspace to import the files into: in the Resources Perspective, select New Project from the File menu.
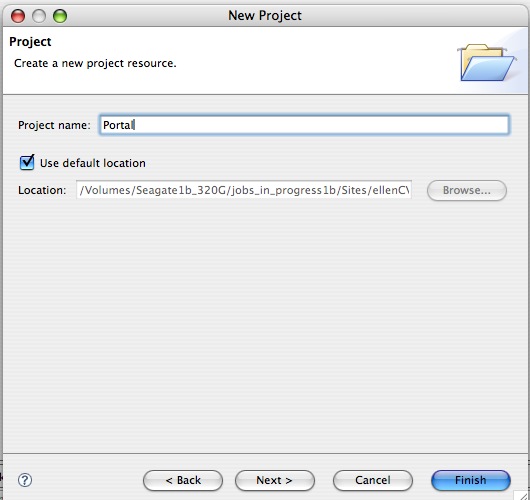
- Enter a project name and leave Use default location checked. It is usually set to the root of your workspace. It is possible to have projects outside the workspace, but it is simpler to have all your projects and files inside a workspace. You can have multiple workspaces, however.
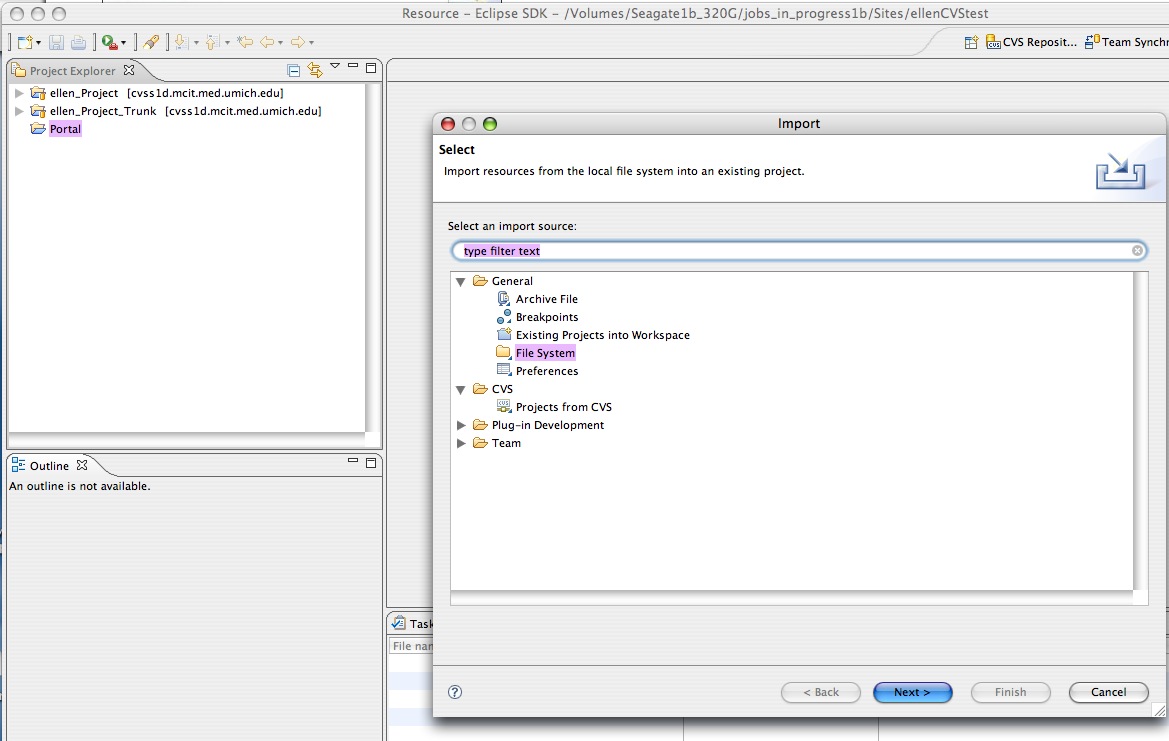
- Select Import from the File menu. The Import dialog will appear.
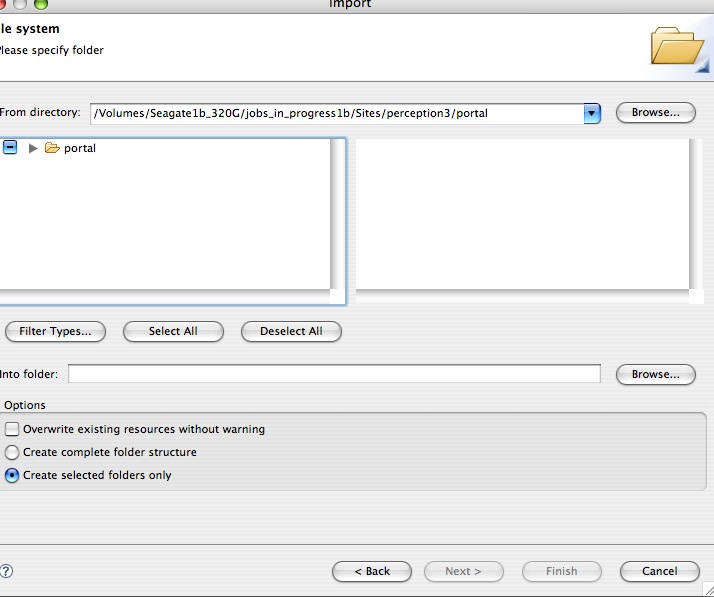
- Select General : File System.
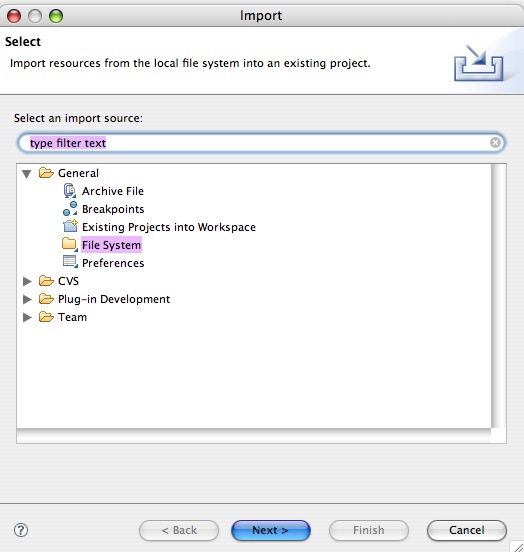
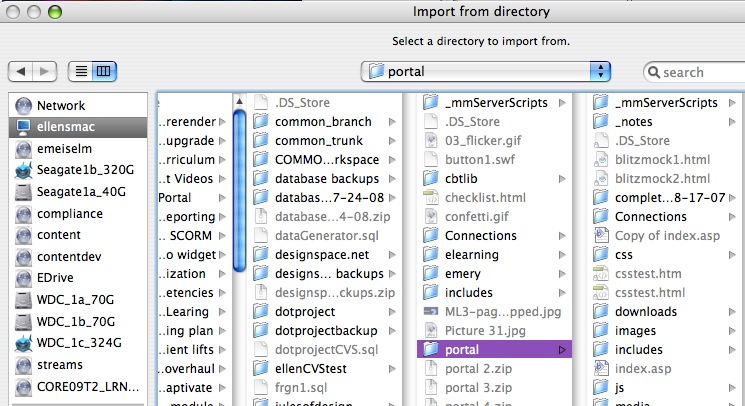
- Browse to the directory containing the files you want to import. Click Choose.
-
Once you select the directory, you'll notice this warning:
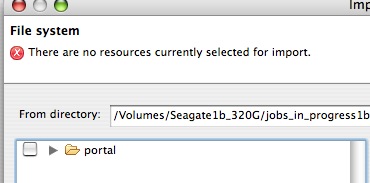
- The warning will disappear when you check the box next to the directory listed. Leave Create selected folders only selected. At this point it is set to import every file and folder within "portal." If you were to select Create complete folder structure, it would also create the parent folders of "portal."
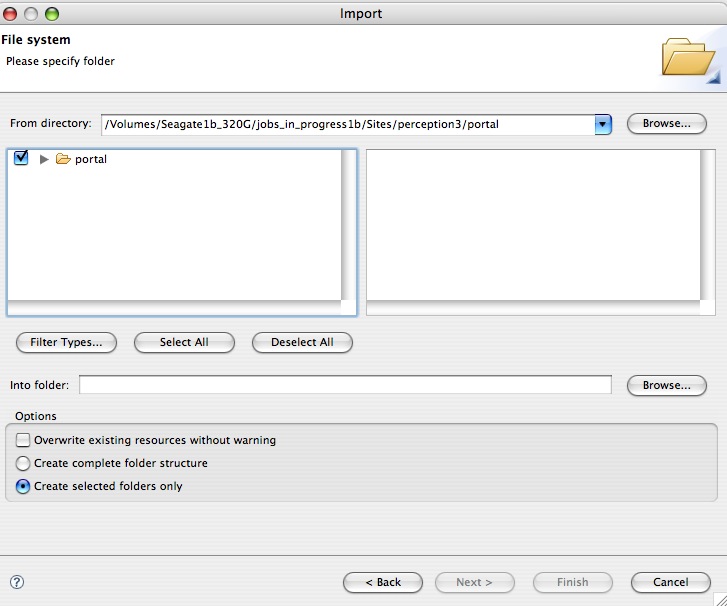
- It is possible to restrict the files that will be imported by type. You can choose from the types listed, or enter your own choices in the Other Extensions box. Use this format:
jpg,gif,png
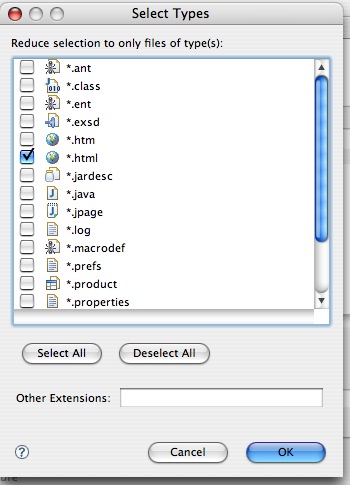
- If you filter the file types, the check next to the folder name turns to a minus-sign indicating a partial selection has been made.
- The project will appear in your workspace, in Project Explorer.
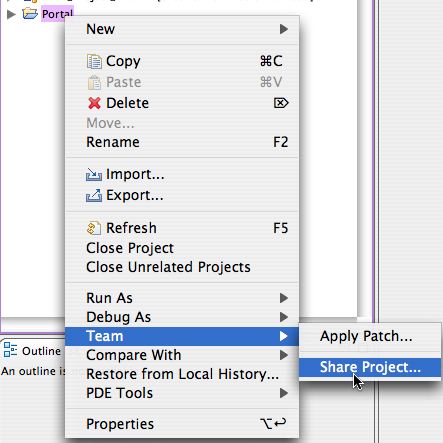
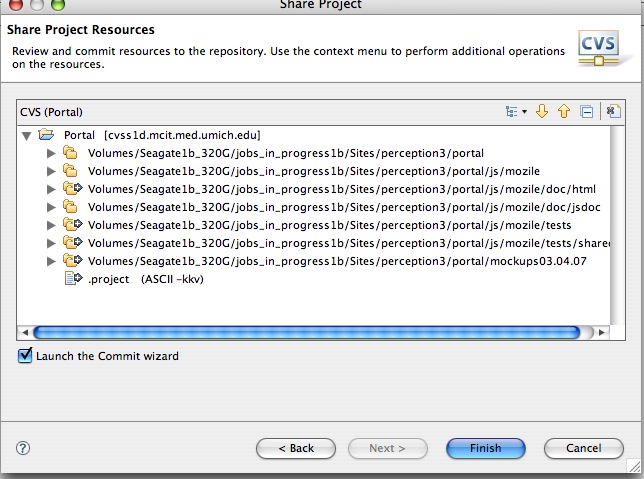
- To add the new project to the CVS repository, right click (Control-click on Mac) the project folder, and select Team : Share Project
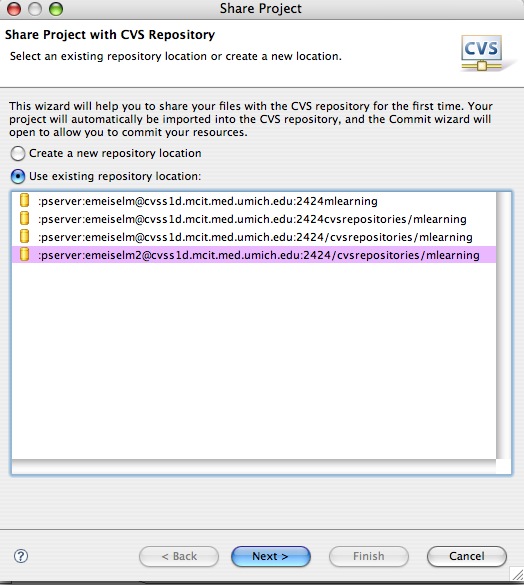
- Select the repository you want to use and click Next >
<
- It will display a list of all resources that have not yet been committed to the repository. Click Finish. It will ask you to enter a comment each time you commit files, so enter "Sharing Project to CVS" or something similar. Click Finish to complete the process.


Continue to next section "Check out a project from CVS" =>