February 27, 2011
Flame Painter: Exploring small setting changes with big effects
This series of examples will give you an idea of the way very small changes in Flame Painter's settings can produce very different effects.
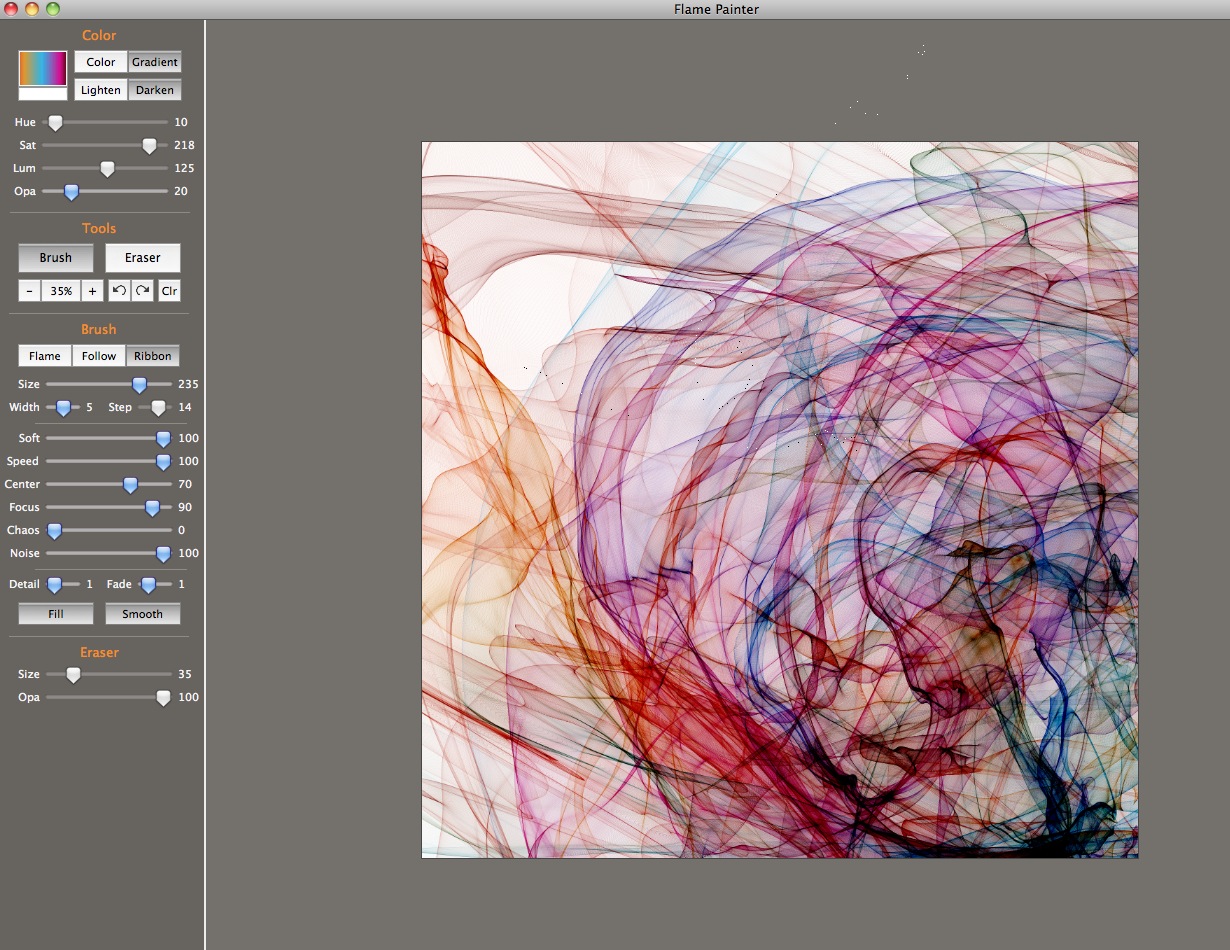
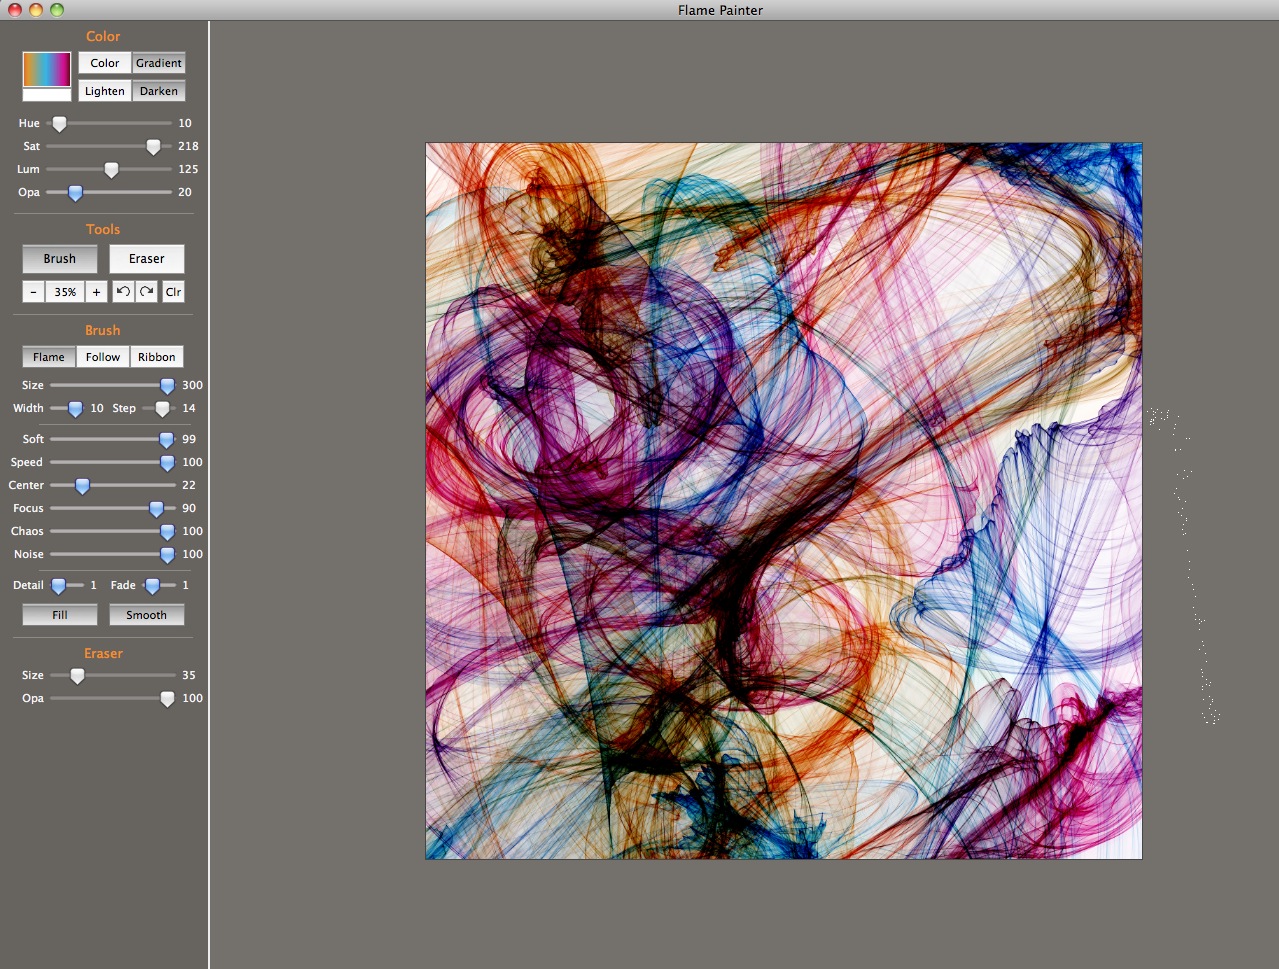
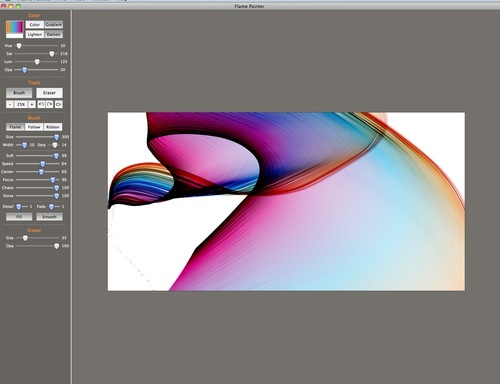
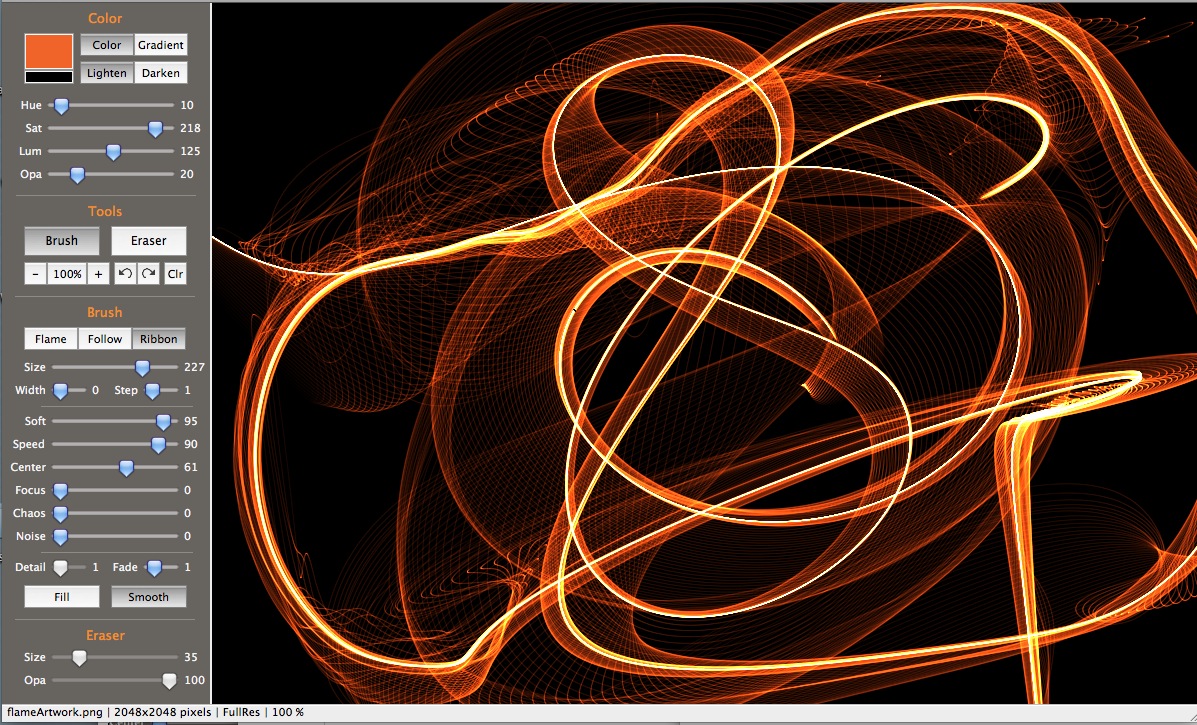
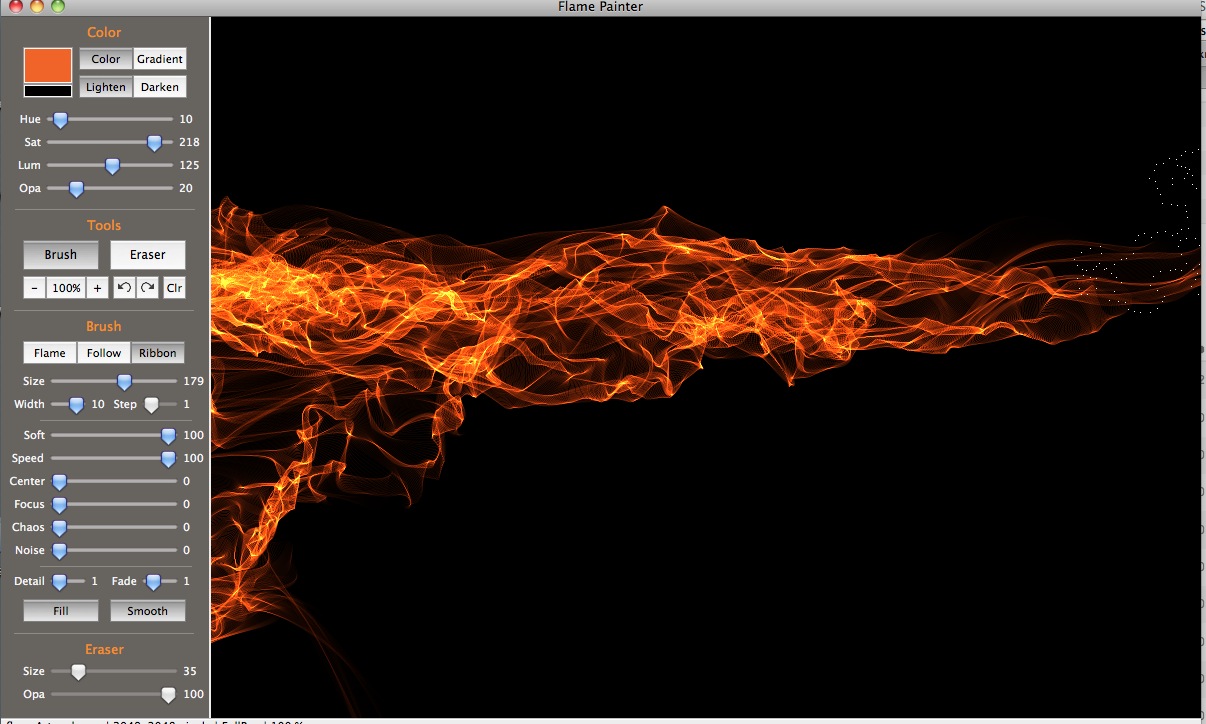
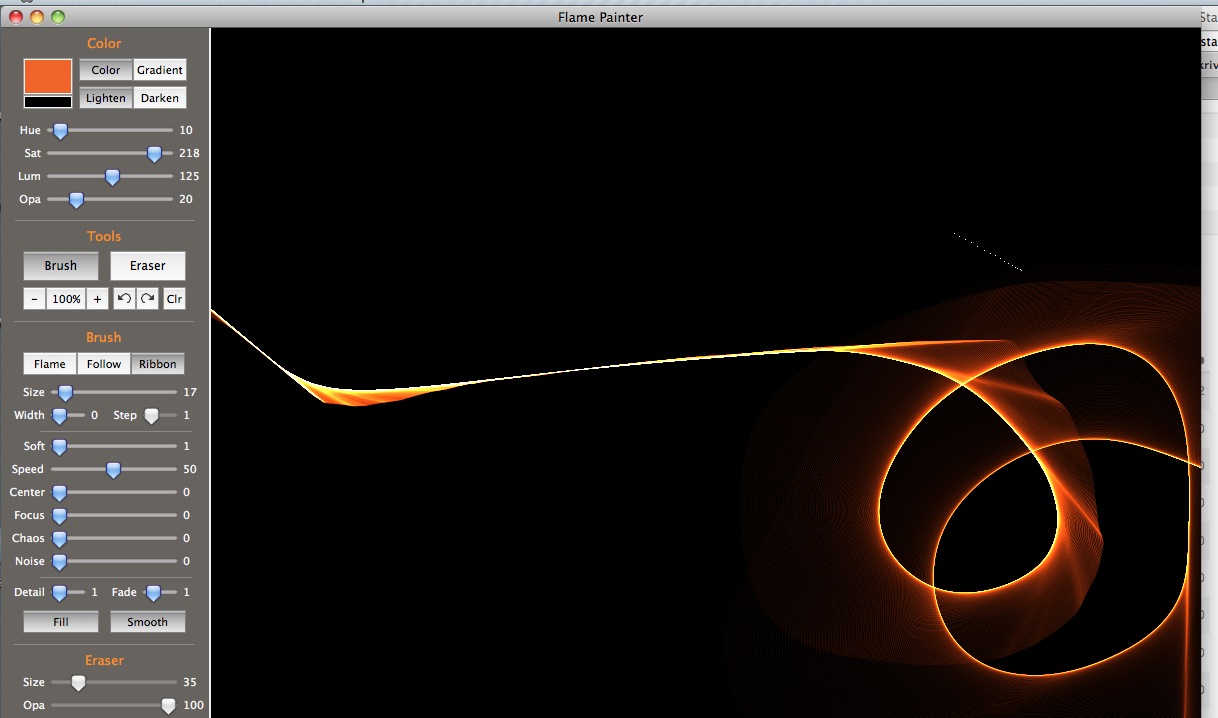
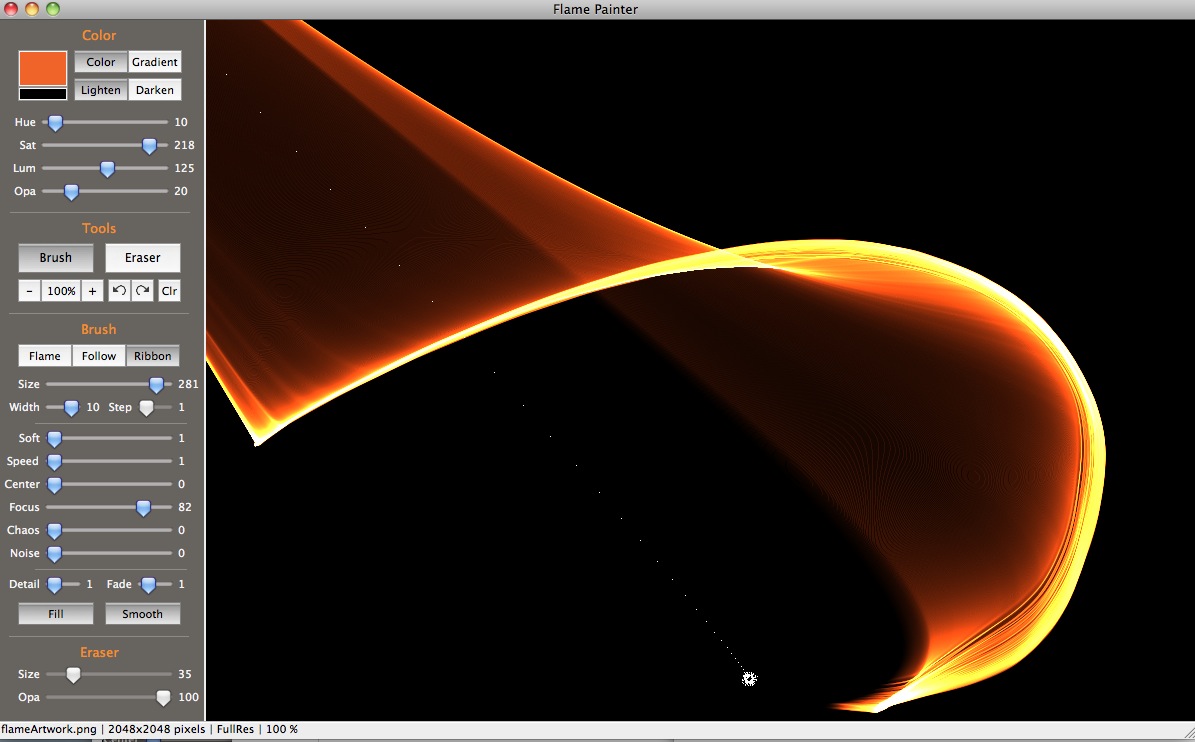
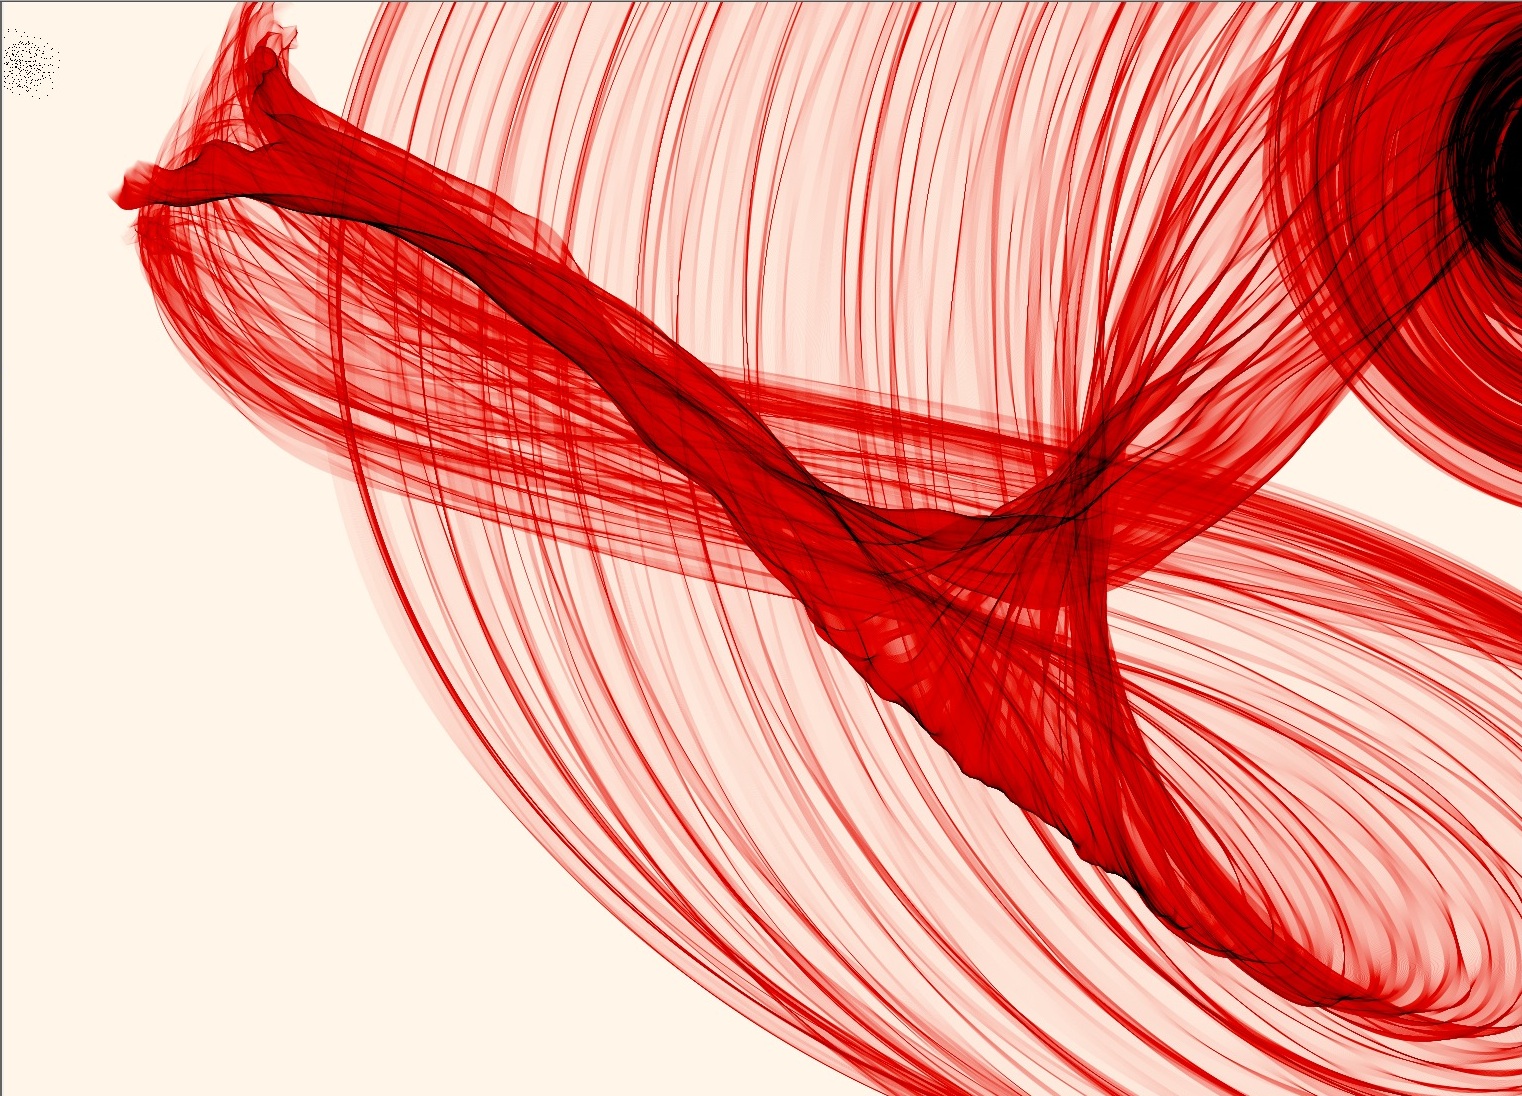
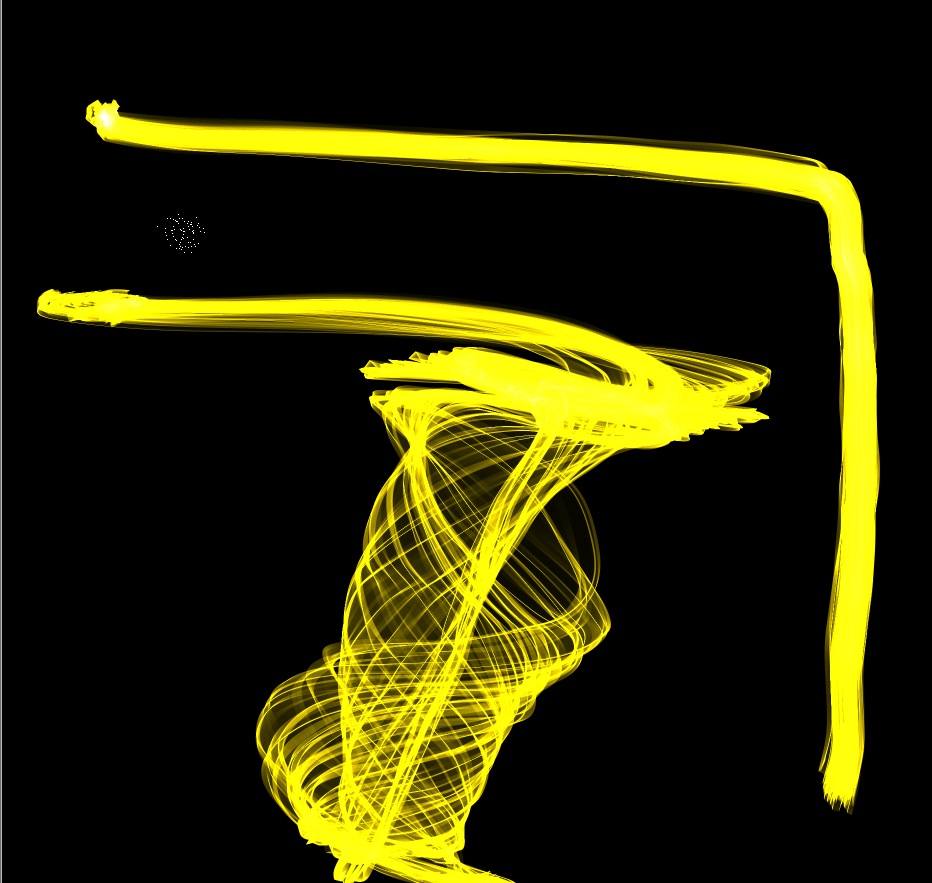
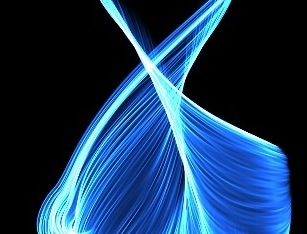
The starting point for the series was the color selection: a gradient of gold, aqua, red and violet, ending in dark blue. The last session's brush settings were still there, so I began at that point: a fairly long (Size=235) Ribbon brush with multiple nested orbits. The looping lasso-like edge of the brush has been circled: you can see the brush tail looping off to the left and then trailing off all the way up to the top of the image. The rather chaotic image is caused because of the whipping action of the brush: there are multiple rotations going on within it, creating unpredictable results.
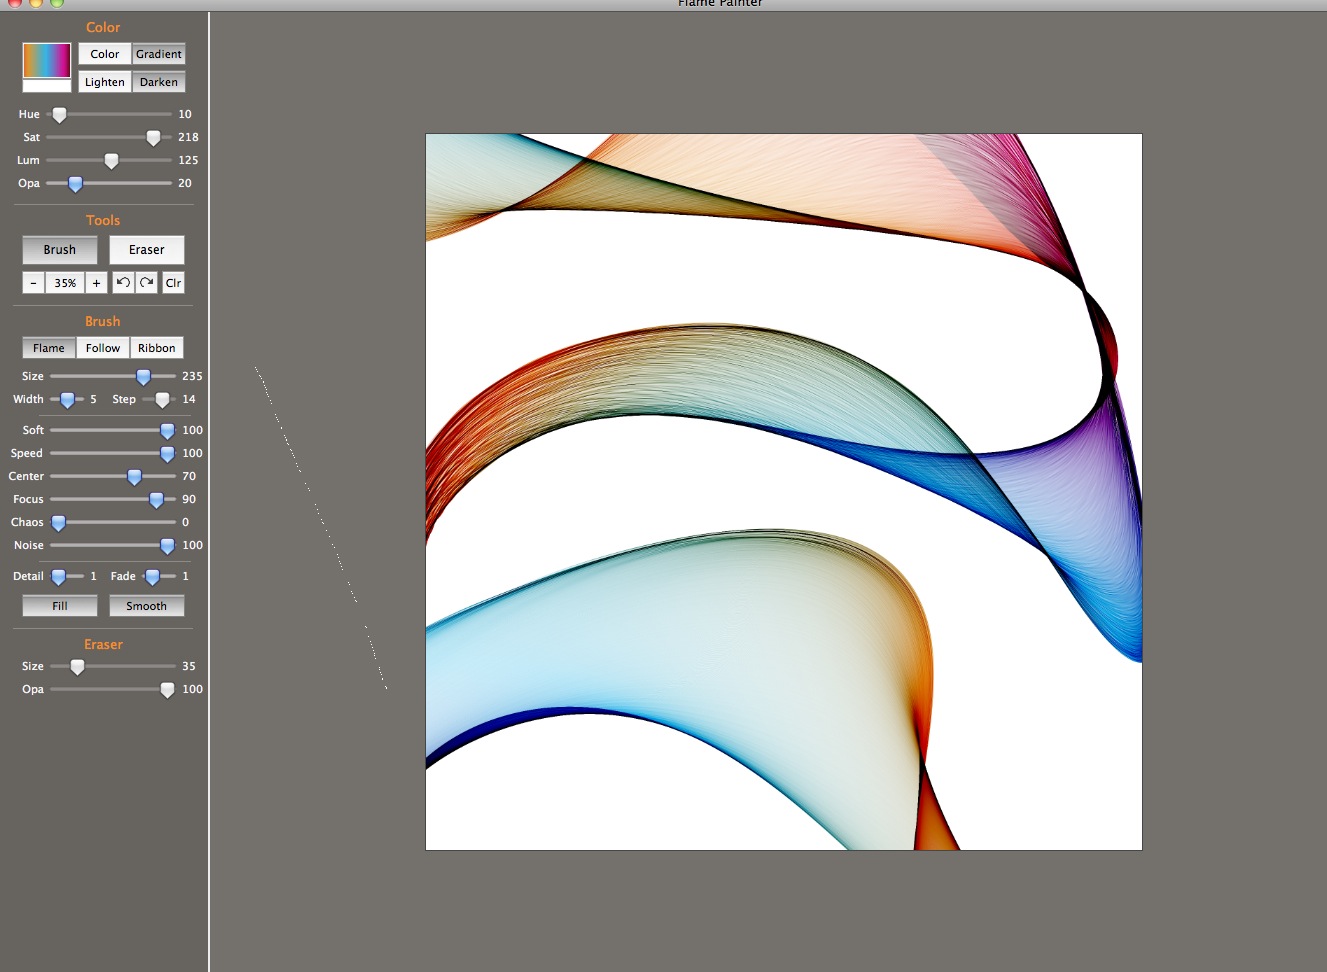
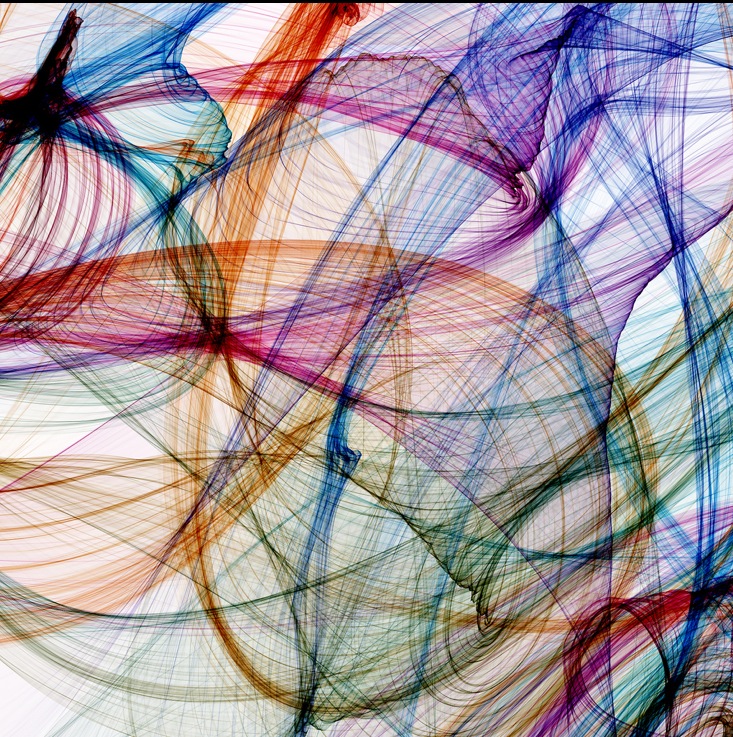
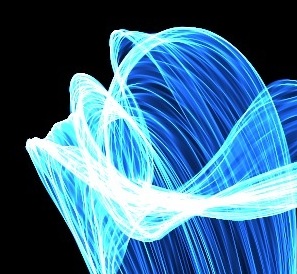
The first change I made was to switch from Ribbon to Flame Brush. Immediately the wild gyrations of the edge became slow oscillations back and forth and the brush became more coherent, becoming straighter, with less whipping around. The opacity is set low, at 20, so the strokes are transparent.
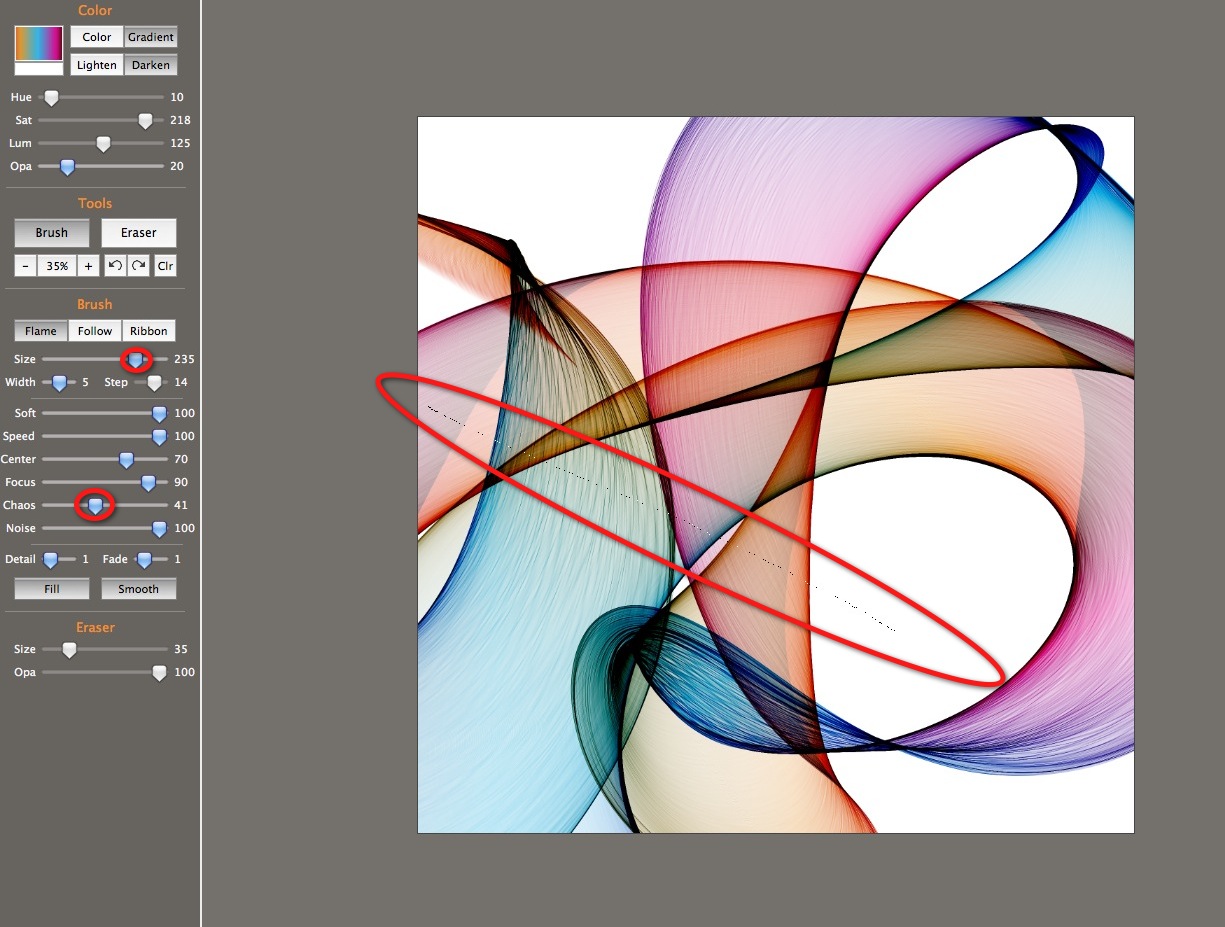
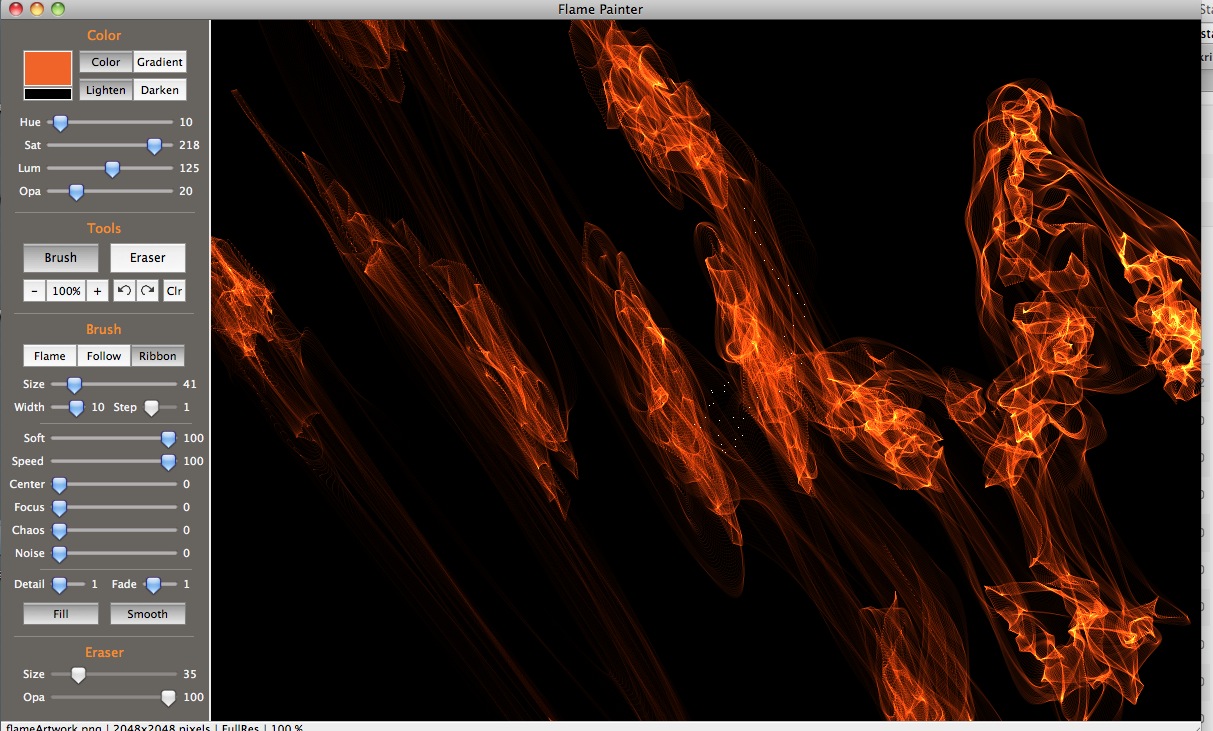
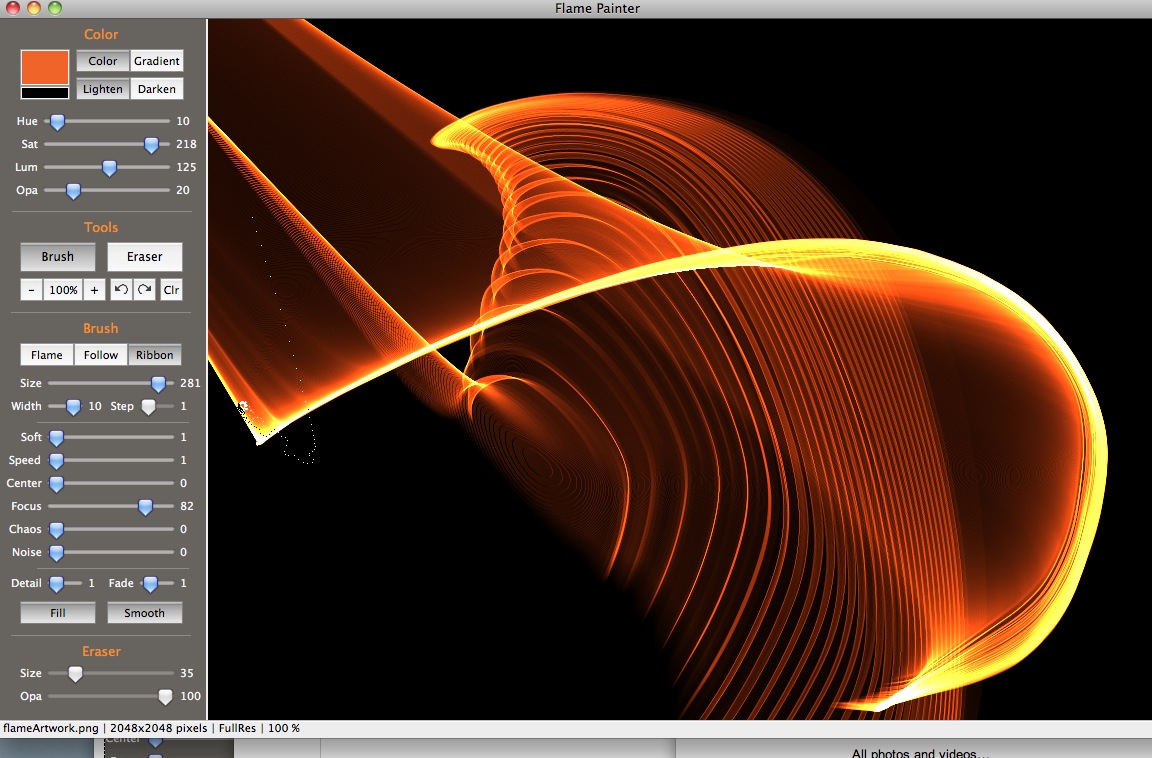
I started to experiment with raising the Chaos setting, first to 41 which added a little bit of textural striation and some additional twists in the movement of the brush...
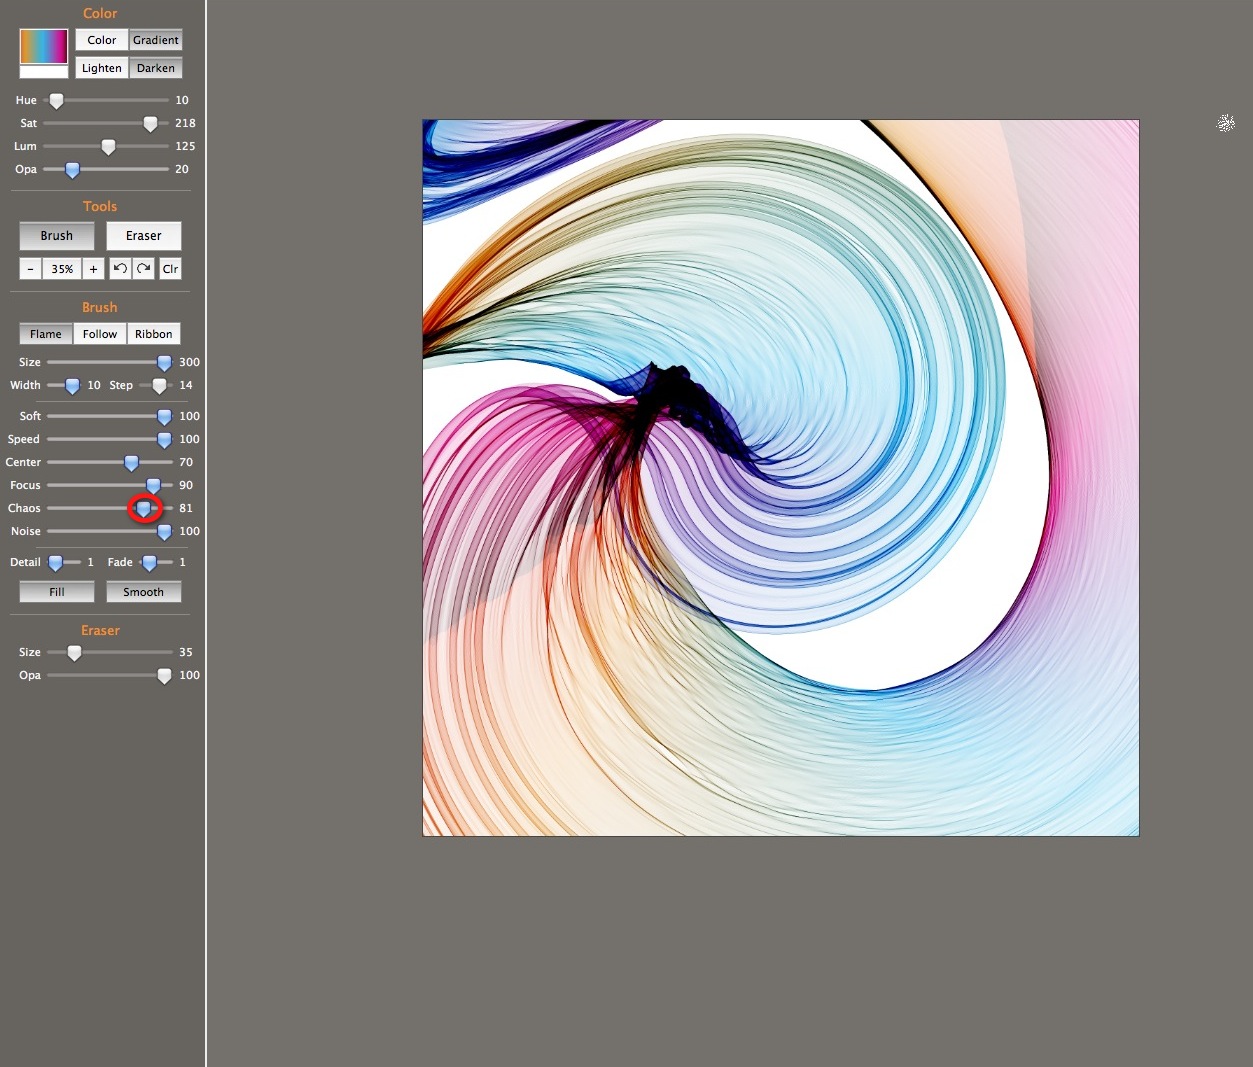
... then to 81, which added a lot of knotting in the "fabric" as the brush twisted and turned on itself.
Reducing the Softness by only one point made a dramatic difference in the smoothness of the brush stroke: it became smoke-like. The Chaos setting turned it into knotted smoke.
Here's another attempt, using the same settings.
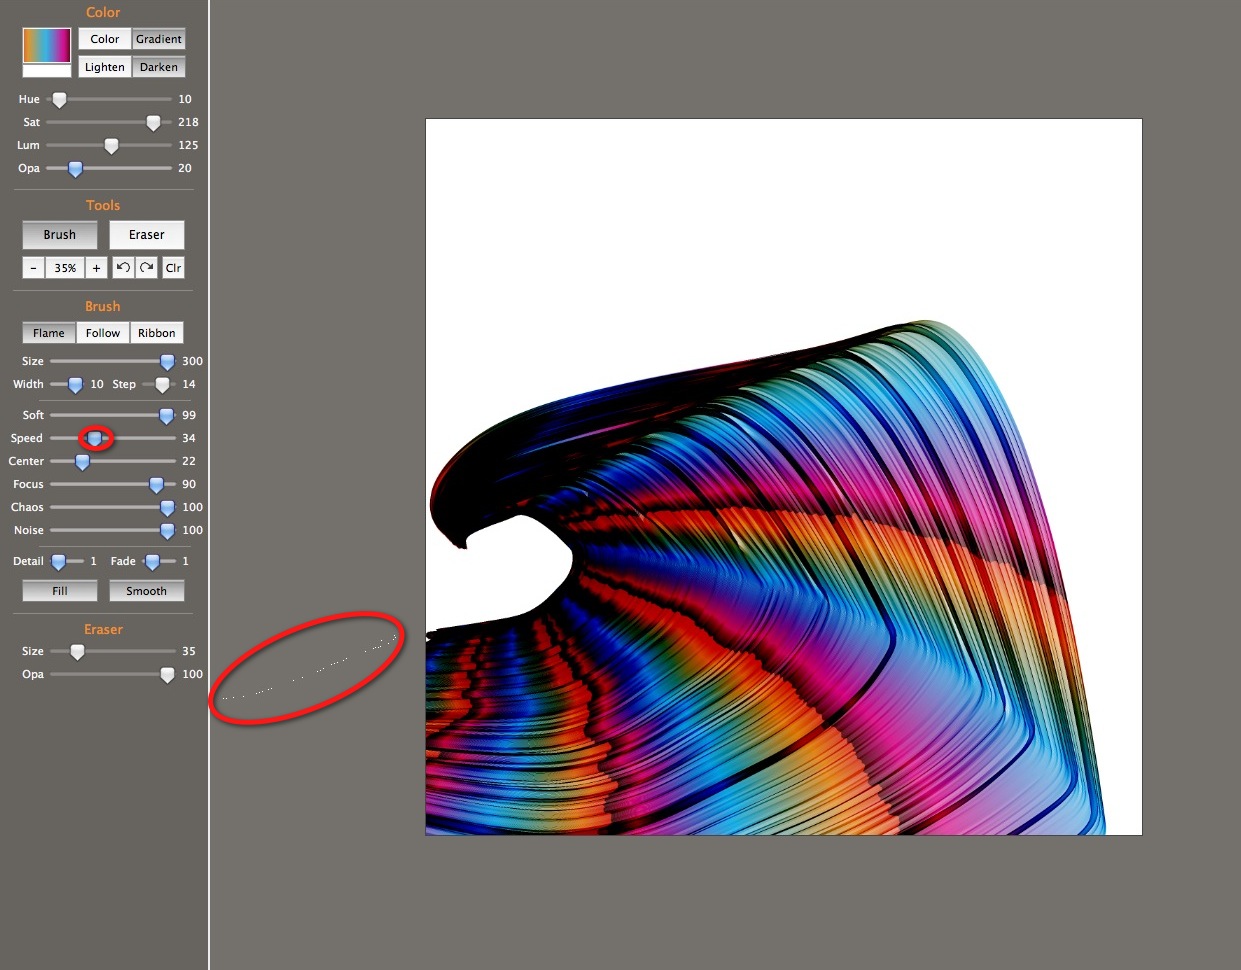
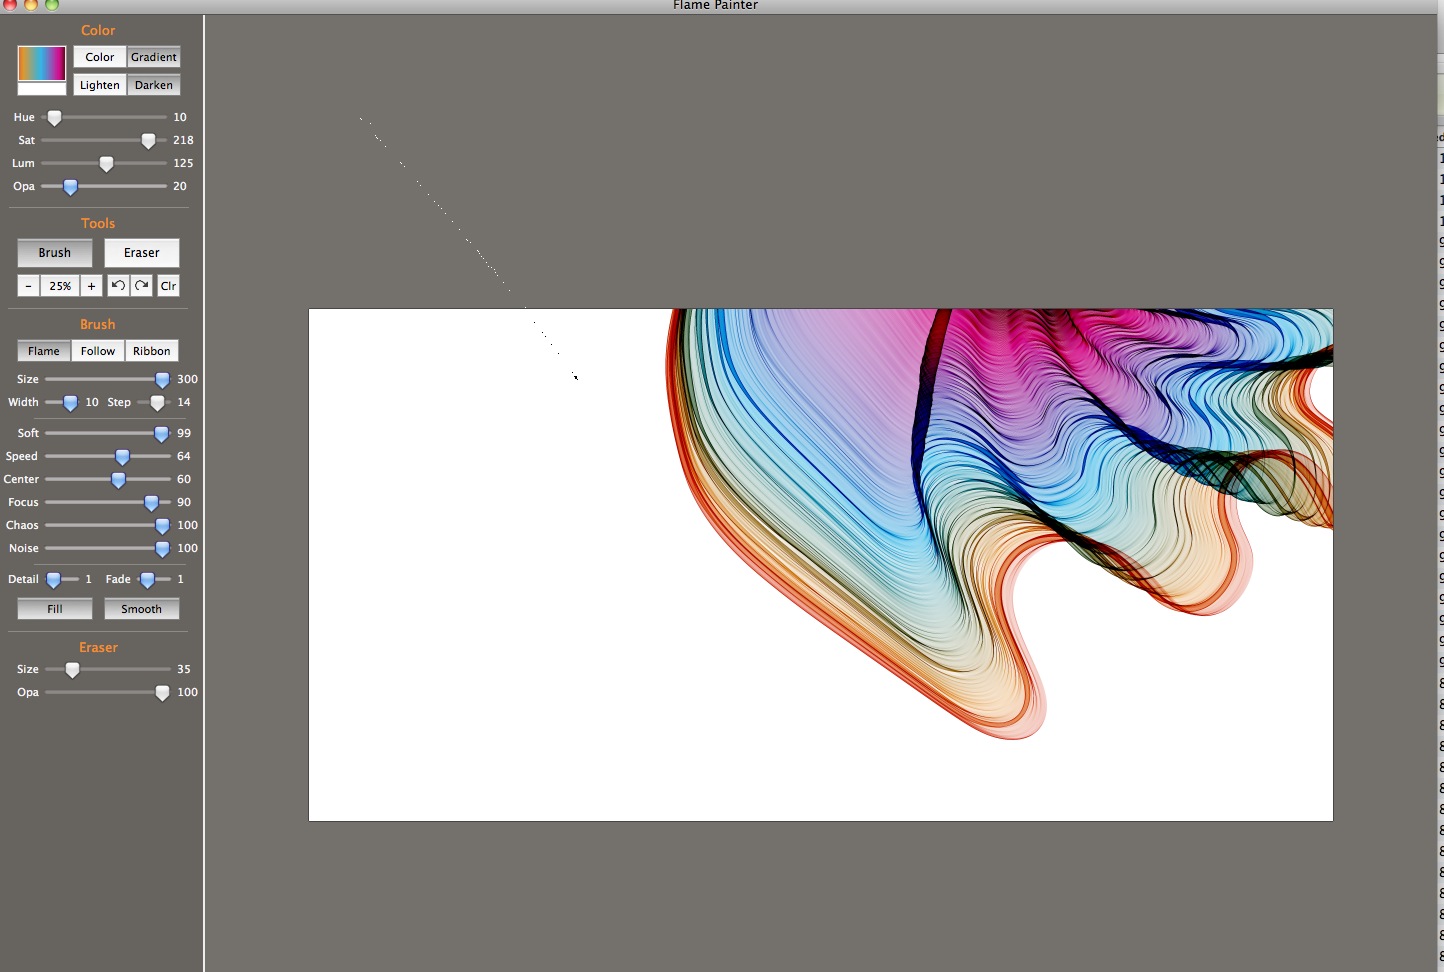
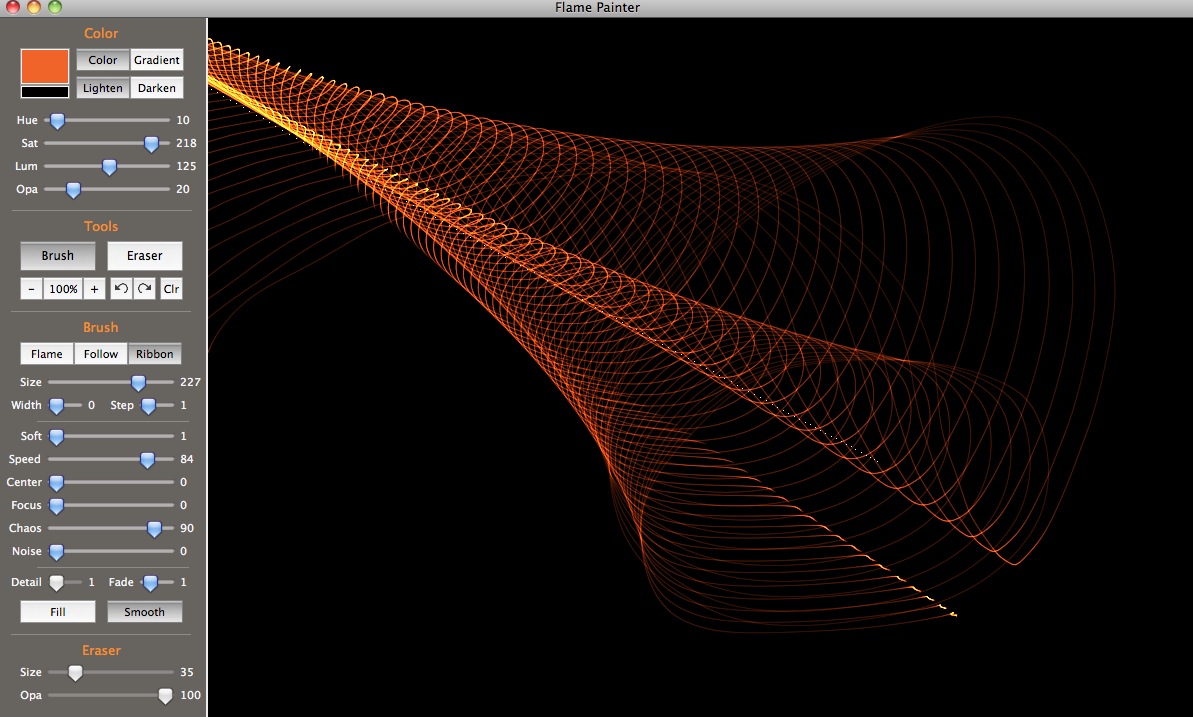
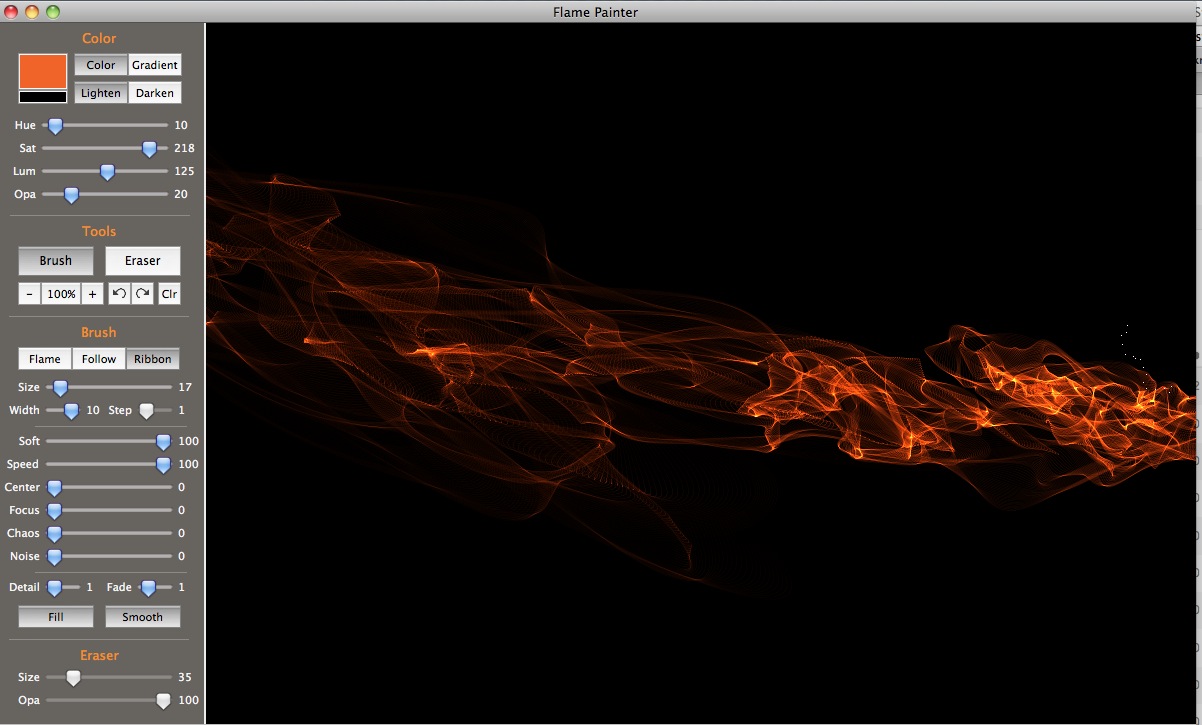
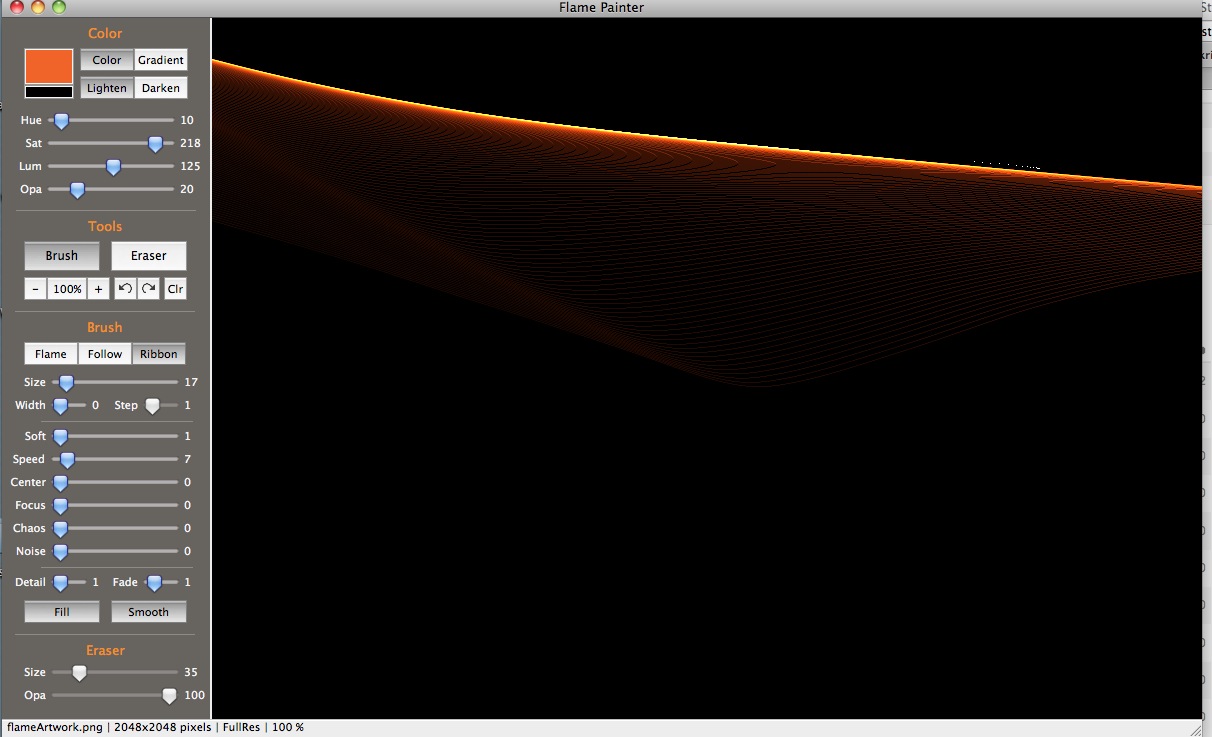
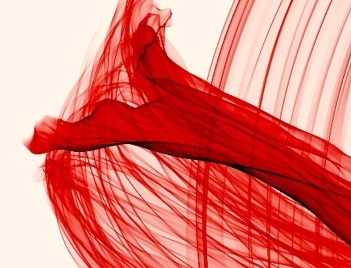
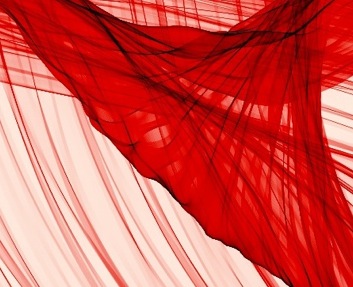
Lowering the Speed to 34 had another dramatic effect: the loopy smoke became a coherent glassy surface with a lot of striation (probably the result of the Chaos setting).
Another image using the same settings:

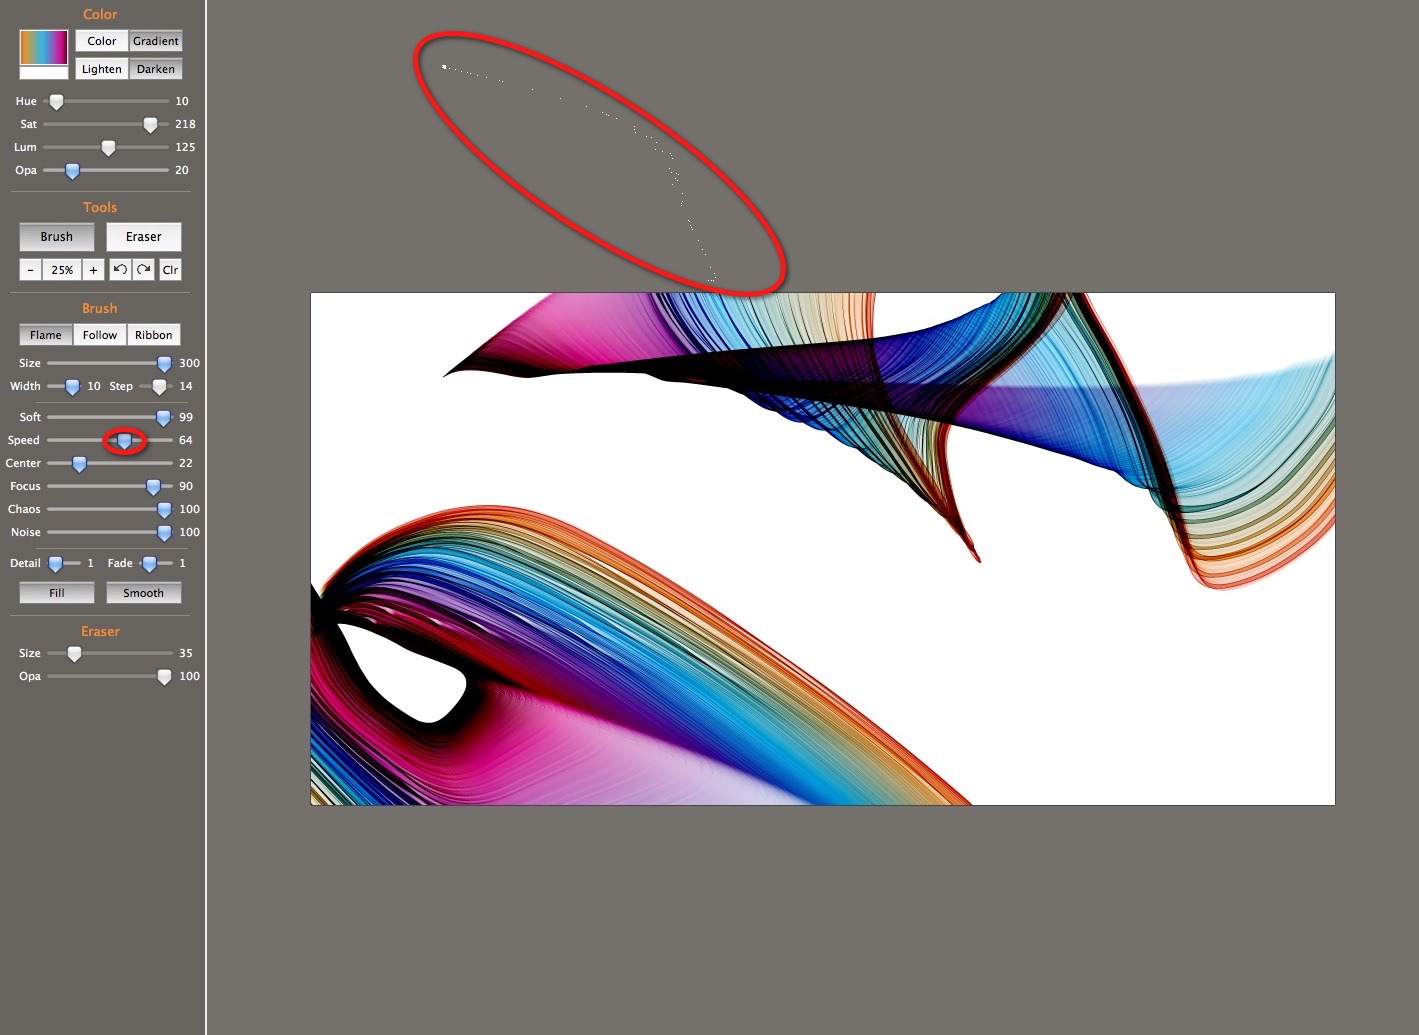
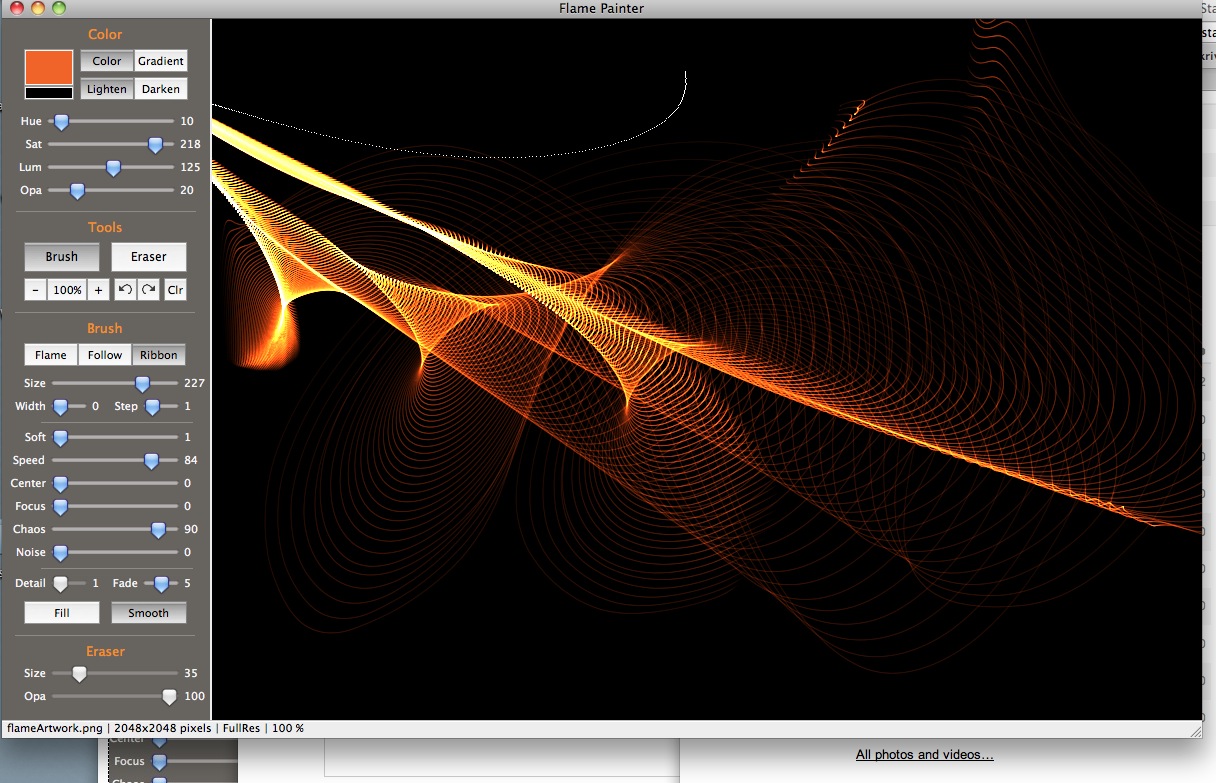
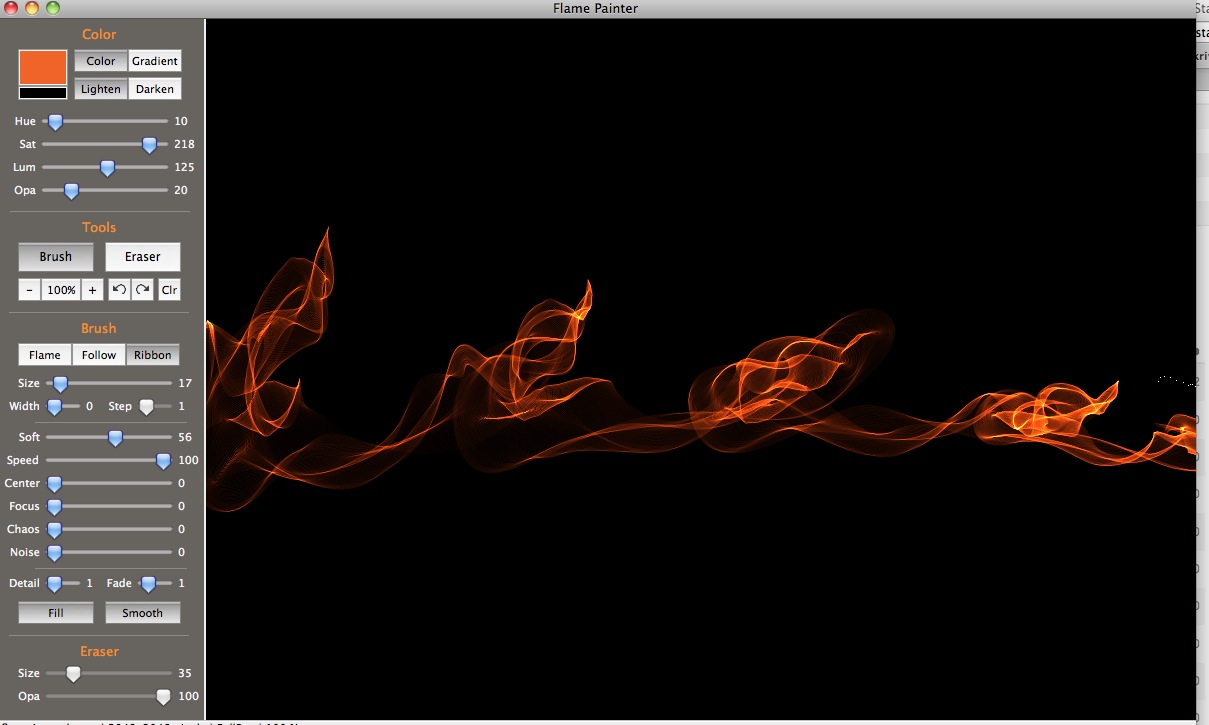
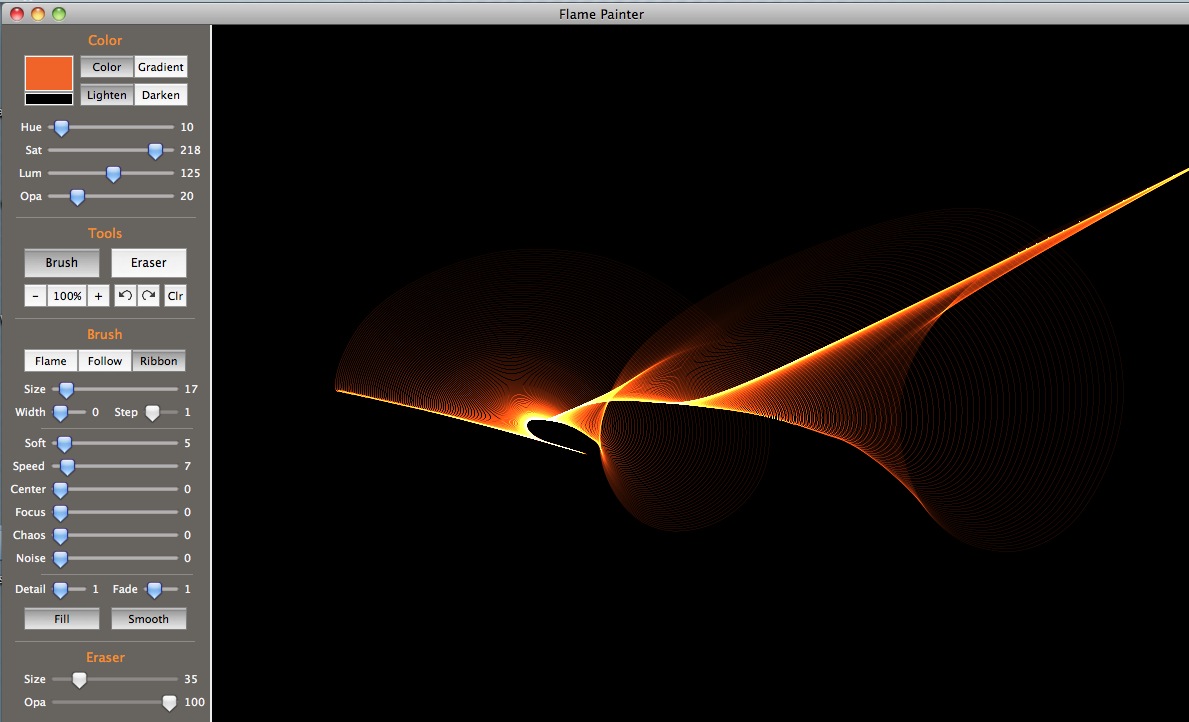
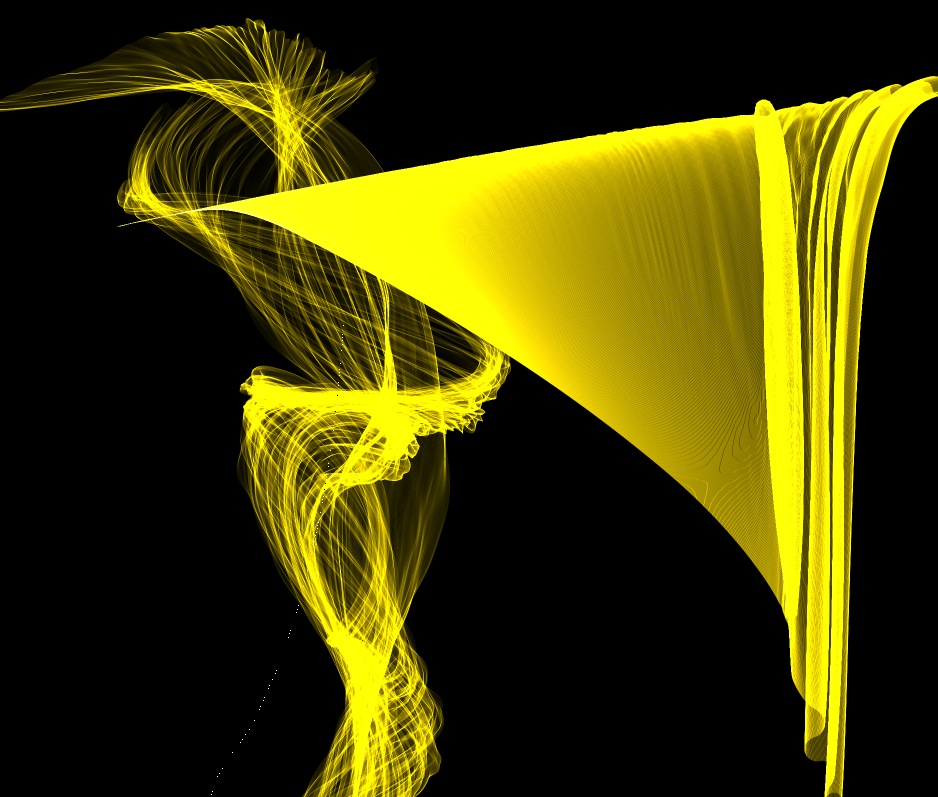
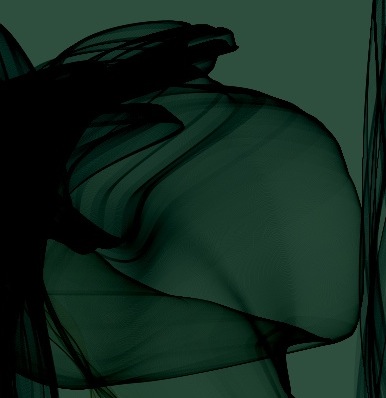
A modest increase in the Speed setting to 64 results in a more transparent, less dense surface.
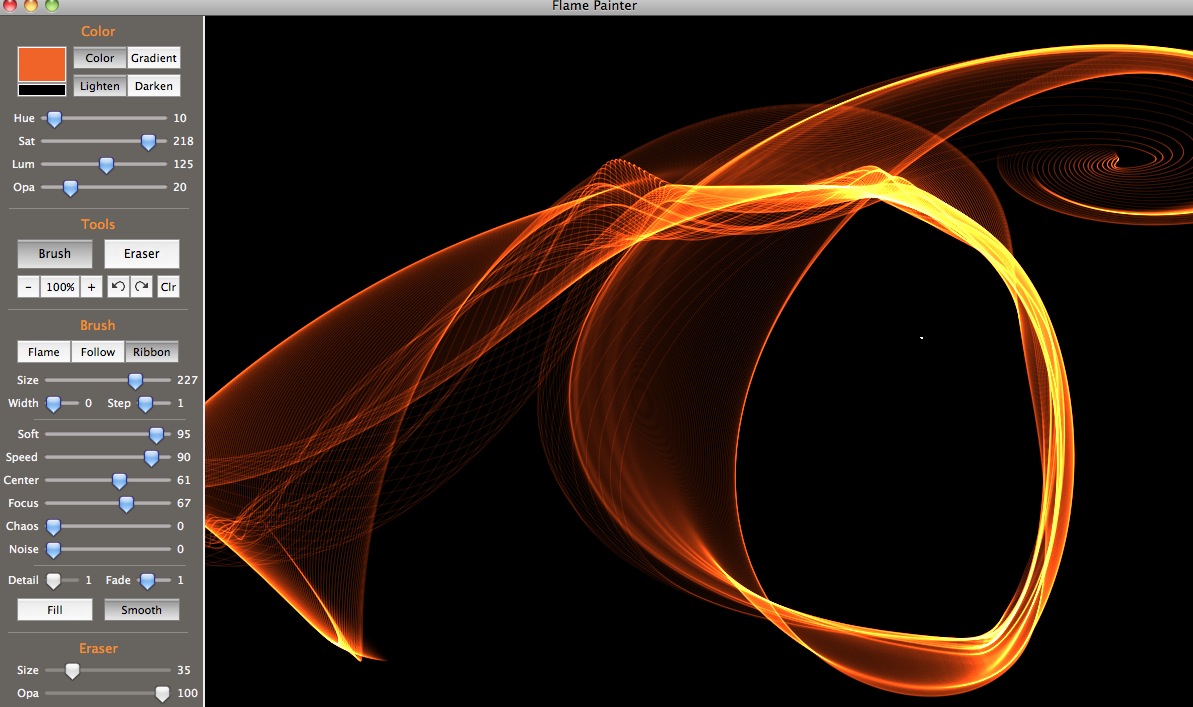
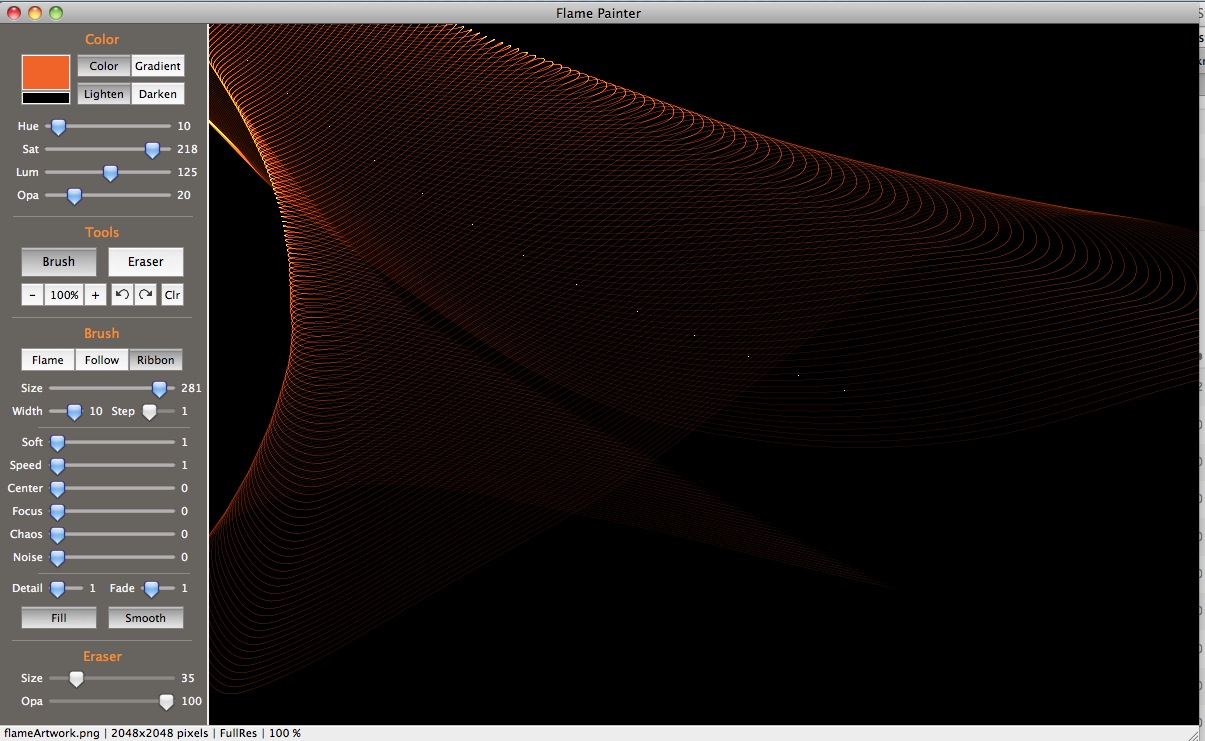
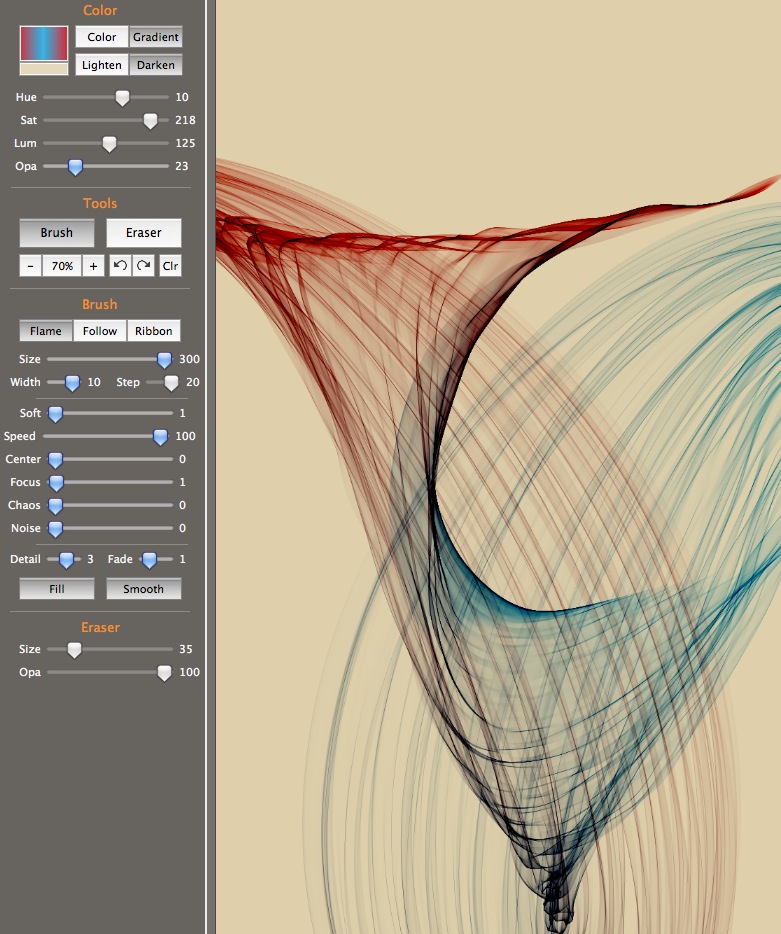
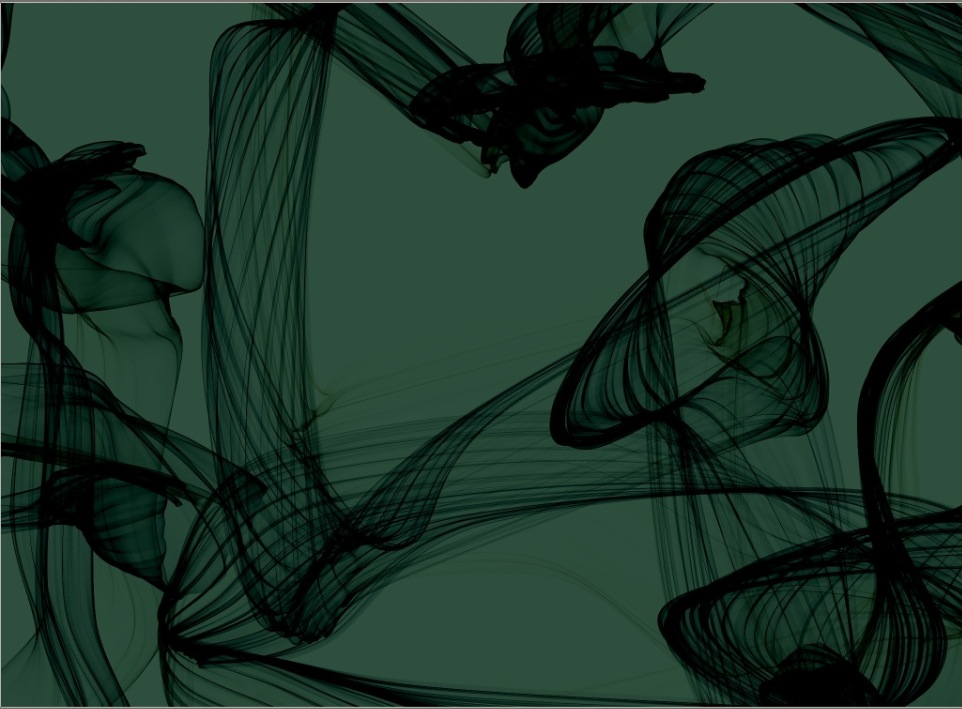
Increasing the Center value changes the overall motion of the brush, making it tend to loop up toward the leading edge, which causes more pleating on one edge of the stroke than the other. Below are two examples using these same settings.
In this one the more striated part of the surface is toward the front, creating a nice blowing-curtain effect.
- See more examples of some of the effects you can get with Flame Painter: My Flame Painter collection on Flickr
- Try Flame Painter for free online! http://www.escapemotions.com/
- Explore more Flame Painter tutorials
- Flame Painter group on Deviantart.com
A SCORM-Ready Template: PageArray generator
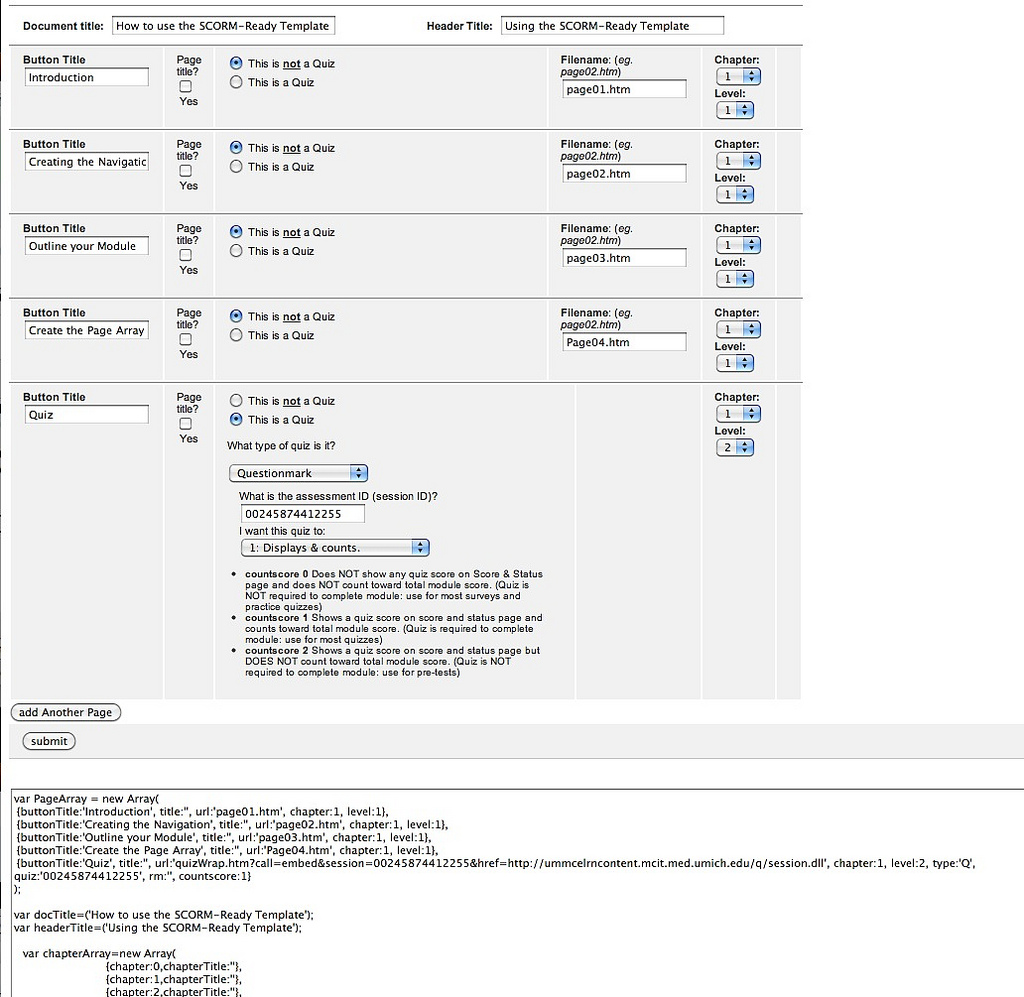
Probably the hardest part of using the SCORM-Ready template is setting up the pageArray listing that generates all the navigation. And now that there are so many new types of quizzes and interactions possible, it can be hard to remember the correct settings.
The new online PageArray generator form should take the pain out of creating your next learning learning module's page structure. Just select options for each page, and press Submit! Then copy the output into the file: js-local/pageArray.js in your learning module folder.
February 26, 2011
Exploring Flame Painter's Ribbon brush - Part 2
In Part 1, I demonstrated some Ribbon Brush settings. This section contains a second set of Ribbon brush examples.Flame Painter is a procedural painting application by Peter Blaškovič available on http://www.escapemotions.com/.
There are three brush types in Flame Painter: Flame, Follow and Ribbon. Each produces an amazing variety of results depending on the settings chosen.
Mouse-over each thumbnail below, moving from left to right, to see the settings used to produce it. In each case the change (if any) has been circled. Click on the thumbnail to see the full-sized screenshot.
 |
 |
 |
 |
 |
 |
 |
 |
 |
 |
 |
|
Prev. Page |
2 |
- See more examples of some of the effects you can get with Flame Painter: My Flame Painter collection on Flickr
- Try Flame Painter for free online! http://www.escapemotions.com/
- More posts about Flame Painter settings
- Flame Painter group on Deviantart.com
Exploring Flame Painter's Ribbon brush - Part 1
Flame Painter is a procedural painting application by Peter Blaškovič available on http://www.escapemotions.com/. It's remarkably versatile, but a lot of experimentation is necessary to figure out what it is capable of, so I'm posting a series of tutorials on how to get specific effects.There are three brush types in Flame Painter: Flame, Follow and Ribbon. Each produces an amazing variety of results depending on the settings chosen. Below is a sequence showing the results of small settings changes, using only the Ribbon brush.
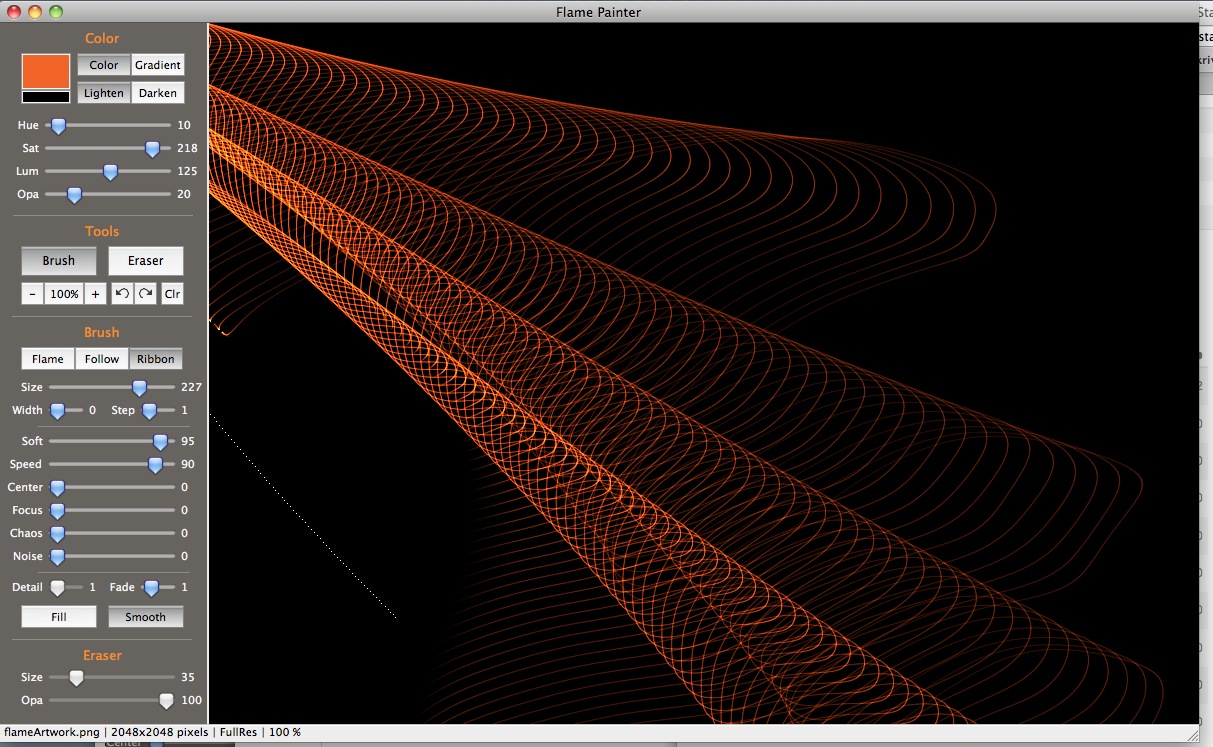
Flame Painter brushes each have their own "physics", responding to mouse movement differently. For all the brushes, the number of dots that make up the brush is determined by the Size component. The "Width" setting appears to be the maximum width of the group of dots when at rest.
The Ribbon brush has oscillation at alternate ends while contracting toward the mouse. The oscillations eventually die out The Speed setting affects the contraction and the amount of oscillation - and appears to be non-linear.
Click on the thumbnail to see the full-sized screenshot. In some cases you can see the dots that form the brush. When working with Flame Painter it helps to watch those dots very carefully to predict what will happen next.
 |
 |
 |

|
 |
 |
 |
 |
 |
|
 |
 |
 |
 |
 |
 |
| 1 |
Next Page |
- See more examples of some of the effects you can get with Flame Painter: My Flame Painter collection on Flickr
- Try Flame Painter for free online! http://www.escapemotions.com/
- Explore more Flame Painter tutorials
- Flame Painter group on Deviantart.com
February 19, 2011
Flame Painter: Gauze effects
Flame Painter is a procedural painting application by Peter Blaškovič available on http://www.escapemotions.com/. Its brushes are a set of dots that respond to your gestures using their own internal "physics."
Because of the physics simulation nature of Flame Painter, it is uniquely designed to create images that recall cloth blowing in the wind, gauze floating in water, knotted liquids, gauze pouring like liquid, and splashes of fabric!
These effects can be created with each of the three brushes (Flame, Follow and Ribbon), but since some of the effects only begin to appear at specific trigger values, it can take a lot of experimentation to find the best settings.
The image below makes use of a high Step value to get variation in the amount of complexity between areas of the fabric.
The Flame brush is basically a series of loops, and Step adds increasingly large gaps between the loops toward the tail of the brush. To adjust the Step value, unclick the Fill button temporarily, and the Step slider will become active.

In the example below, the brushstroke on the left side has a Focus setting of "1", while the one on the right has a setting of "0". The tiny Focus value of "1" adds a little bit of slowly contracting oscillation back and forth around the mouse point. the creates a twisting billowing effect in the cloth which otherwise would hang down, pretty much like drapes.
The billowing gauze image below was created with very similar settings as shown above, but a higher "Fade" value, which creates interesting naturalistic trails of cloth between two touchpoints.
 |
  |
|---|
The Follow brush can also create a floating Gauze effect. However, except at high Focus values, the Follow brush is pretty static: the brush's dots FOLLOW the mouse rather closely in a big cluster. The result is a simple smear, as demonstrated in the top stroke in the image below.
But, when even a small Focus value is added, the brush oscillates rapidly around the mouse point, and as long as the brush is moving in a direction perpendicular to the oscillation, you will get a gauze effect. It's much less controllable than the Flame brush fabric, but beautiful, nonetheless. In the image below the oscillation is from right to left, so the gauze effect started when I moved the mouse vertically down.
This image uses a very high Focus value which produces cloth with very rounded folds. The softness value seems to damp some of the oscillations.
 |
  |
|---|
- See more examples of some of the effects you can get with Flame Painter: My Flame Painter collection on Flickr
- Try Flame Painter for free online! http://www.escapemotions.com/
- Explore more Flame Painter tutorials
- Flame Painter group on Deviantart.com
February 18, 2011
Flame Painter: Phosphorescent Sea Creature effects
Flame Painter is a procedural painting application by Peter Blaškovič available on http://www.escapemotions.com/. It's remarkably versatile, but a lot of experimentation is necessary to figure out what it is capable of, so I'm posting a series of tutorials on how to get specific effects.
Amorphous jellies
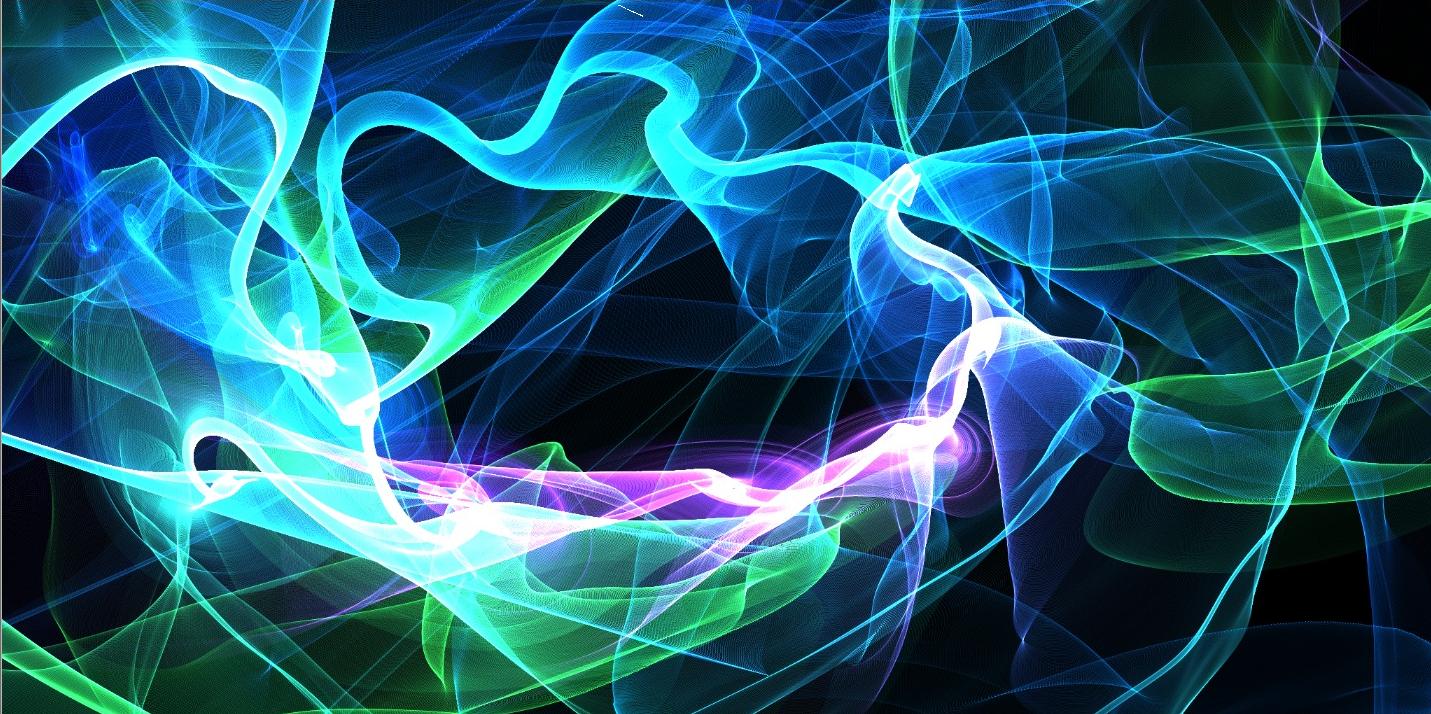
This phosphorescent gauzy sea-jelly was uses created a gradient using colors that recall the sea: deep blues, greens and violets. The black background is similar to the images from recent ocean documentaries of benthic depths. The Lighten setting is similar to the Lighten or Screen settings in Photoshop, where the more color you add, the lighter it gets. The Ribbon Brush at these settings creates a snake-like undulating edge that coils and uncoils, criscrossing back and forth on itself, but always slowly rotating around the mouse-location. Move the mouse in curly-cues around a large circle to get the shapes shown here.
Comb Jellies |
  |
|---|
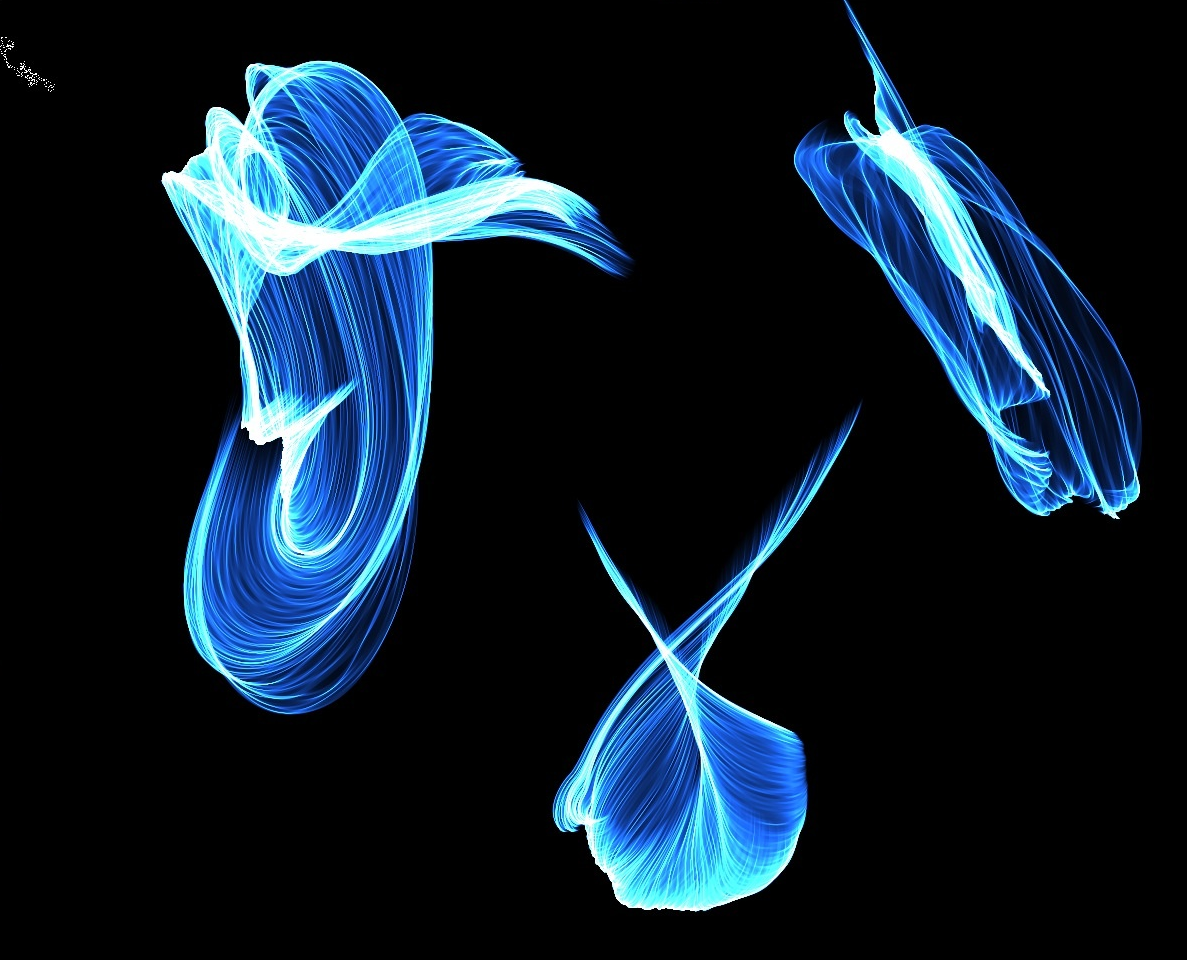
These ctenophore-like creatures were created using the Flame brush setting which produces a slowly coiling, steadily contracting wavy edge, which is very similar to gauze or fluid, but is too orderly for a flame or smoke. The brush responds to speed, getting larger the faster you move it, then slowly winding down to a point.
 |
  |
|---|
Deepwater Jellyfish
This large sea-jelly was created with the Follow brush, which is given some movement with a small Focus setting, and variation that it usually lacks, using a small Chaos setting. Many passes were required to build up the whole jellyfish.
 |
  |
|---|
- See more examples of some of the effects you can get with Flame Painter: My Flame Painter collection on Flickr
- Try Flame Painter for free online! http://www.escapemotions.com/ <
- Explore more Flame Painter tutorials
- Flame Painter group on Deviantart.com
February 4, 2011
A handy tool for testing X-path expressions
When working on an application that consumes data from a webservices XML response, you may find it useful to test your X-path expressions.
The people who developed Whitebeam application server have created an easy-to-use X-Path Expression testbed. You just upload a copy of the xml you are working with, and start typing xpressions into the textbox, click evaluate, and view the result.

Try the XPath Expression Testbed here