This series of examples will give you an idea of the way very small changes in Flame Painter's settings can produce very different effects.
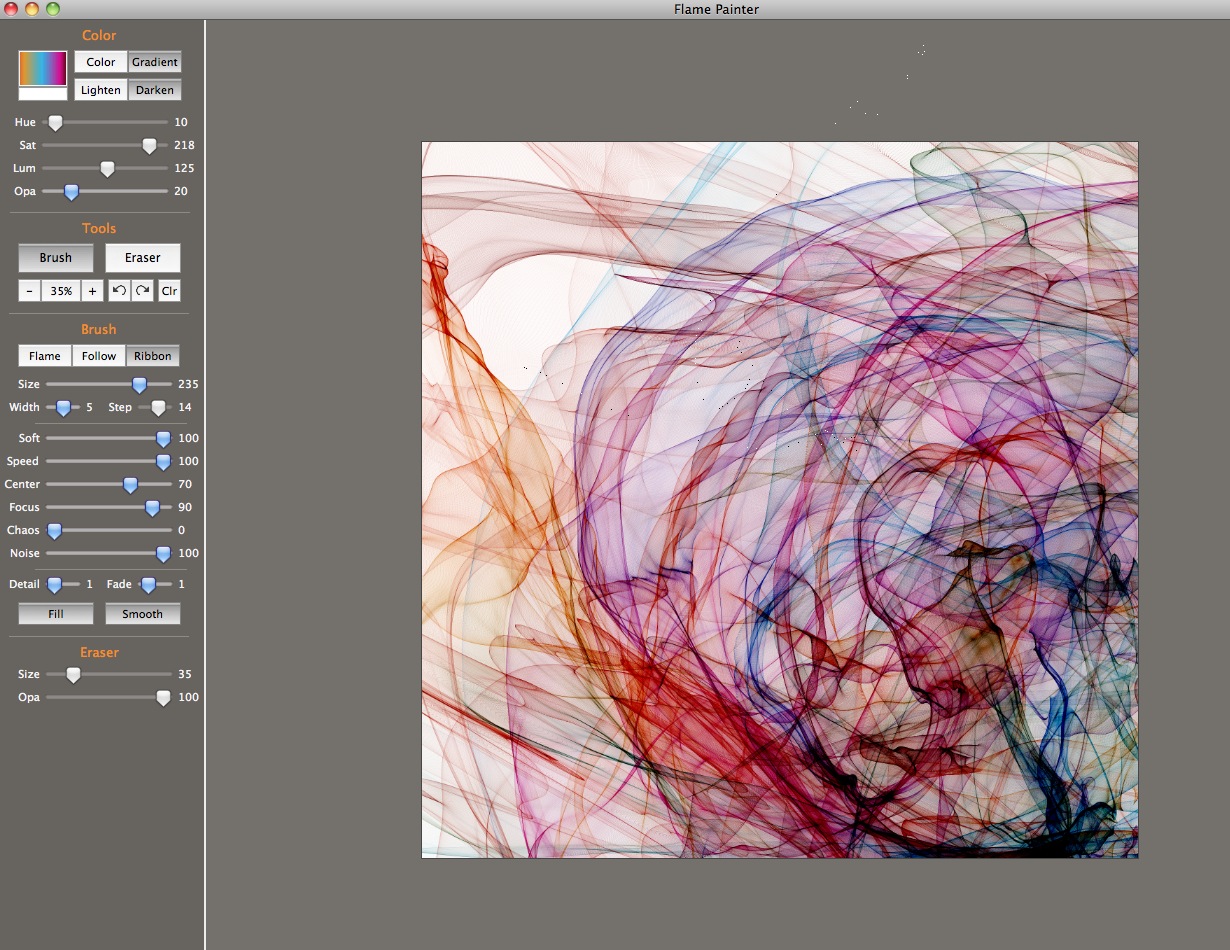
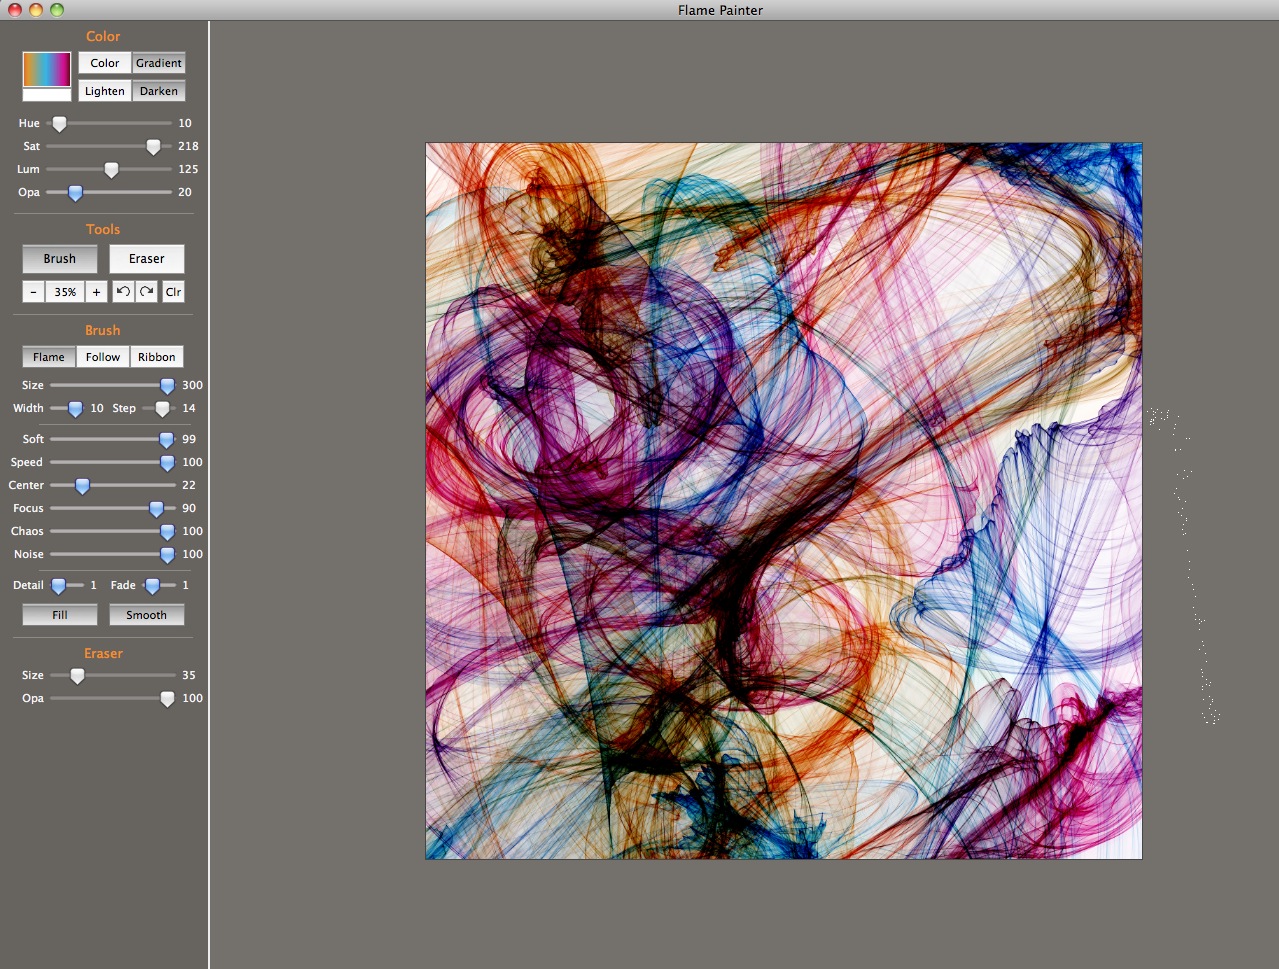
The starting point for the series was the color selection: a gradient of gold, aqua, red and violet, ending in dark blue. The last session's brush settings were still there, so I began at that point: a fairly long (Size=235) Ribbon brush with multiple nested orbits. The looping lasso-like edge of the brush has been circled: you can see the brush tail looping off to the left and then trailing off all the way up to the top of the image. The rather chaotic image is caused because of the whipping action of the brush: there are multiple rotations going on within it, creating unpredictable results.
Ads by Google
Posted by ellen at February 27, 2011 05:26 PM
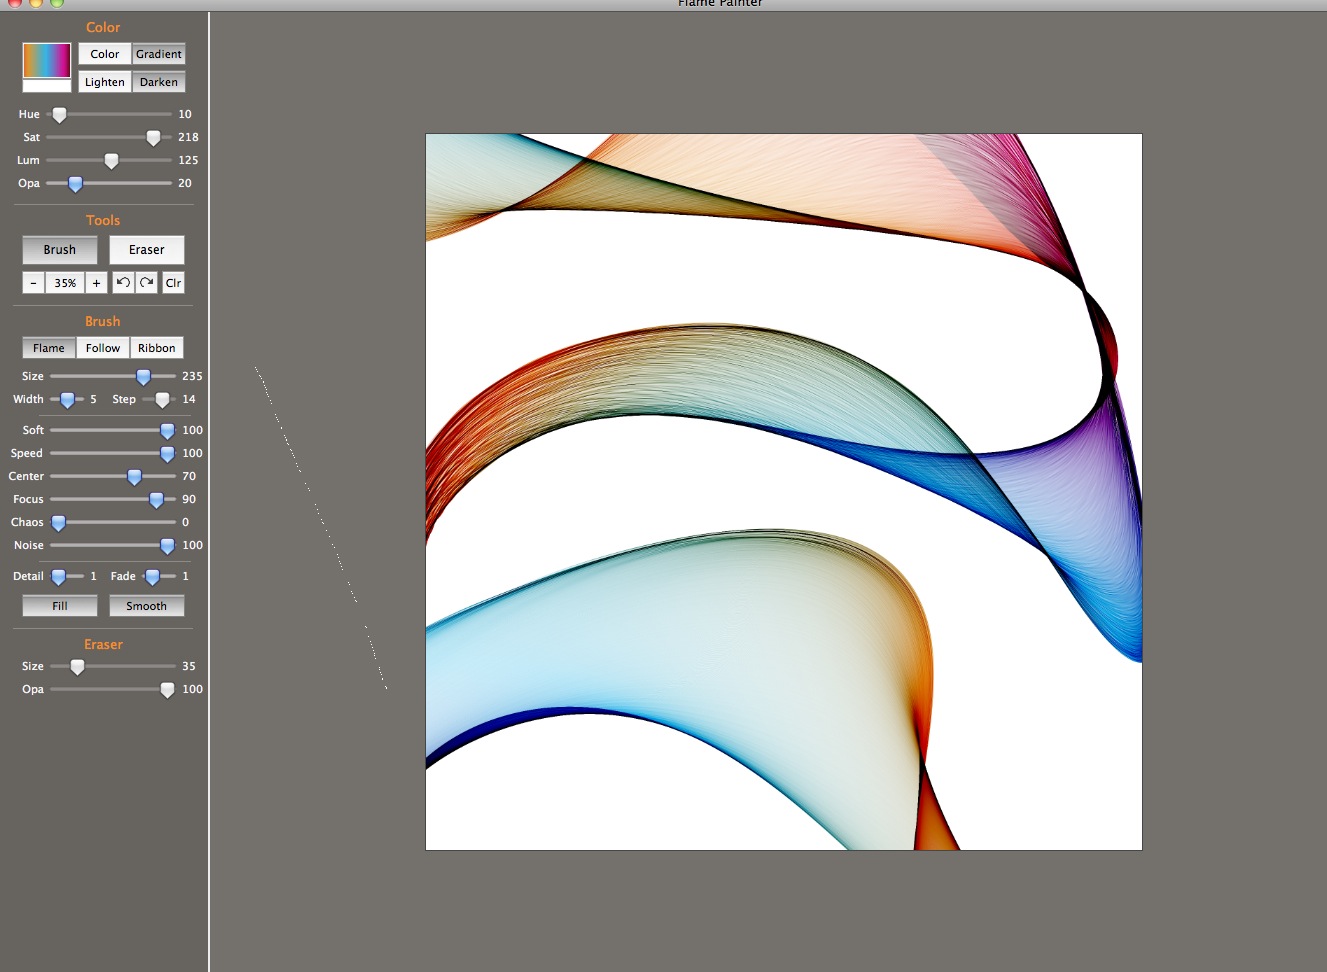
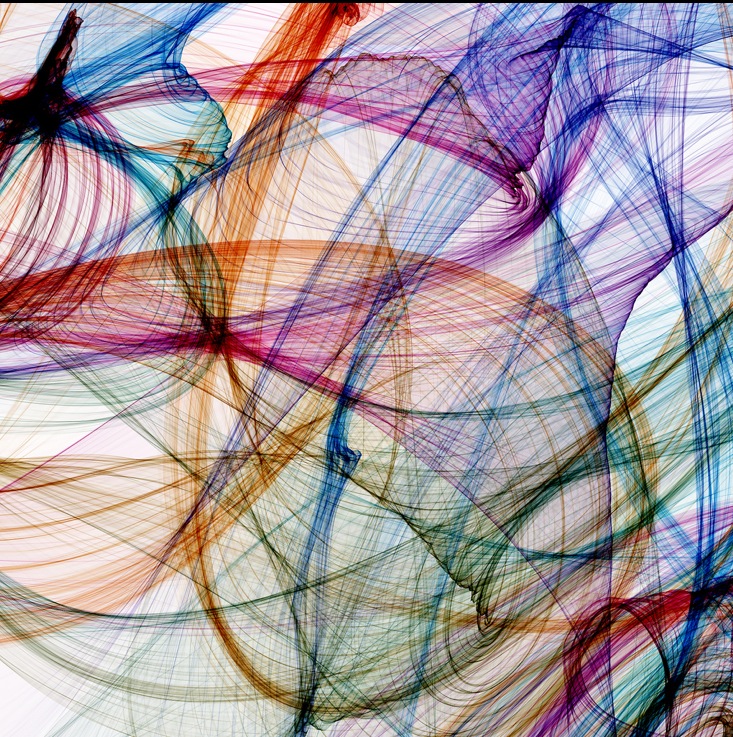
The first change I made was to switch from Ribbon to Flame Brush. Immediately the wild gyrations of the edge became slow oscillations back and forth and the brush became more coherent, becoming straighter, with less whipping around. The opacity is set low, at 20, so the strokes are transparent.
I started to experiment with raising the Chaos setting, first to 41 which added a little bit of textural striation and some additional twists in the movement of the brush...
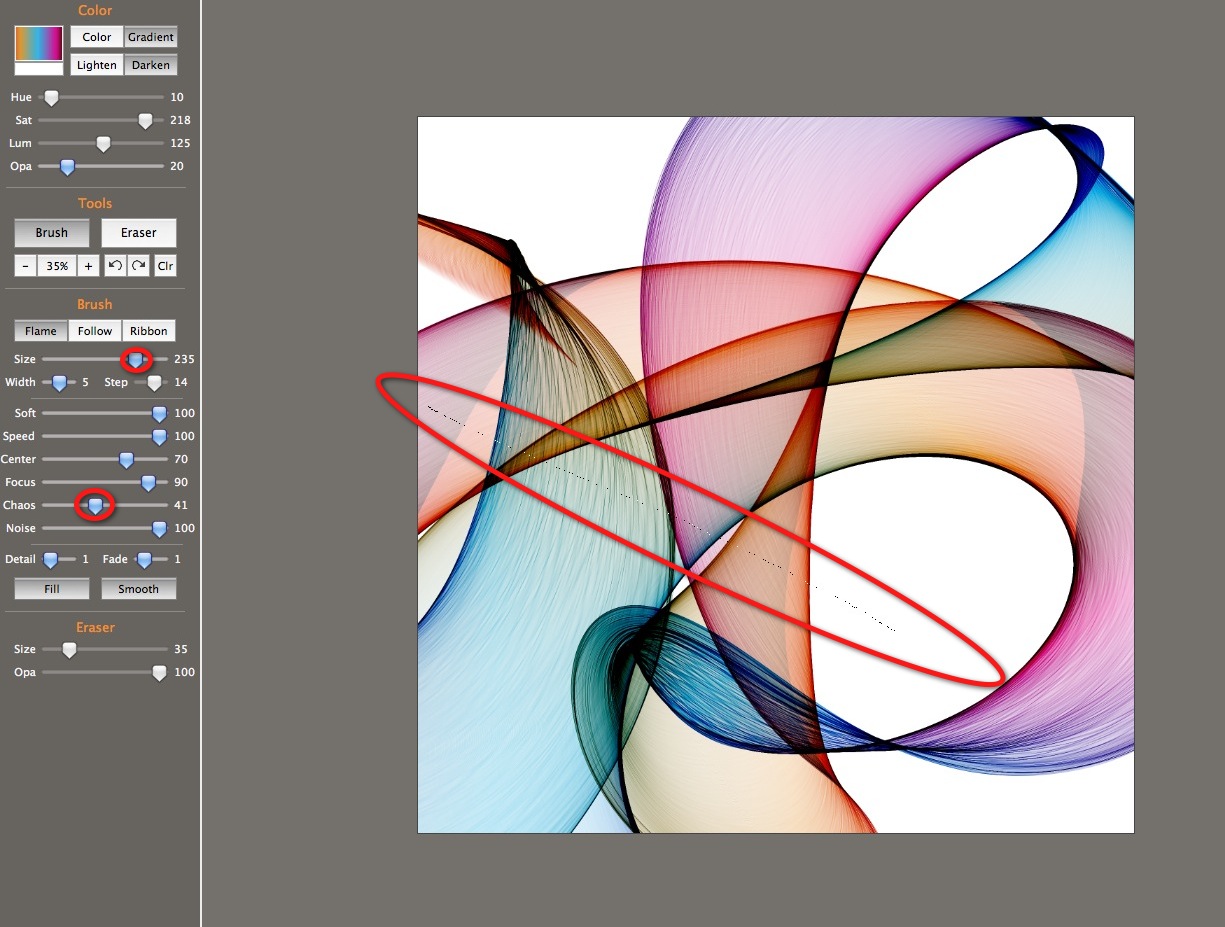
... then to 81, which added a lot of knotting in the "fabric" as the brush twisted and turned on itself.
Reducing the Softness by only one point made a dramatic difference in the smoothness of the brush stroke: it became smoke-like. The Chaos setting turned it into knotted smoke.
Here's another attempt, using the same settings.
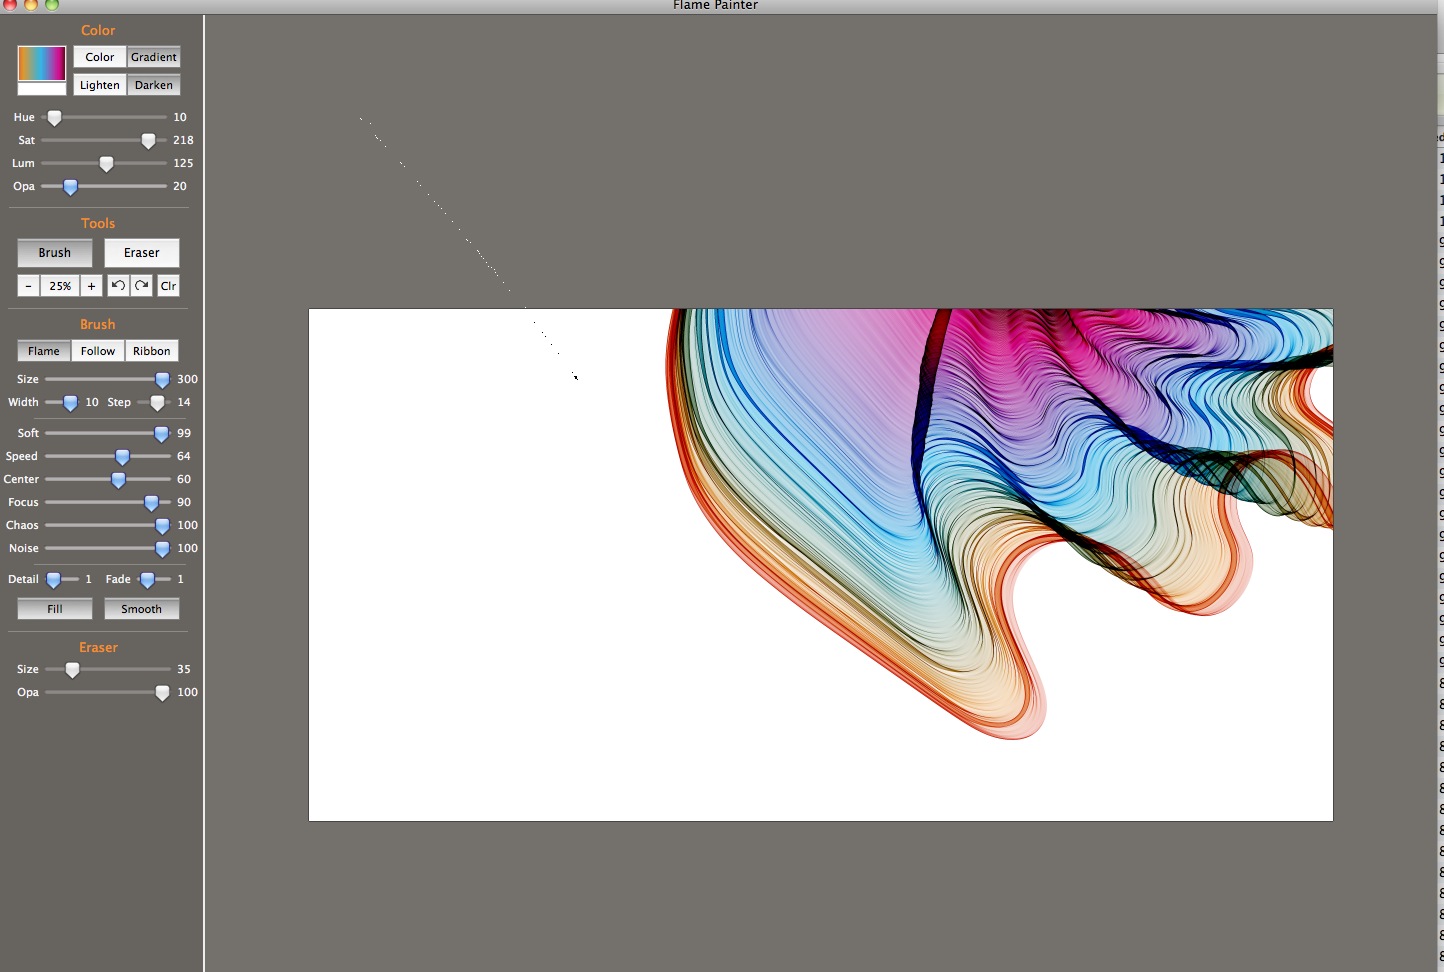
Lowering the Speed to 34 had another dramatic effect: the loopy smoke became a coherent glassy surface with a lot of striation (probably the result of the Chaos setting).
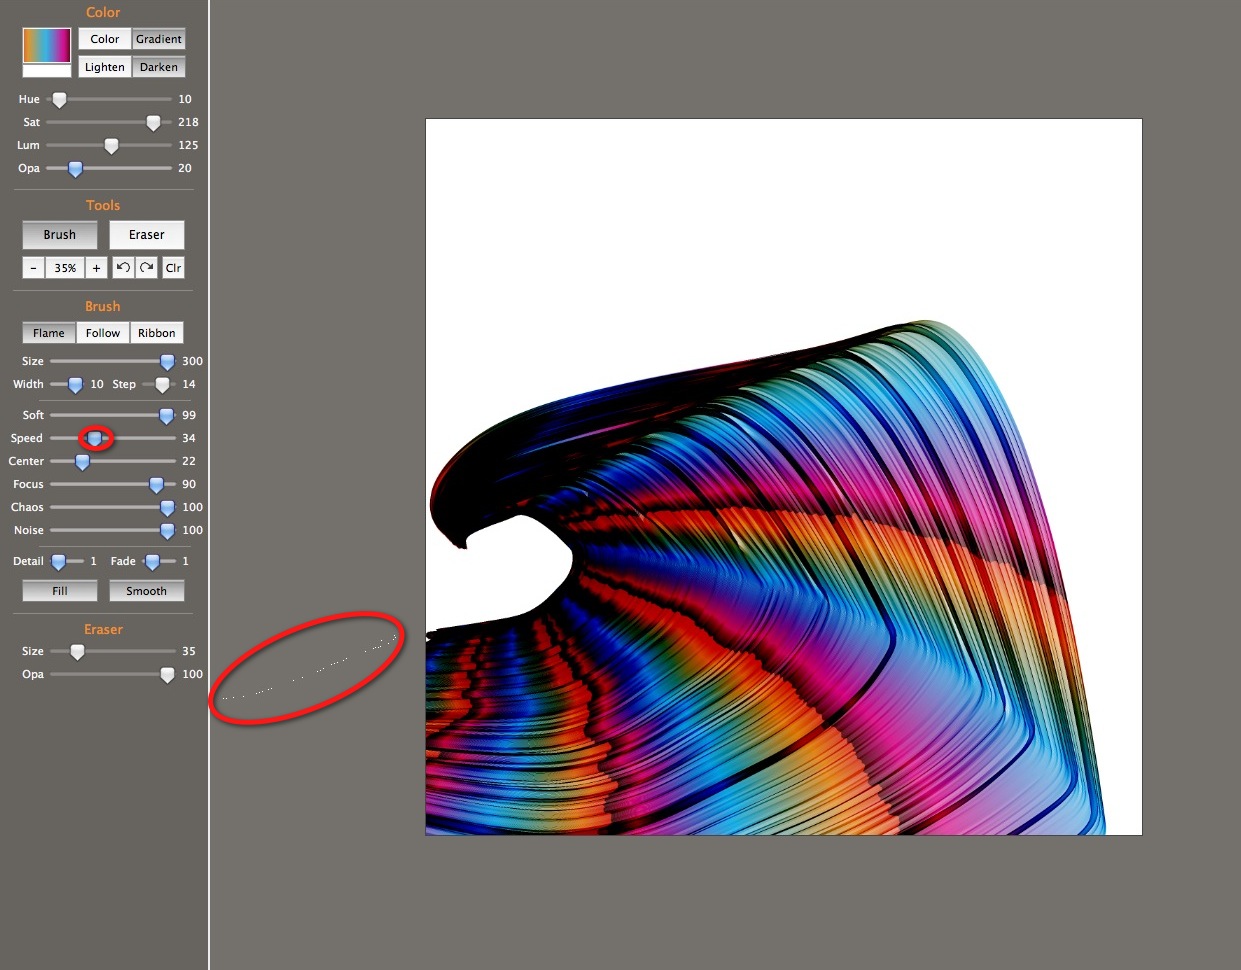
Another image using the same settings:

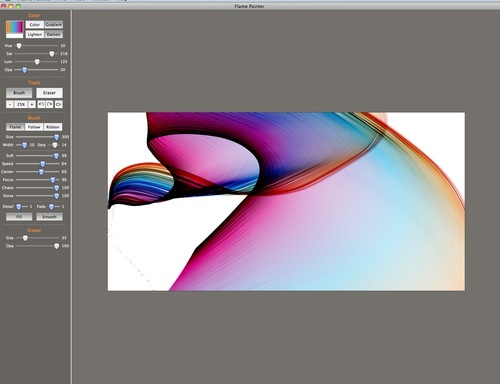
A modest increase in the Speed setting to 64 results in a more transparent, less dense surface.
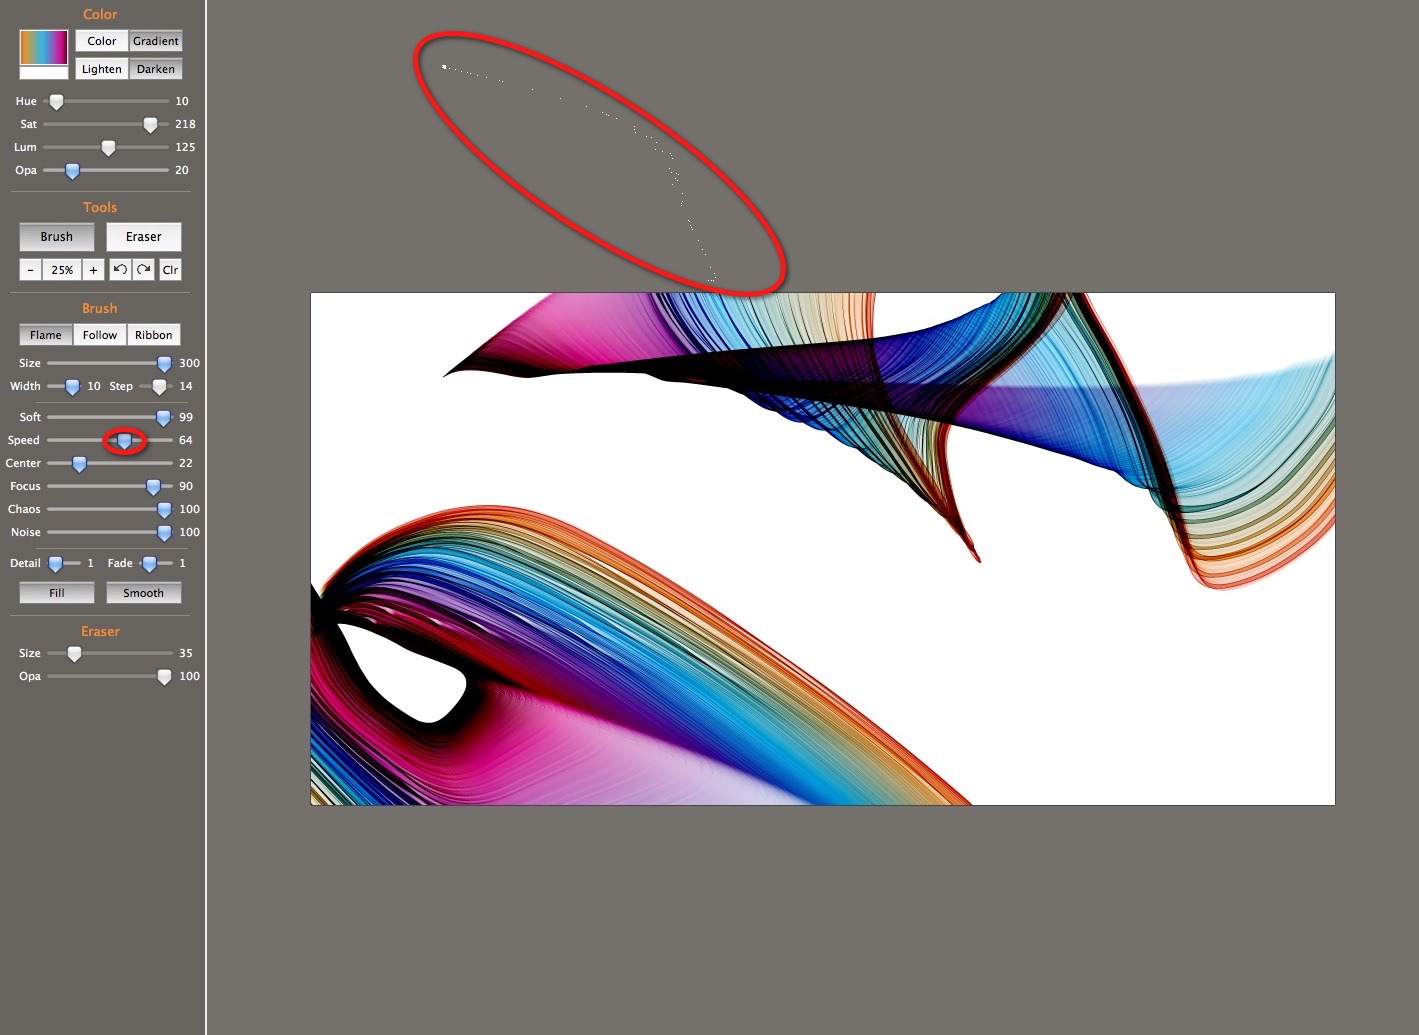
Increasing the Center value changes the overall motion of the brush, making it tend to loop up toward the leading edge, which causes more pleating on one edge of the stroke than the other. Below are two examples using these same settings.
In this one the more striated part of the surface is toward the front, creating a nice blowing-curtain effect.
- See more examples of some of the effects you can get with Flame Painter: My Flame Painter collection on Flickr
- Try Flame Painter for free online! http://www.escapemotions.com/
- Explore more Flame Painter tutorials
- Flame Painter group on Deviantart.com
Ads by Google
