March 28, 2009
Virtual Colorado Tour - Part II: South to Black Canyon of the Gunnison
<<=Back to Part I: West to Grand JunctionContinuing with our travels in Colorado last September
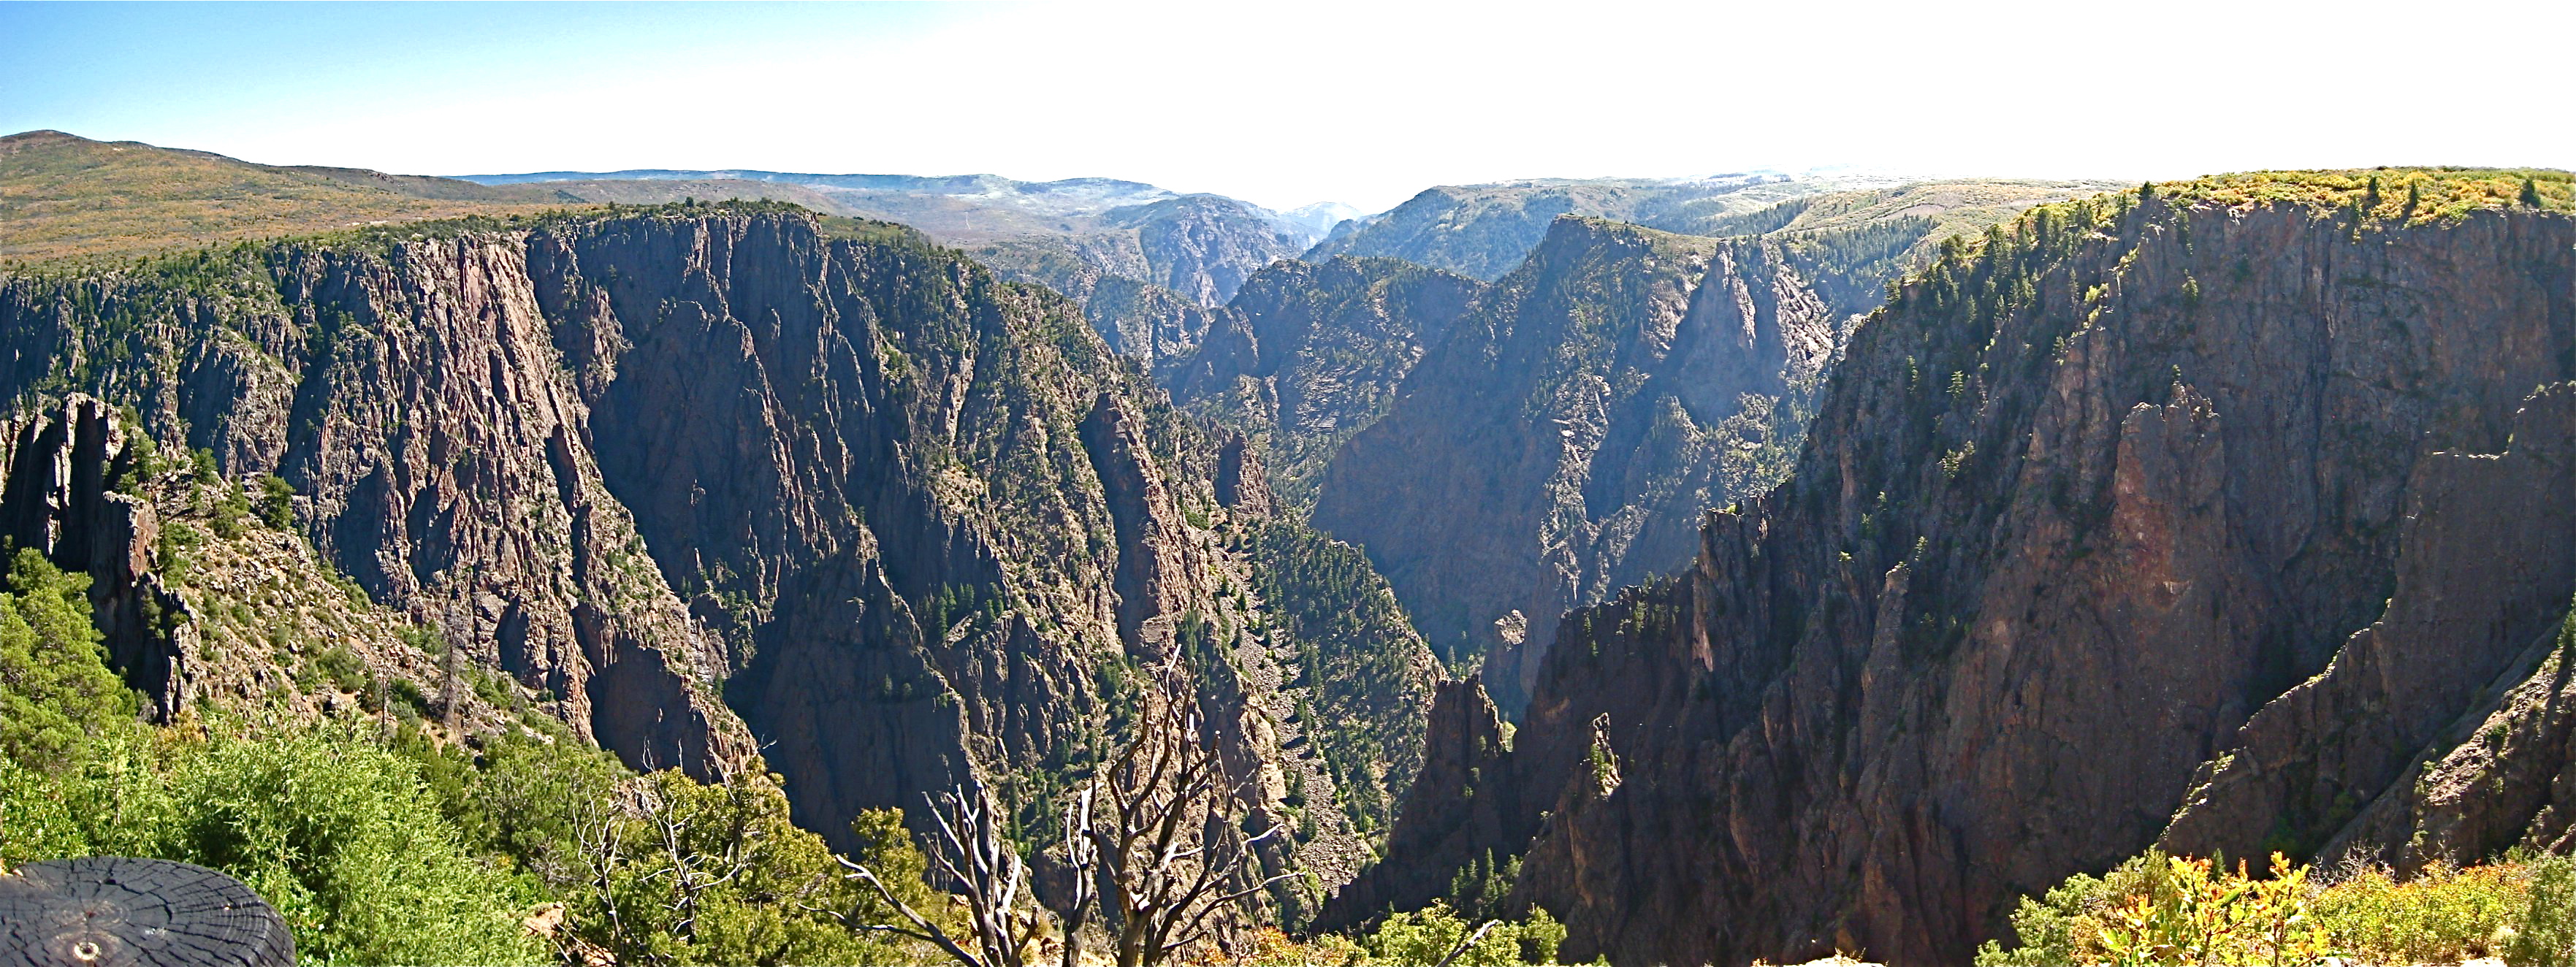
After leaving Grand Junction we drove south on 50 toward Montrose on our way to Ouray, but decided to take a detour to the Black Canyon of the Gunnison.The Canyon out to be one of the most dramatic sights on the whole trip. The Black Canyon is a massive gorge cut through PreCambrian rocks by the Gunnison River. It is vast enough so the far side is slightly hazy, contributing to the astonishing sense of depth from the edge.

Take a virtual world tour down the Canyon in Google Earth! Download this KML file
Double click to open in Google Earth, then click Play as shown:

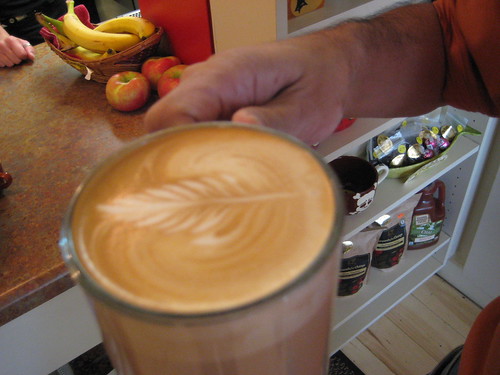 | We stopped at Jovis Coffee on our way through Montrose. They gave us a cup of coffee art that was almost too pretty to drink. |
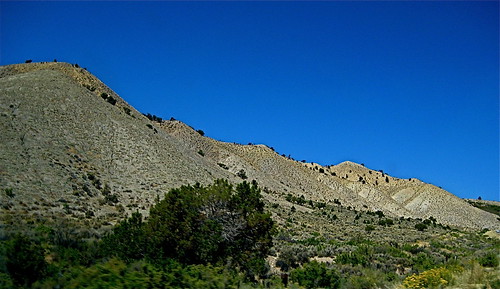 | Route 347 crosses rolling hills, scrub vegetation and rustic looking ranches. |
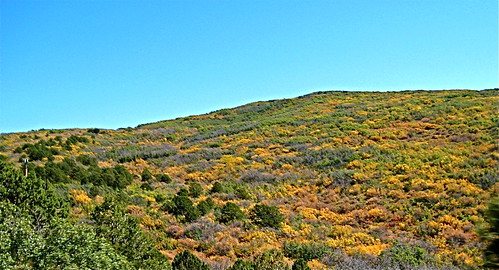 | Fall color on the hills on the way to the Canyon |
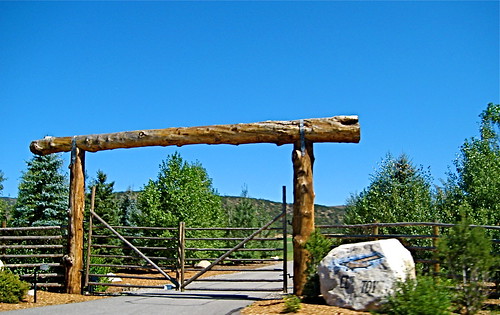 | Ranch entrance |
<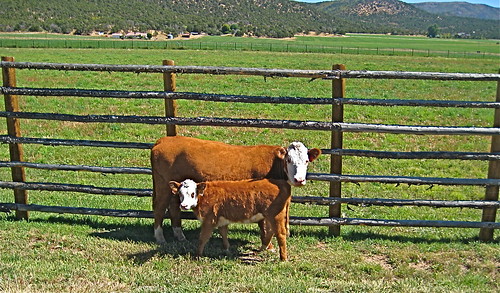 | Free range cows just outside a pasture |
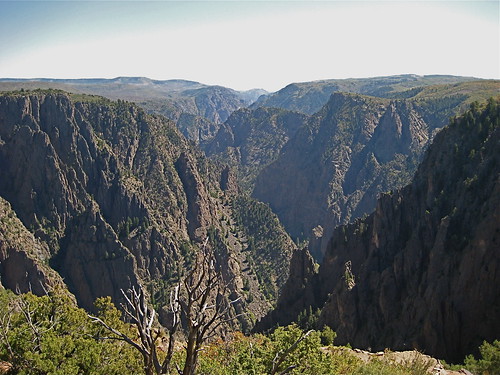 | First view of the Canyon |
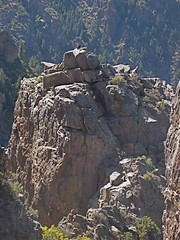 | Crow atop a rocky cliff overlooking the canyon |
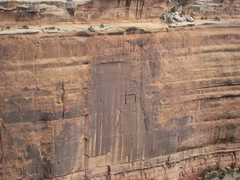
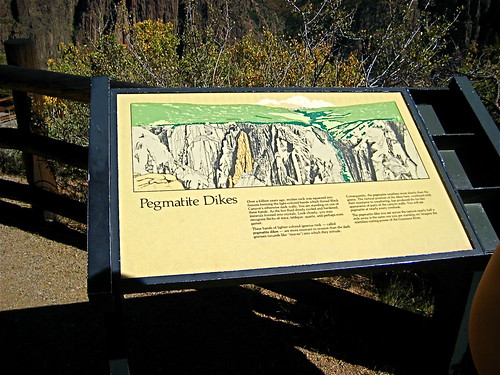 /td> /td> | Pegmatite Dikes are visible throughout the gorge, consisting of quartz, feldspar and mica |
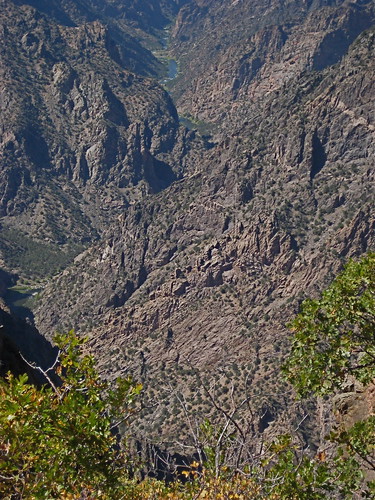 | View down the river |
March 24, 2009
10 places to get Free Fonts
A collection of sites to try when you are looking for free fonts:
exljibris Free Font Foundry
Nine beautiful designer fonts by Jos Buivenga.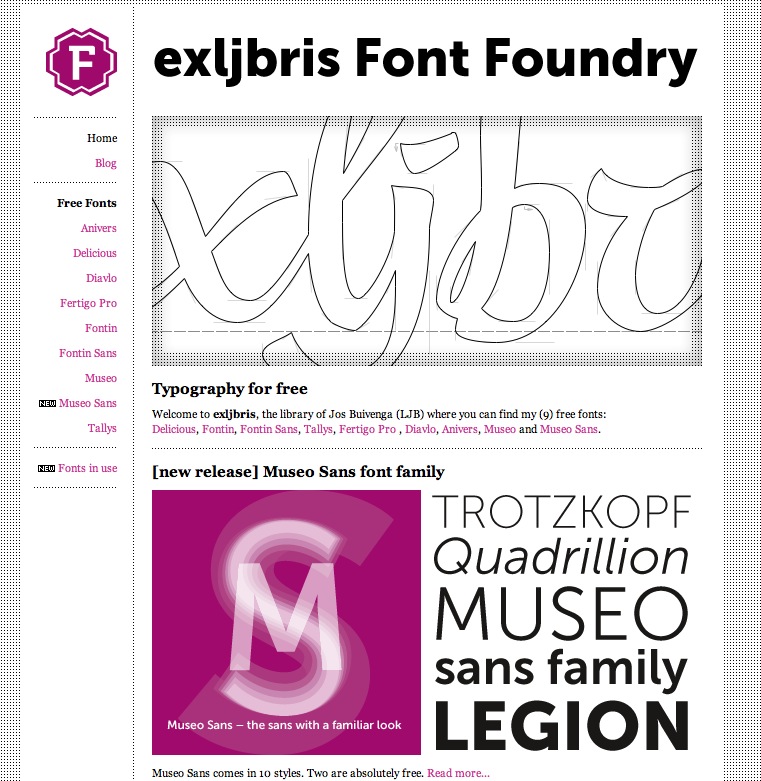
Betterfonts.com
This site has both free and paid fonts. The free fonts tend toward the oddball, not the type of font you can use daily, but interesting. The paid fonts are very reasonably priced at $4.99, and you can download their top 500 for $2.77.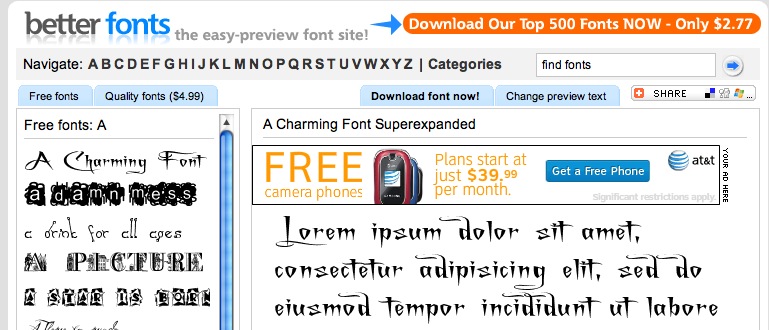
1001 Free Fonts.com
A nice teaser collection with links to some paid options like ITC fonts, signature fonts, etc. Try the free "Famous" category if you are trying to match the look of a TV show or movie logo.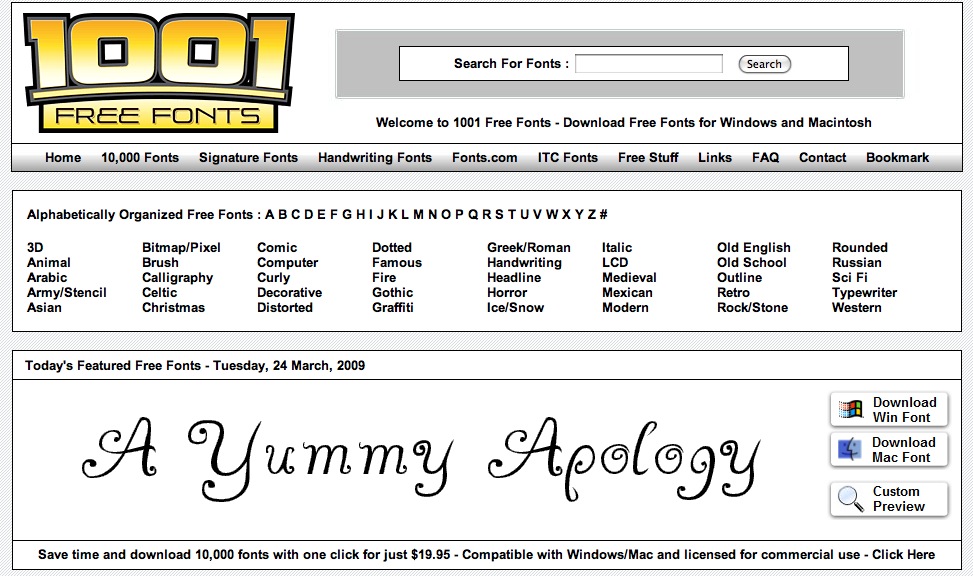
Abstract Fonts.com
I love the search engine on this one: it lets you select by font style, then refine FURTHER by look and style. "Select fonts that are Sans and ...3D . Art Deco . Bloody "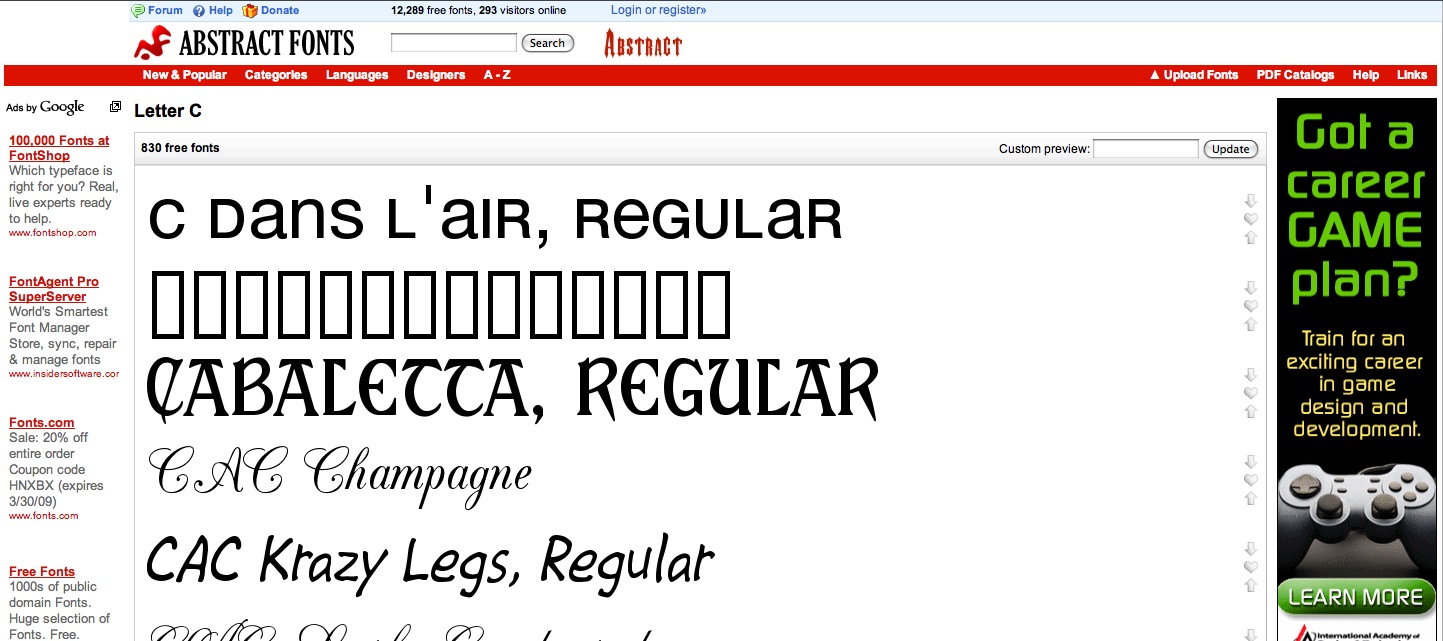
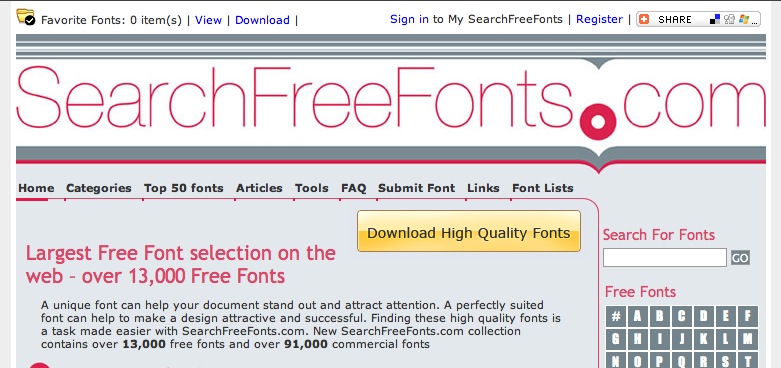
Search Free Fonts.com
A good search feature, reasonably good free fonts, with lots of links to other sites, including font resources and font embedding.
daFont.com
Some really nice sans-serifs and basic fonts distributed by Bitstream under a GNU GPL type license.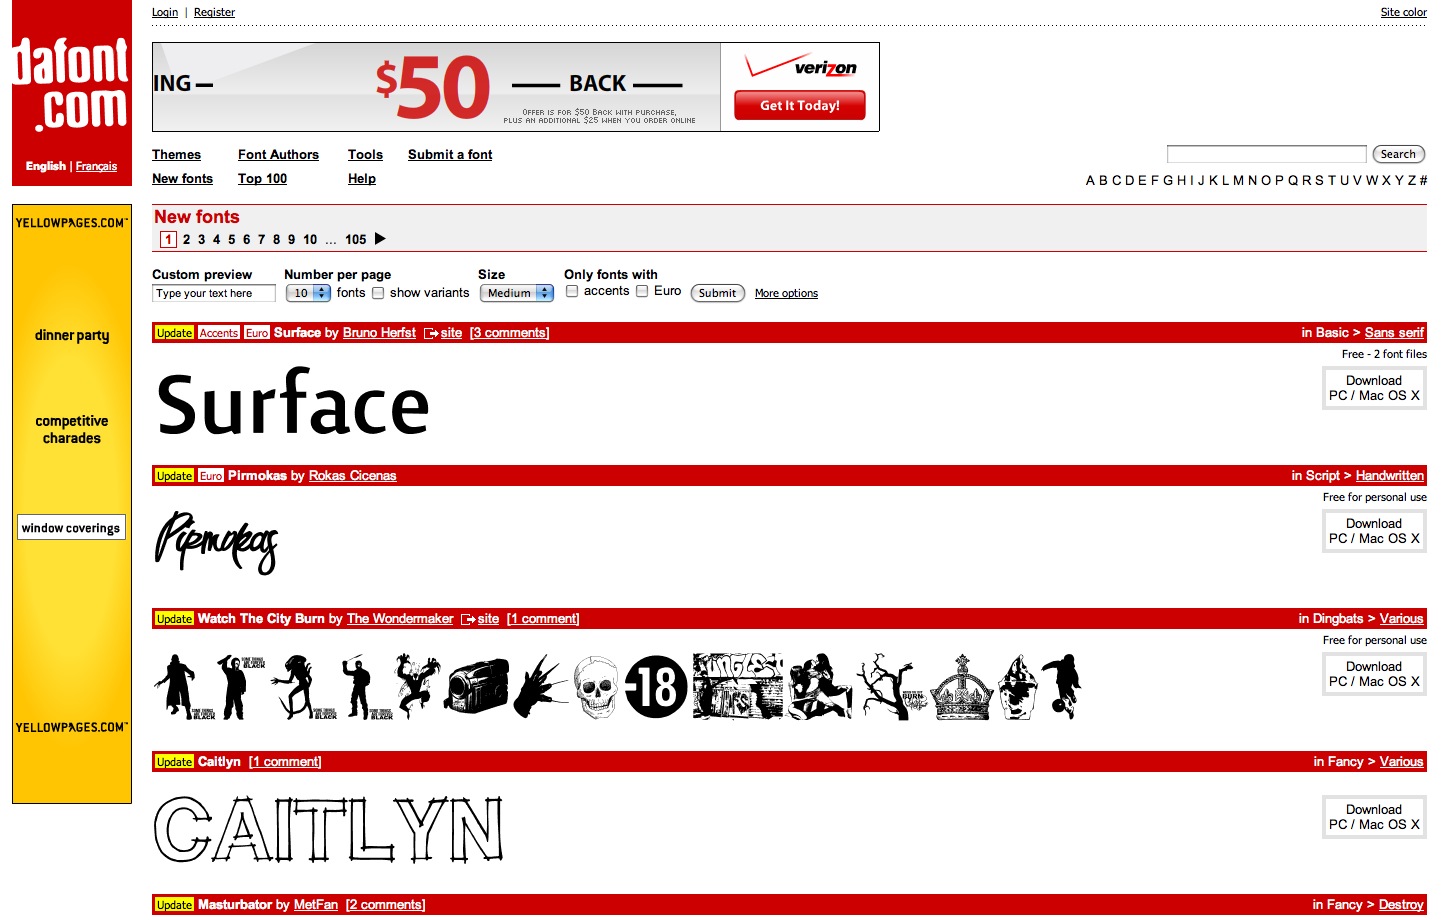
FreeFontSpace.com
Quirky fun fonts, not so many workhorses. The browsing categories are things like "Cool", "Dingbats", "Distorted", "Futuristic", "Graffiti"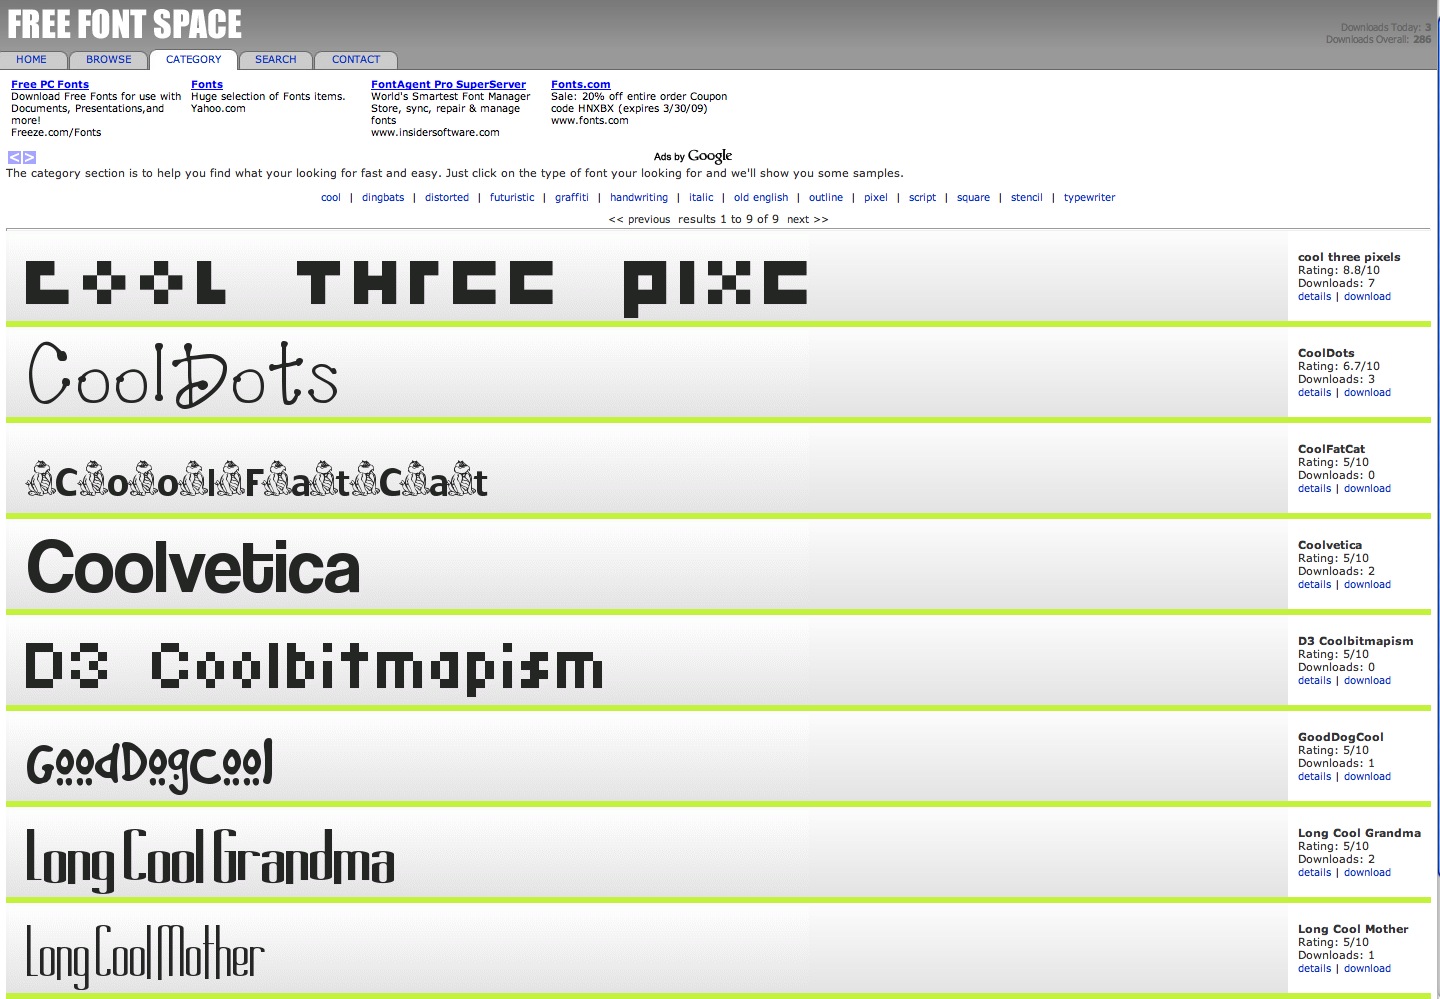 <
<
Creamundo.com
Search engine is rather difficult to use, no category browser. Since the names are all original, you can't search by familiar terms.
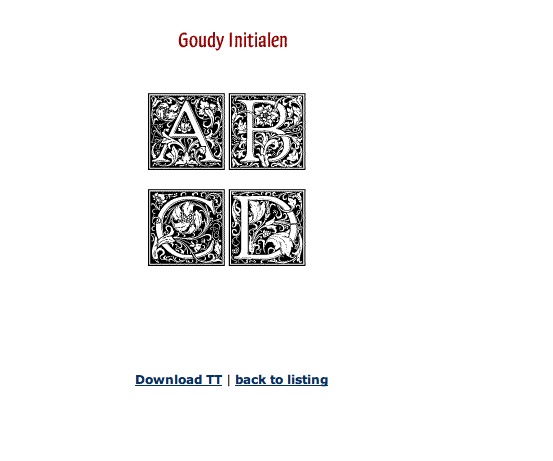
Dieter Steffman
A library of german decorative fonts and dingbats. Well worth checking out!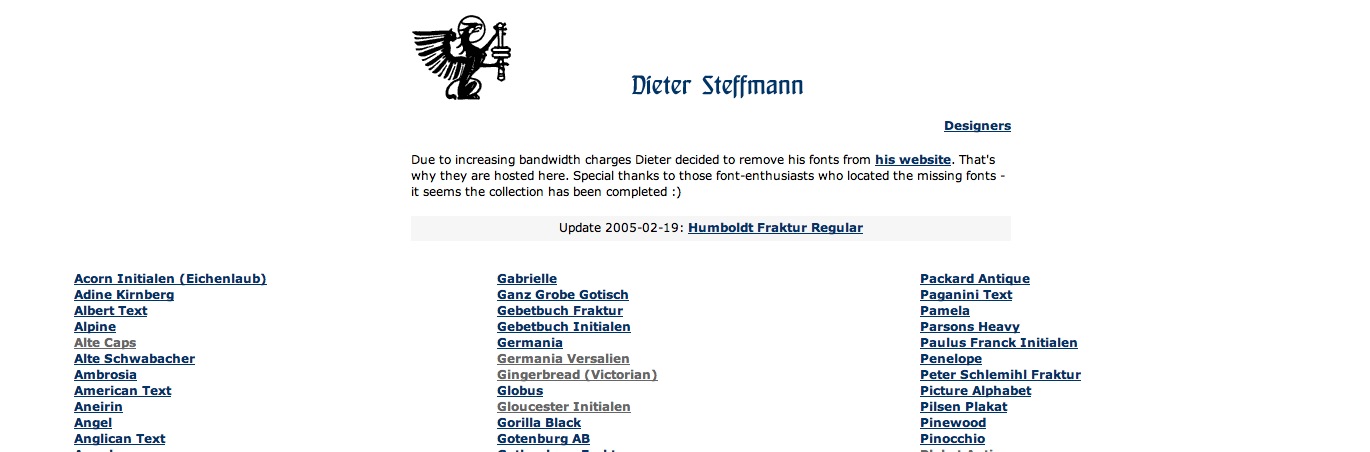
The Smeltery
a French font factory founded in 2002 by Jack Usine to show and share his typographic investigations.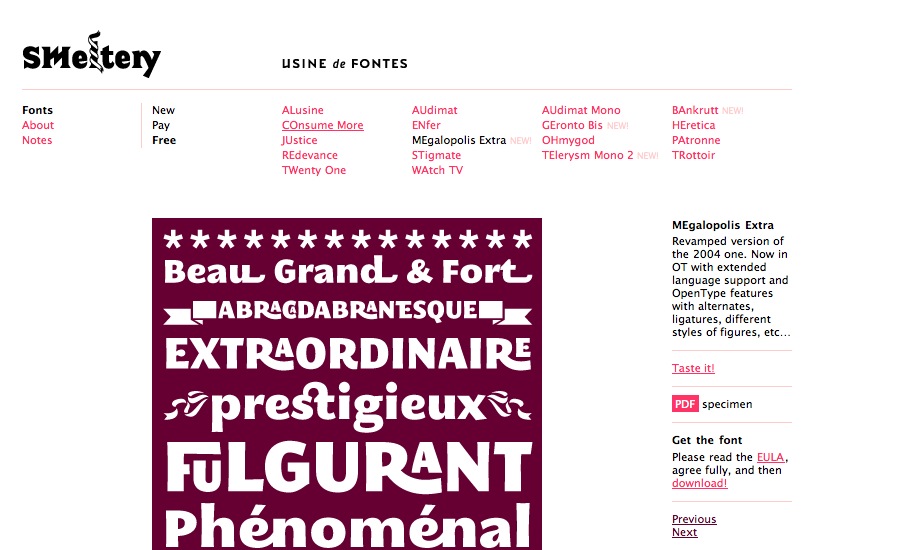

March 14, 2009
Virtual Colorado Tour - Part I: West to Grand Junction
Last fall we took a trip around Colorado which took us through nearly every type of landscape Colorado has to offer, including the town of Ouray, nestled in the Mountains, fantastic fall colors of the Kebler Pass area and the dry, dramatic Mesa Verde region in the Southwest.The map below is an interactive Google map, showing all the main points of interest we hit, and photos along the way.
View Larger Map
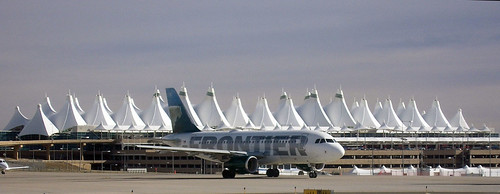
This is not my photo, but I thought the airport was cool enough that you should be able to see it. Thanks Bachir!
 |
On leaving the airport, we took I-70 in a straight shot to Grand Junction where we stayed for a few days. I-70 is one of the most scenic freeways in the US, cutting through mountains, canyons, and stunning desert vistas on its way straight west across the northern part of the state.
|
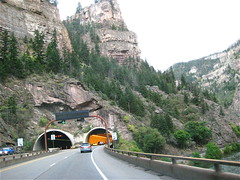 |
The Glenwood Canyon stretch visible from I-70 is beautiful, and the design and the design of the freeway that runs through it is also spectacular, and something of an engineering feat. |
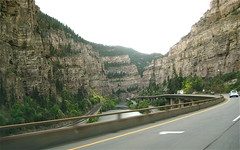 |
This site by a civil engineer describes some of the more outstanding features. |
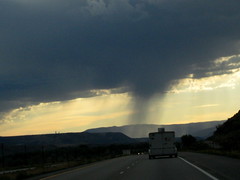 |
Isolated rainstorm somewhere between Rulison and Parachute. |
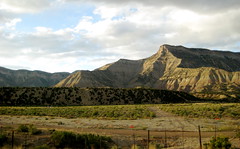 |
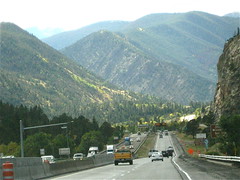
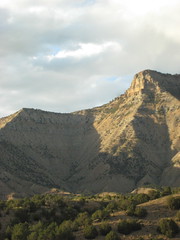
Some of the dramatic scenery on the way into Grand Junction... |
 |
|
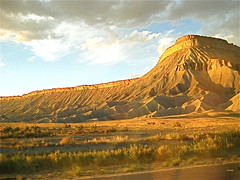 |
...culminating in this incredible view of a mesa |
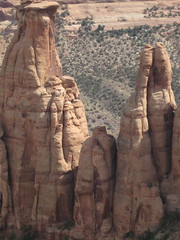
| Just a few miles outside of Grand Junction lies the Colorado National Monument National Park. It's a series of breathtaking canyons and red-rock pillars (the Monuments). | |
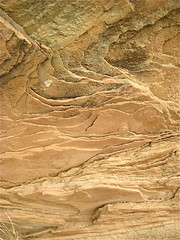 |
Some of the sandstone layers in rocks near the entrance. |
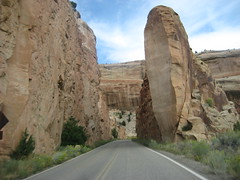 |
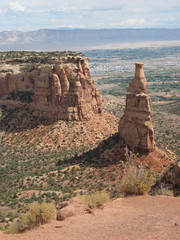
Monument road skirts the edge of the canyons. |
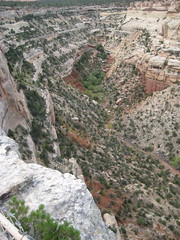 |
Views down into the canyons |
 |
|
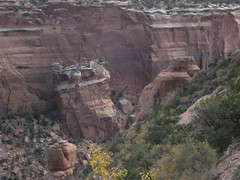 |
You can see the enormous block of rock that sheared off and fell down into the canyon |
 |
|
 |
There's a sandstone cave formed by water. The rock is so soft you can sculpt it by brushing sand off with your hand. |
 |
|
 |
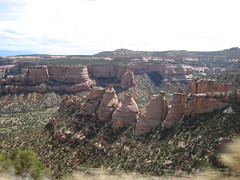
Colorado National Monument lies along the northeastern flank of the Uncompahgre Plateau. |
 |
The terrain gives the impression of having been the site of many flash floods which carved the canyons and deeply undercut the top layers of rock in some places. |
 |
The Coke Ovens formation. Read about the geology of the area |
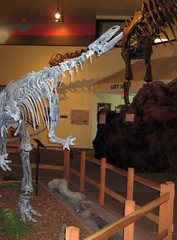 ; ; |
Afterwards we visited the DInosaur Journey Museum in Fruita, a cool interactive museum with animated dinosaurs, fossils, a lab, an earthquake simulator and lots of paleontological information |
March 6, 2009
Create buttons for your site using nothing but Glossy.js
Glossy.js is one of a collection of scripts written by Christian Effenberger that exploit the power of Javascript, Canvas and vml to create effects previously available only in Flash. In this demo, I use the programmable version of Glossy (cvi_glossy_lib) to generate button-bars.
In this demo, I use the programmable version of Glossy (cvi_glossy_lib.js) to generate the buttons using nothing but clear spacer gifs, and text links for the text of the buttons. Button colors are indicated with the spacer gif's ID, then hover and active effects are generated by glossy.js. Rounded corners and glossy beveled effects are created by the script as well.
All event handlers for mouseover, mousedown, etc. are added once the page loads, and everything about the buttons can be changed on the fly: dimensions, corners, gradient, text, shadows, etc. Not a very sophisticated example, but it will give you an idea of the power of this library.

- Download the latest version of glossy.js from netzgesta.de, open it, find "cvi_glossy_lib.js" and put it into your scripts folder:
http://www.netzgesta.de/index.php
- Add this line to the head of your HTML document:
<script type="text/javascript" language="javascript" src="js/cvi_glossy_lib.js"></script>
Make sure the path points to wherever you have put cvi_glossy_lib.js - Add this script just below it:
<script language="javascript" type="text/javascript">

cvi_glossy.defaultColor2 = '#CC3333';

function addButtons(){

var x = document.getElementsByTagName('DIV');

//

for (var i=0;i<x.length;i++){

if (x[i].className == 'btnHolder'){

cvi_glossy.add(x[i].childNodes[0],{color:'#'+x[i].childNodes[0].id, shadow: 40, shade: 40 });

x[i].onmouseover = function() {cvi_glossy.modify(this.childNodes[0], {color:'#'+this.childNodes[0].id, shadow: 75, shade: 70 });}

x[i].onmouseout  = function() {cvi_glossy.modify(this.childNodes[0], {color:'#'+this.childNodes[0].id, shadow: 40, shade: 40 });}

x[i].onmousedown = function() {cvi_glossy.modify(this.childNodes[0], {color:'#'+this.childNodes[0].id, shadow: 90, shade: 80 });}

}}  }

</script>
- Add this block of styles just before the closing HEAD tag. You can change the styles to create whatever positioning and font colors and sizes you prefer. I am using relative absolute positioning to make the links fall just where I want them within each button, but you can position them however you prefer.
<style>

body {position:absolute;}

#buttonTable {width:auto;position:relative; }

#buttonTable td { padding:0px; text-align:center;position:relative;}

#buttonTable a{ position:absolute;text-decoration:none;display:block;

top:10px;width:150px;height:40px;font:bolder 12px Arial, Helvetica, sans-serif;color:#FFF;}

#buttonTable .glossy {width:150px;height:40px; }

.btnHolder {position:relative;text-align:center;}

#buttonTable a:hover,#buttonTable a.normal:hover{color:#99FF00;}

#buttonTable a:active{color:#FFCC00;}

#buttonTable .normal {font:normal 11px Arial, Helvetica, sans-serif;color:#FFFCC00;}

</style>
- Within the body of the document, add the table that will contain the buttons:
<table id="buttonTable" cellspacing="0" cellpadding="0">

<tr valign="middle">

<td><div class="btnHolder"><img src="images/spacer.gif" id="FF6633" class="glossy" /><a href="#">Button One</a></div></td>

<td><div class="btnHolder"><img src="images/spacer.gif" id="FFCC00" class="glossy"/><a href="#">Button Two</a></div></td>

<td><div class="btnHolder"><img src="images/spacer.gif" id="339933"	 class="glossy"/><a href="#" >Button Three</a></div></td>

</tr>

<tr>

<td><div class="btnHolder"><img src="images/spacer.gif" id="6699FF" class="glossy"/><a href="#" >Button Four</a></div></td>

<td><div class="btnHolder"><img src="images/spacer.gif" id="99FF00" class="glossy"/><a href="#" >Button Five</a></div></td>

<td><div class="btnHolder"><img src="images/spacer.gif" id="3333CC" class="glossy"/><a href="#">Button Six</a></div></td></tr>

</table> - Add this line of code just before the closing BODY tag:
<script> addButtons();</script>
- Add the image "spacer.gif" (in my zip file in the images folder) to your images folder, and make sure the path to spacer.gif is correct.
- Change the id's (highlighted in red) on each A tag to the HTML code for the colors you would like the buttons to be.
Your buttons are done!
March 4, 2009
Drupal not recognizing update
As if the current crop of virus warnings and financial data-stealing Trojans weren't enough, mandatory security updates just came out for both Movable Type and Drupal. The Movable Type upgrade went without incident but Drupal kept reporting that the installation was not up to date in the status report page.
It turned out I had a slightly altered version of the core Aggregator module in the sites/all/ modules folder. I updated that, and did a difference search with BBEdit to find the line I'd changed and restored the change. That did the trick - Drupal realized it had been updated.
Thanks to Jenny Simonis for the tip that helped solve this one.