Drupal is often used in education these days, and a common requirement for course sites is to create protected areas for each course. You could simply have a separate Drupal site for each course, but sometimes that is not an option, or not efficient, particularly if you want to have some common areas, and other areas which are restricted by course.
There are many approaches you could take to do this using various Drupal modules, but one relatively simple method is to use the Taxonomy Access Control Lite module. This tutorial will help you get started with managing rights in Drupal course sites. In a later tutorial, I'll cover forums, wikis and and blogs.
Ads by Google
Posted by ellen at July 26, 2009 12:51 PM
To create protected, read-only areas accessible only to the students of each course:
- Download and install the Taxonomy Access Control Lite module
- Create a role for each course so that TAC Lite can control their permissions. Besides the default "Authenticated User" which is assigned to all logged-in users you will need to create roles for each course plus the teacher or professor, who will be able to see everything.
For example for a site that will serve students in two music courses this fall, I created three access roles: "Theory 149 student", "Theory 430 student" and Professor. Role permissions work by addition. Every user who is logged in as a member of the site is automatically granted authenticated user permissions. In addition, they are granted any additional permissions their additional roles may have.

- Create a new taxonomy vocabulary called "access" and assign it to all the content types you want to control with this method.

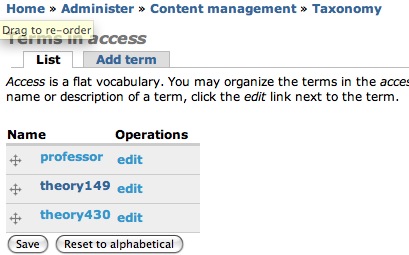
- On saving the new vocabulary, it will return you to the vocabulary list. Click add terms in the access row.

- Add terms to the access vocabulary for each course, and one for the professor or teacher, just like you did for the roles.
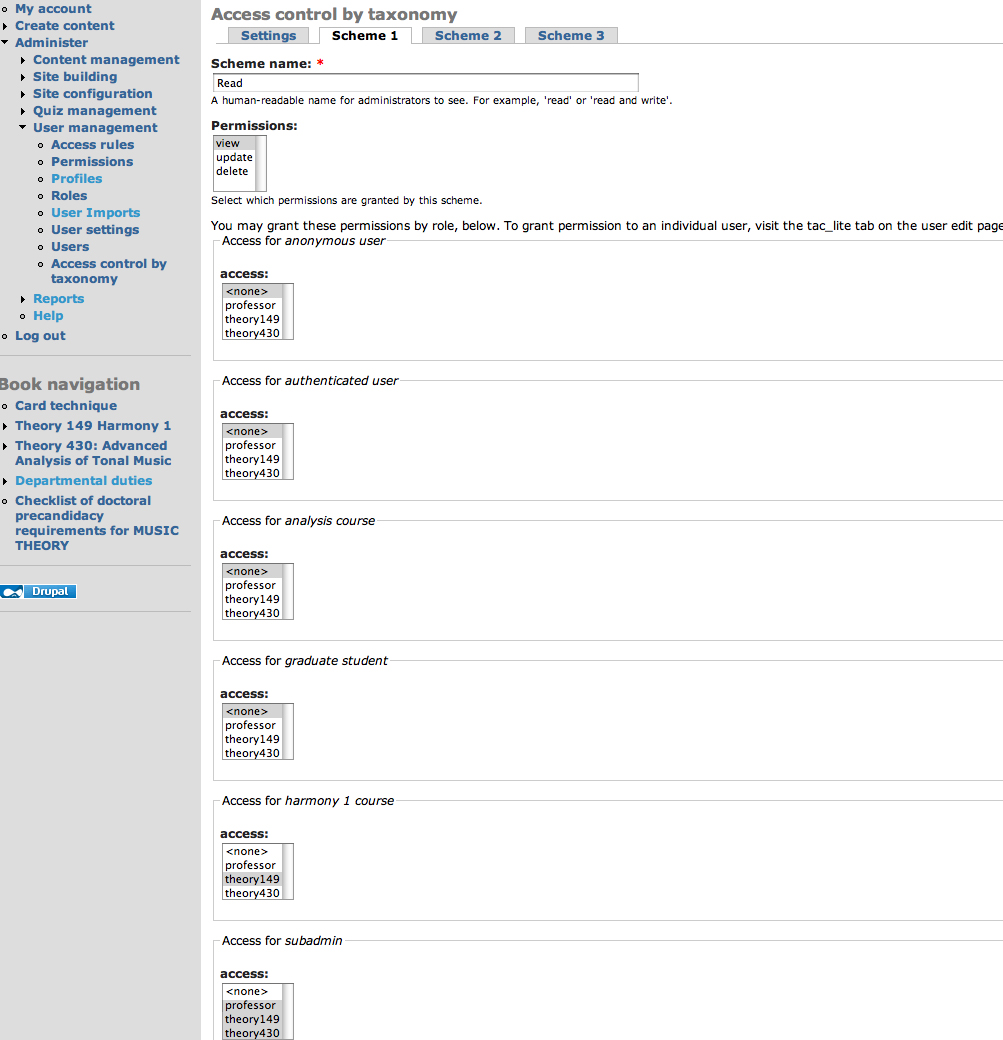
- Now you will map specific permissions to those taxonomy terms. Click Administer : User management : Access control by taxonomy. You will see several Scheme tabs.
The permissions you can control are "View, Update, and Delete" which are programmer talk for "Read, Write, Delete." Label Scheme 1 Read. The permission we want the students to have for most types of nodes in Drupal is just "Read" or View, so this Scheme will grant "View." Select view in the Permissions list. Now assign this permission to the taxonomy terms by selecting them in the list boxes under each role as shown. Anonymous users and authenticated users probably should get <none>, Theory 149 students should get view access to the theory149 taxonomy term. Theory 430 students get access to the theory430, and the Professor gets view access to everything.
Scheme 2 will be called Write-Delete. Only the professor gets Write-Delete access in this case, because there will be no forums or student blogs.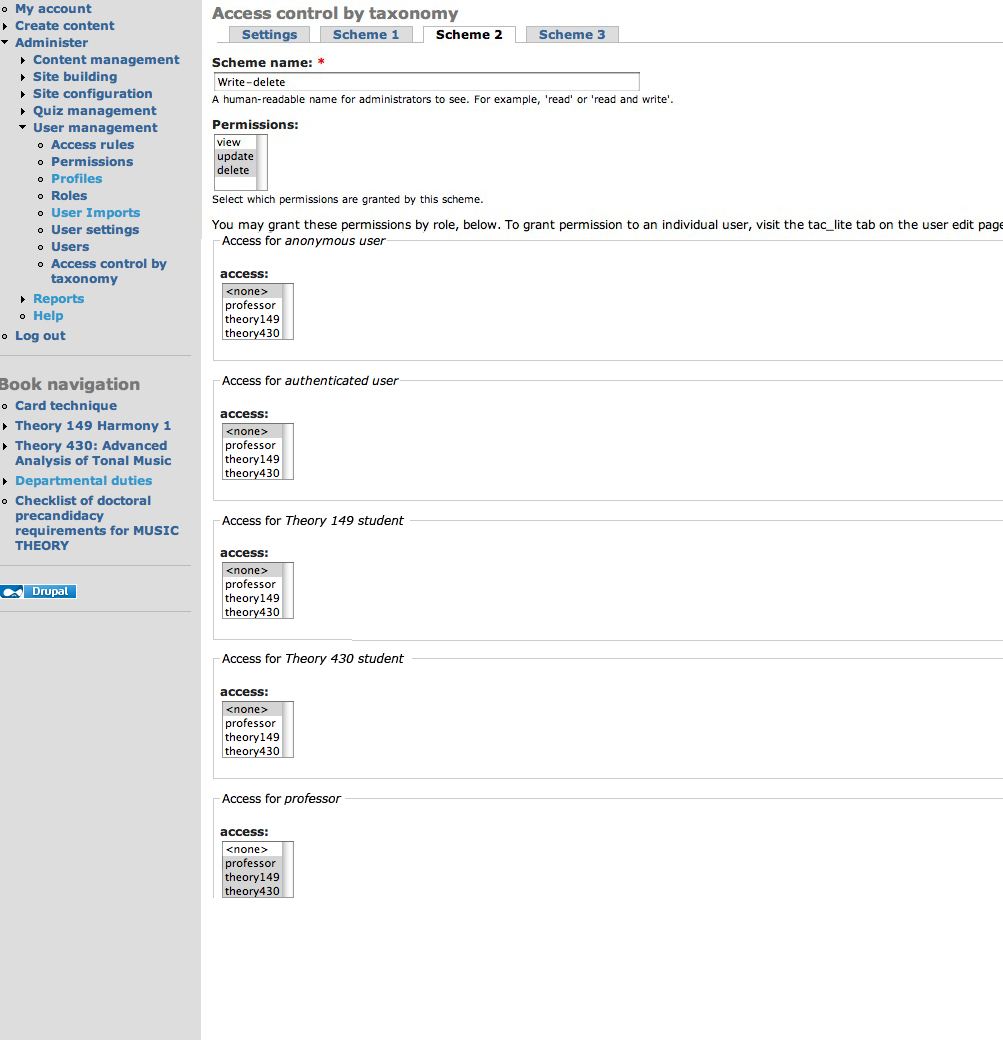
- Now, create a book for each course. (Create Content : Book Page)
Note: Creating a Book page with no "parent" page creates a new Book in Drupal.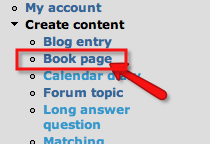
- Assign one of the access vocabulary terms to each book.

- Add a menu item for the new book, so it will show up on the student's front page, if they have rights to see it. In this case, I have set it to show up at the top of the page in the primary links.

- The student will see their book title in the navigation, but not the other books.

I'll cover the management of student write-delete permissions for blogs and wiki-like books in another post, coming soon.
Resources
- Taxonomy Access Control Lite module


